The Pin Management settings control how property markers appear on maps in WPResidence. You can show price pins, use one single image for all map markers, or upload different custom pin images for property categories, actions, and category/action combinations.
These settings are important for both design and functionality. Map pins help visitors identify properties visually on Google Maps, OpenStreetMap, property list maps, Half Map pages, taxonomy pages, and map widgets.
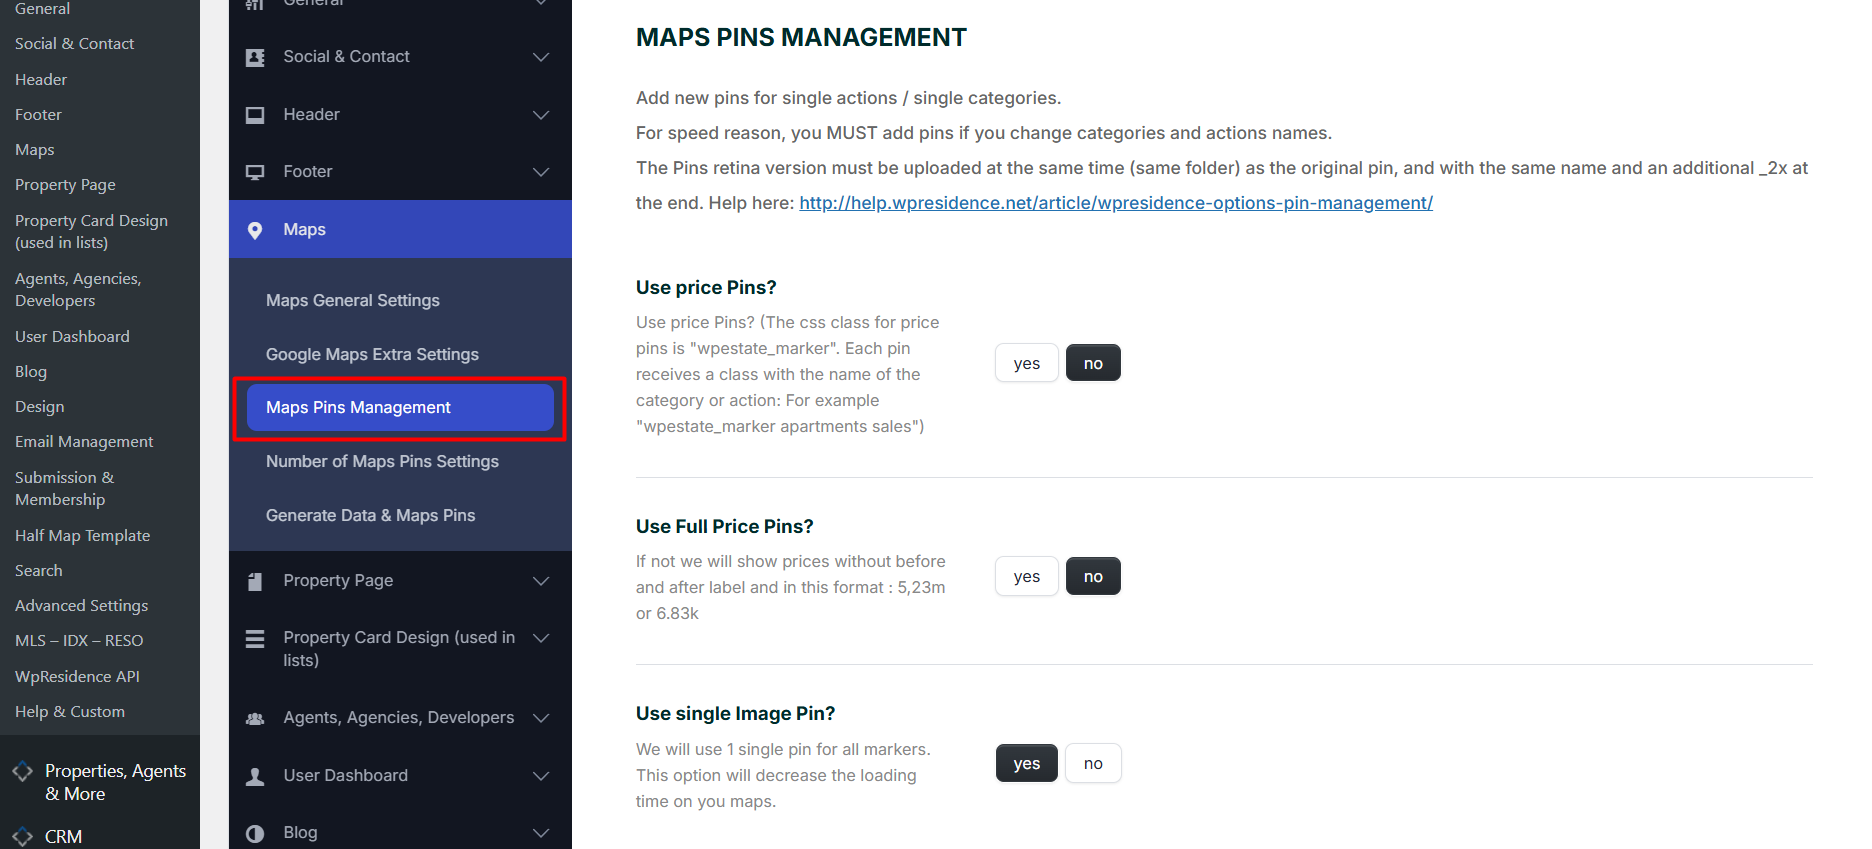
Where to find Pin Management
Go to:
Theme Options > Map > Pin Management
From this section you can manage:
- Price Pins
- Full price display for Price Pins
- Single Pin Image
- Custom pin images for categories and actions
- IDX Pin
- Geolocation Pin
How the pin options work
WPResidence uses three main pin display modes:
- Price Pins – the map marker displays the property price.
- Single Pin Image – the same image is used for all property markers.
- Custom Pin Images – different pin images are used based on property category, action, or category/action combinations.
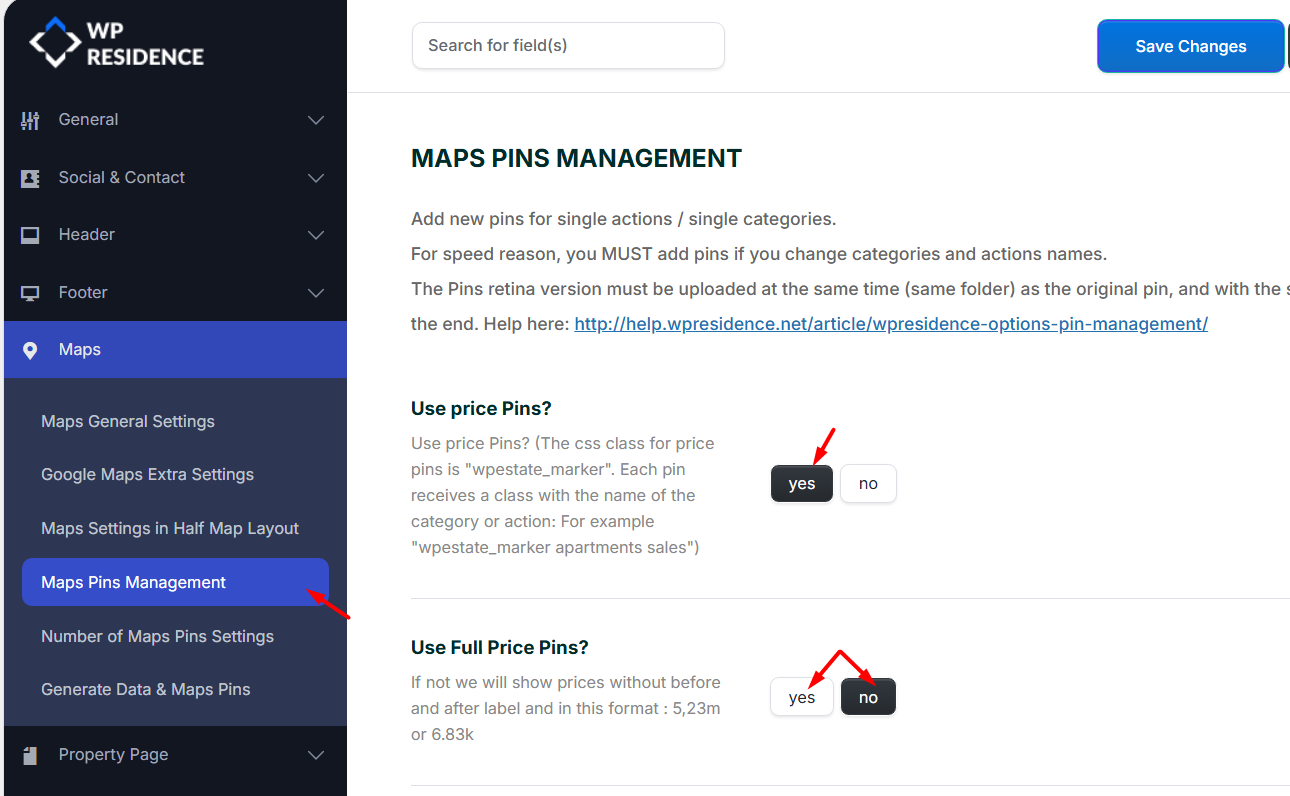
Price Pins
Price Pins show the property price directly on the map marker. This is useful when you want visitors to compare listings quickly from the map view.
To enable Price Pins:
- Go to Theme Options > Map > Pin Management.
- Set Use Price Pins? to Yes.
- Choose if you want to show the full price format or the short price format.
- Save changes.
- Clear cache if needed and refresh the map page.
If the full price option is disabled, the theme shows a shorter price format, such as 5.23m or 6.83k, without the before and after price labels.
Custom colors for Price Pins
You can change the design of Price Pins with custom CSS.
The default Price Pin CSS is:
.wpestate_marker:before {
    border-top: 6px solid #e84157;
}

.wpestate_marker {
    background-color: #e84157;
    color: #fefefe;
}
You can also use a different color for a specific category and action combination.
Example:
.wpestate_marker.apartments.sales {
    background: #ff2b58;
}

.wpestate_marker.apartments.sales:before {
    border-top: 6px solid #ff2b58;
}
You can add custom CSS in:
Theme Options > Design > Custom CSS
Related help:
How to add custom CSS
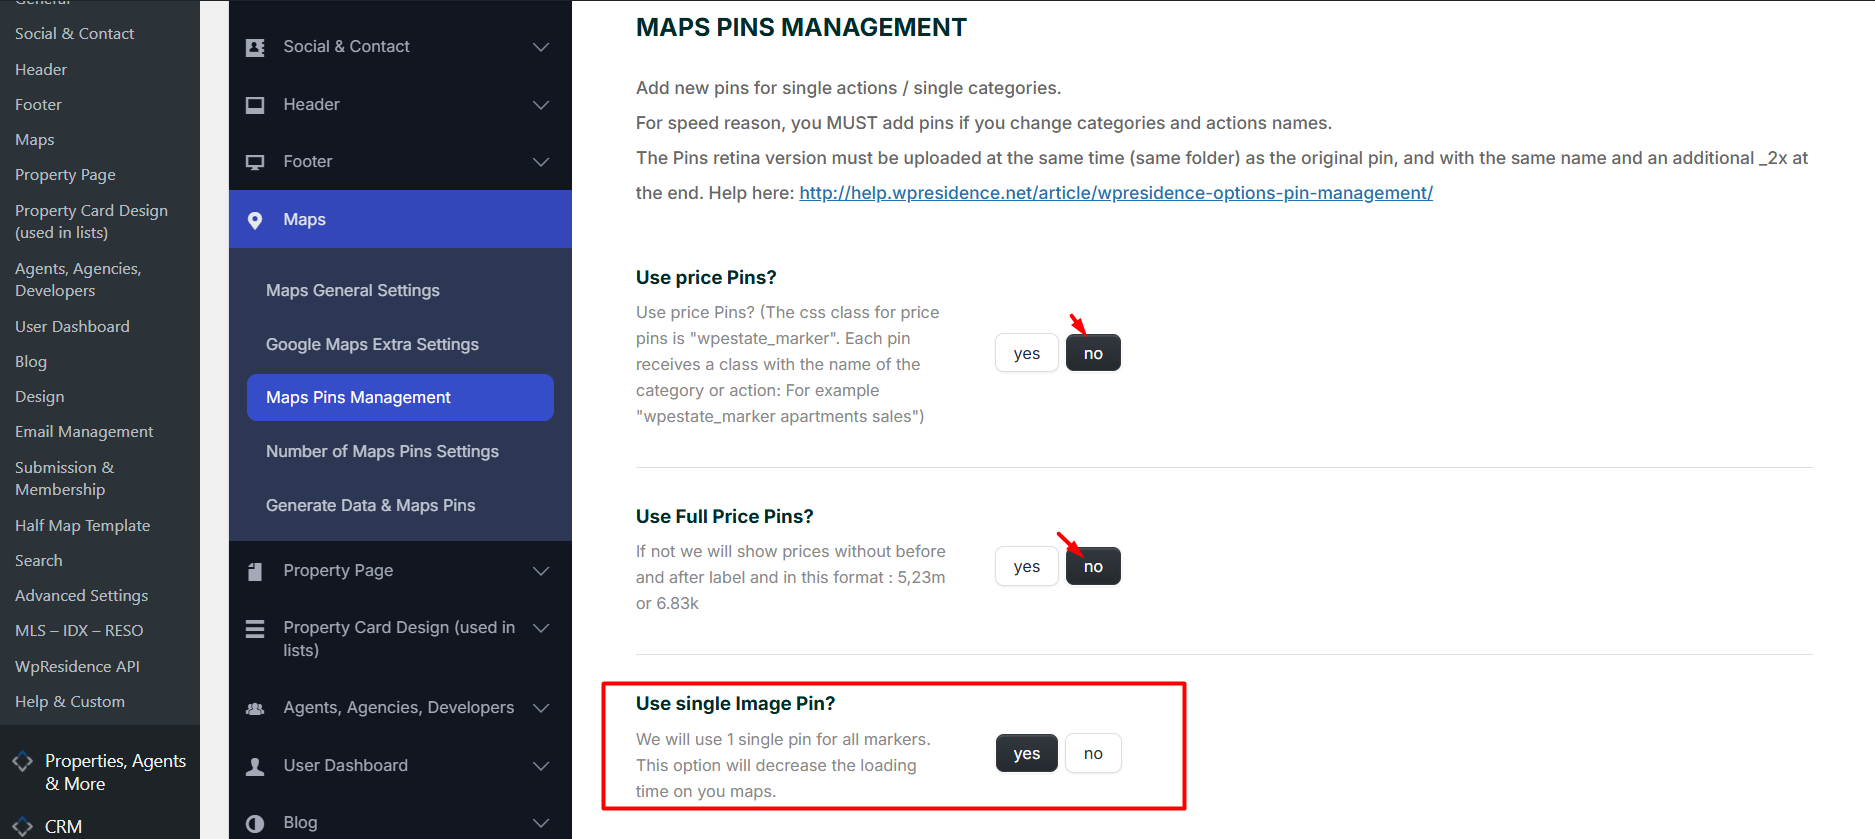
Single Pin Image
The Single Pin Image option allows you to use one image for all property markers on the map.
Use this option if you want a clean, simple map design and do not need different pins for different property categories or actions.
To enable Single Pin Image:
- Go to Theme Options > Map > Pin Management.
- Set Use Price Pins? to No.
- Set Use Single Pin Image to Yes.
- Upload your single pin image, or use the default one included with the theme.
- Save changes.
- Clear cache if needed and refresh the map page.
Custom Pin Images for categories and actions
Custom Pin Images allow you to show different map markers based on the property category, action, or category/action combination.
This is useful when you want different visual markers for listings such as apartments, houses, villas, rentals, sales, or other property types configured on your website.
To use custom pins:
- Go to Theme Options > Map > Pin Management.
- Set Use Price Pins? to No.
- Set Use Single Pin Image to No.
- Upload pin images for every category and action listed in the Pin Management section.
- Upload pins for category/action combinations when available.
- Save changes.
- Clear cache if needed and refresh the map page.
The list of available pin fields is generated from your property taxonomies, especially property categories and property actions.
Related help:
Property Taxonomies / Categories

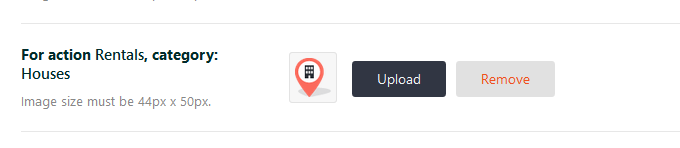
Add pin for each category and action combinations
Upload pins for category/action combinations when the option is available. For example, if you have a category such as Houses and an action such as Rentals, upload the pin for that combination as well.
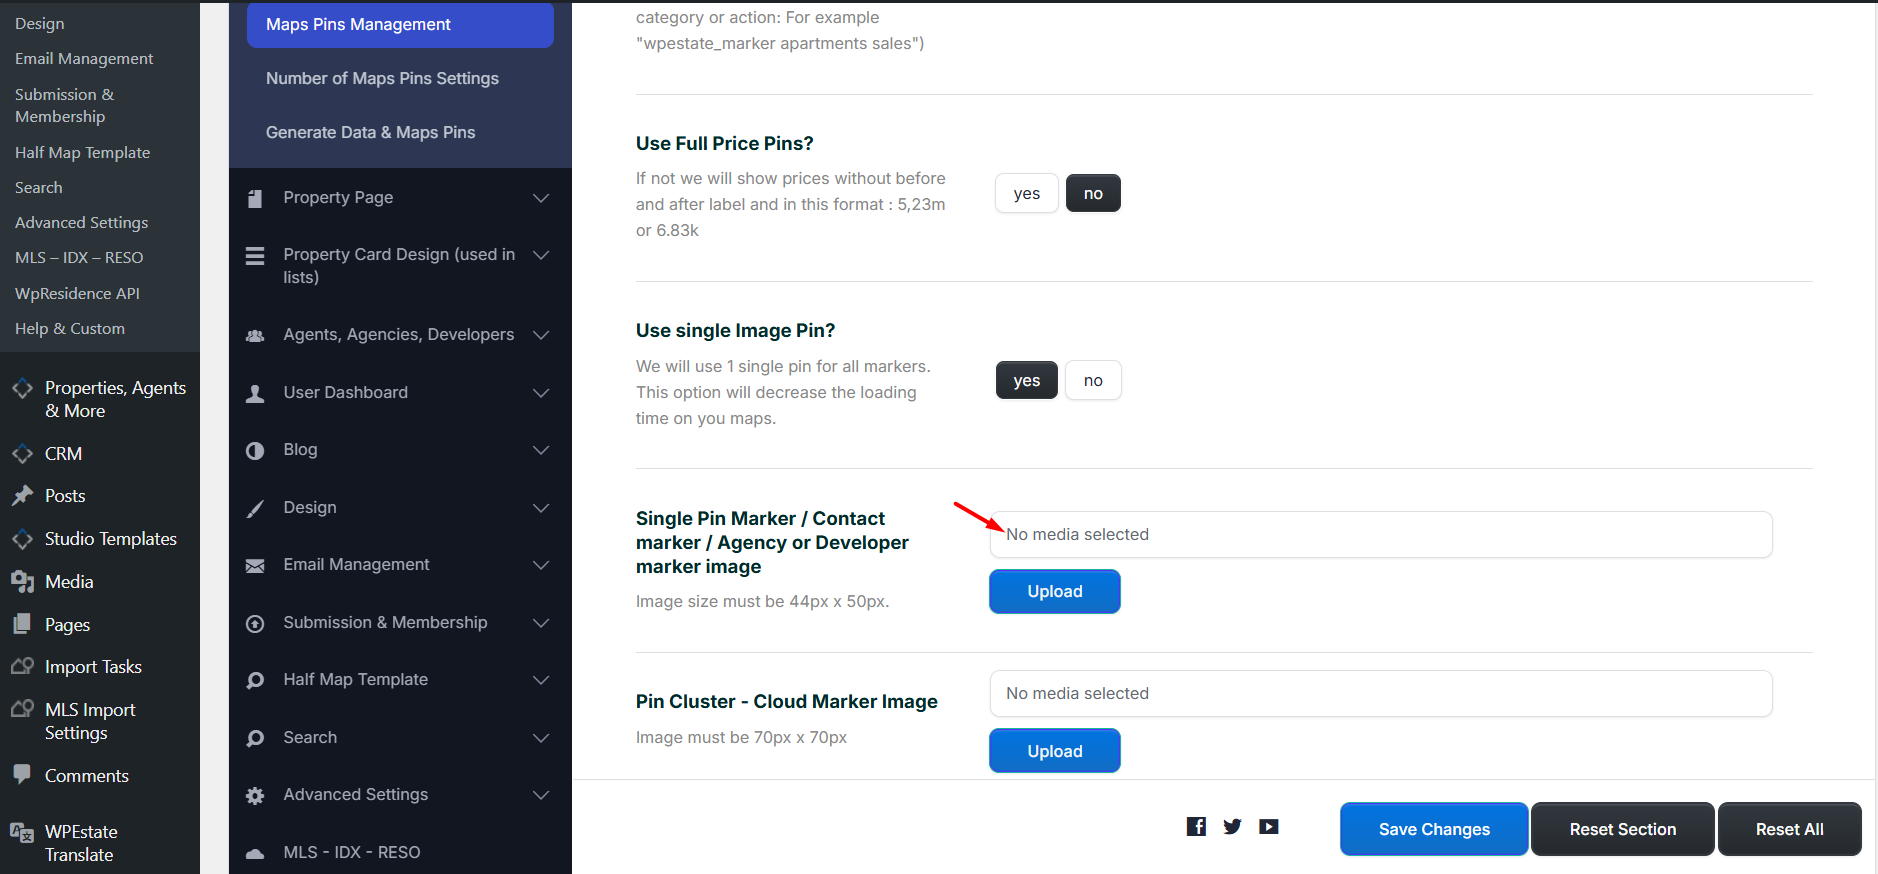
Pin image requirements
The required pin image size is:
- 44 px x 50 px
Make sure your uploaded pin images use the required size so they display correctly on the map.
Pin image requirements
For custom image pins to display correctly on the map, each standard pin image should use this size:
- 44 px x 50 px
This is the visible size used by the theme on the map.
Retina pin versions
In addition to the standard pin image, you should also upload retina versions of the same pin. Retina images are higher-resolution versions used on devices with high-density screens, such as many modern phones, tablets, and laptops.
Even if you select only the standard pin in Theme Options, the theme can look for the retina versions automatically. If the retina files are missing, the pin may appear blurry on high-resolution screens.
The retina files must use the same file name as the standard pin, with _2x, _3x, or _4x added before the file extension.
Example:
- pin.png – standard pin image, 44 px x 50 px
- pin_2x.png – retina version for 2x screens, 88 px x 100 px
- pin_3x.png – retina version for 3x screens, 132 px x 150 px
- pin_4x.png – retina version for 4x screens, 176 px x 200 px
The theme default pins are included in both standard and retina formats, so you can use them as examples when creating your own custom pins.
Retina pins names must match the standard pin and have _2x, _3x, _4x at the end.
The theme default pins are included in both retina and non-retina formats.
Where to find the default theme pins
The default pin images are included in the full theme package.
To find them:
- Go to your ThemeForest account.
- Download All Files & Documentation for WPResidence.
- Unzip the downloaded package.
- Look for the default pin image files included in the theme package.
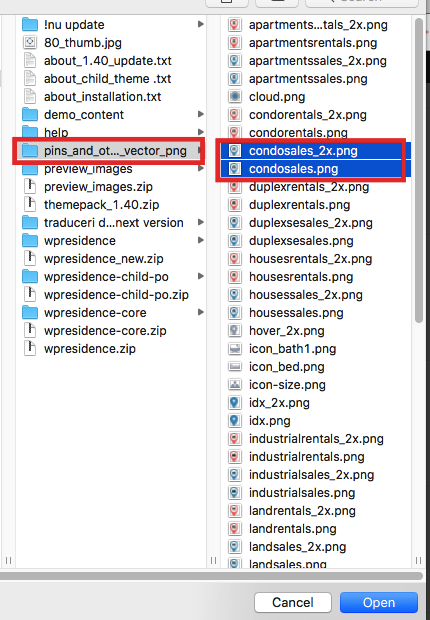
You can use the default pins as they are, or edit them with an image editing tool and upload your own versions.
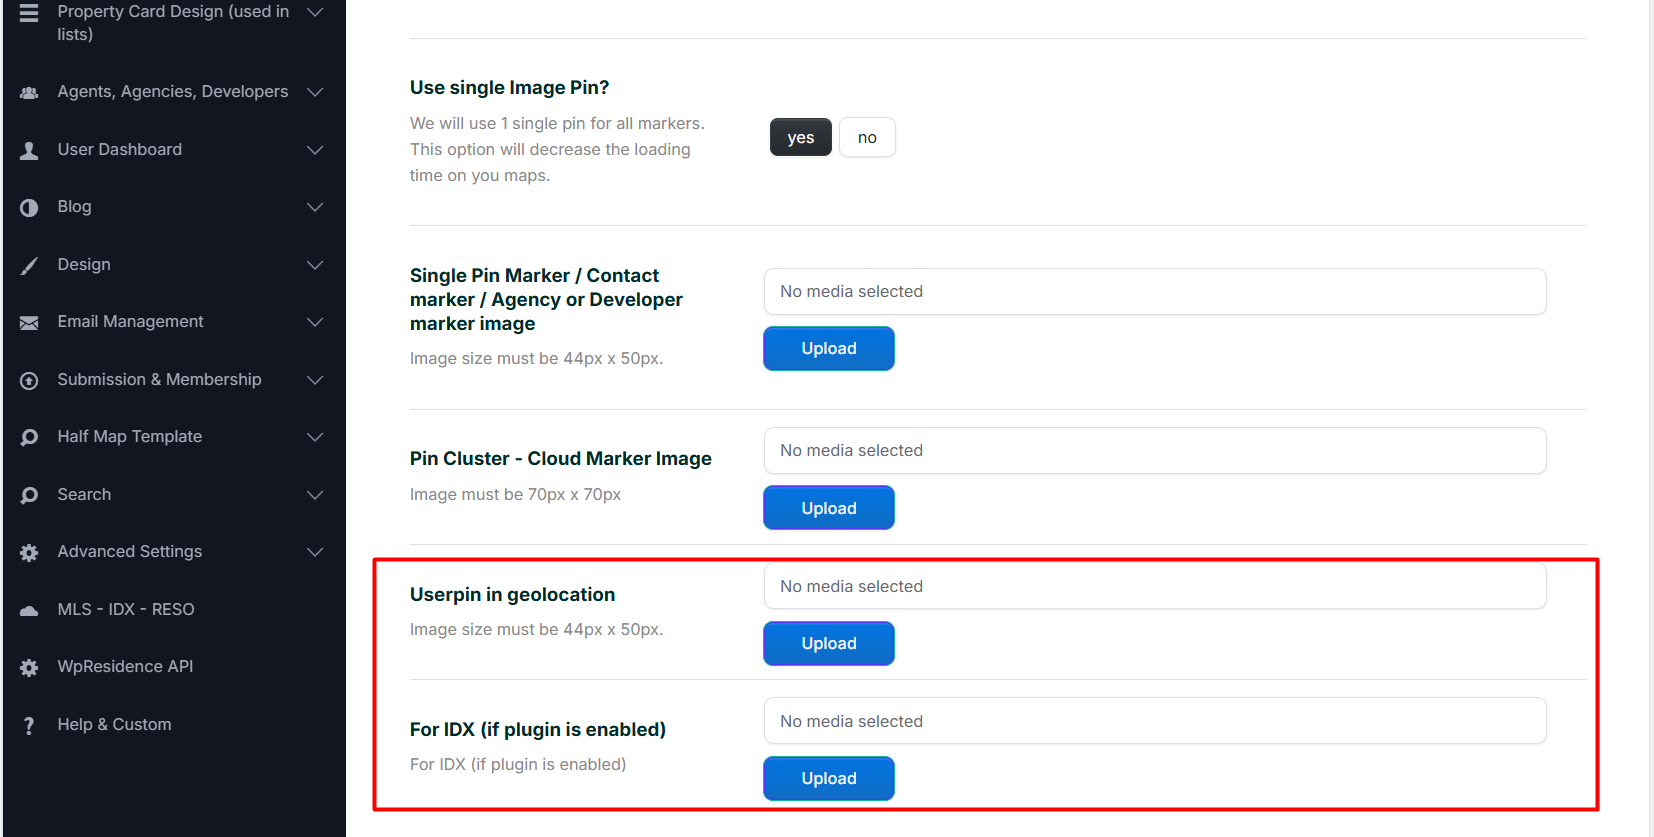
IDX Pin and Geolocation Pin
From Theme Options > Map > Pin Management, you can also replace:
- IDX Pin
- Geolocation Pin
The IDX Pin is used for IDX-related map markers when the setup requires it. The Geolocation Pin is used for the visitor/user location marker when geolocation is enabled.
When pins must be updated
You should review and update pin images when:
- You add new property categories.
- You add new property actions.
- You rename or change existing category/action slugs.
- You translate property categories or actions with a multilingual setup.
- You switch from Price Pins to image pins.
- You switch from Single Pin Image to custom pins.
- Map pins are missing or not showing correctly.
Troubleshooting missing pins
If pins do not show on the map, check the following:
- Make sure the property has valid latitude and longitude coordinates.
- Check that the map provider is configured correctly in Theme Options > Map > Map Settings.
- If you use Google Maps, make sure the Google Maps API key is valid and has the required APIs enabled.
- Check if Use Price Pins? is enabled. If yes, the theme will use price pins instead of image pins.
- If you use Single Pin Image, make sure Use Price Pins? is set to No and Use Single Pin Image is set to Yes.
- If you use custom pins, make sure both Use Price Pins? and Use Single Pin Image are set to No.
- Upload pins for all property categories, actions, and category/action combinations used on the site.
- Make sure the pin image size is 44 px x 50 px.
- Clear WPResidence cache, plugin cache, server cache, or CDN cache if active.
- Reload the map page and test again.
Related help:
Google Maps: Why pins don’t show / not working on the map?
Related help articles
- Google Maps: Why pins don’t show / not working on the map?
- How to set the location of a property on the map
- Map with Properties or Contact
- Google Map with Property Marker shortcode
- How Read from File works for Google Maps pins
- Property Taxonomies / Categories
- Taxonomy Translation
- How to add custom CSS
- Too many database queries – What does it mean and how to solve
- How to improve my website speed