Overview and important notes
49 pre-made demos are available. Each demo has a dedicated video tutorial listed here:
https://help.wpresidence.net/article/demo-import-video-tutorials/
All demos are created using the same WPResidence theme. What changes between demos are:
- Theme options configuration
- Pages and page layouts
- Widgets, menus, and demo content
The demo content provided with this theme is for demonstration purposes only.
Images, videos, and other media files included in the demo content are placeholders and may be subject to copyright. They are not licensed for use on live websites. You are responsible for replacing them with properly licensed assets.
Very important rules before importing a demo:
- Import only ONE demo on a clean WordPress installation.
- Do NOT import multiple demos on top of each other.
- Importing a demo replaces all Theme Options with demo settings.
- Importing multiple demos will duplicate menus, widgets, and pages.
- The homepage will NOT replace itself if you import a demo over another demo.
If you want pages or layouts from another demo, do not import another demo. Instead, use WPResidence Studio to recreate pages from other demos.
See this help article to use WPResidence Studio – How to create different homepages after demo import
Demo import video tutorials
You can find the dedicated video tutorials for each demo import here:
https://help.wpresidence.net/article/demo-import-video-tutorials/
How to install the theme
Before installing the theme, make sure your hosting meets the minimum requirements:
Theme WordPress Server Requirements

Install the One Click Demo Import plugin. This plugin is required to import demo content.
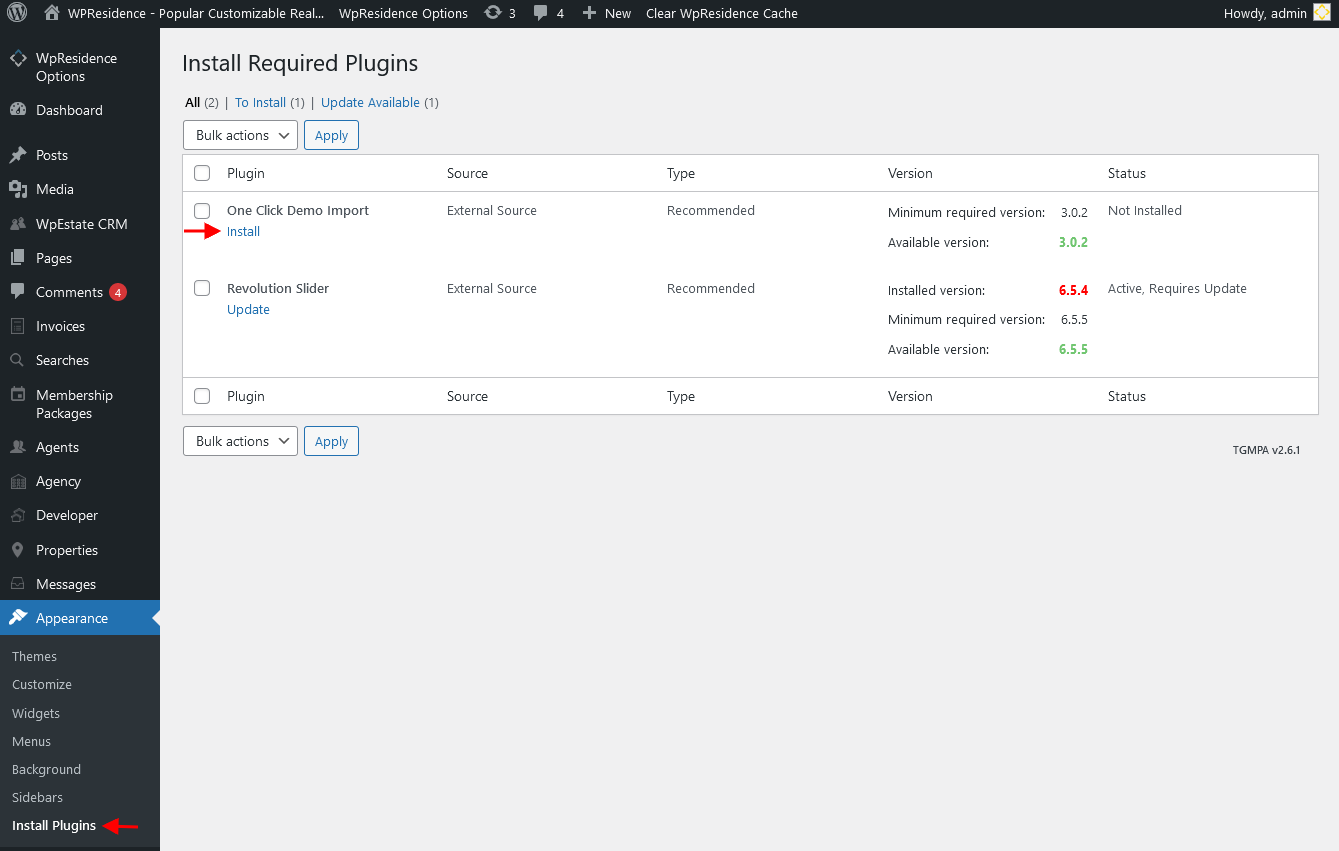
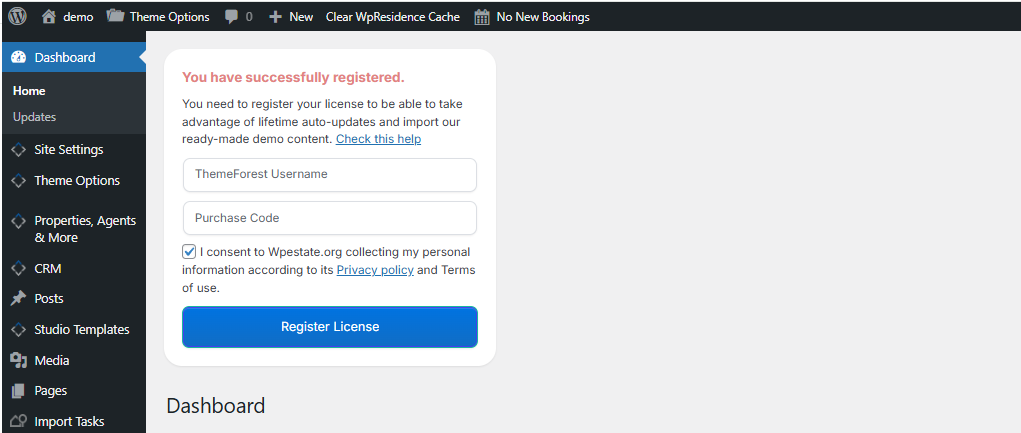
Activate the theme using your buyer license code before importing a demo.
The demo import option requires a valid theme activation.
If you are not sure where to find your purchase code, please check this guide:
https://help.wpresidence.net/article/where-is-my-purchase-code/
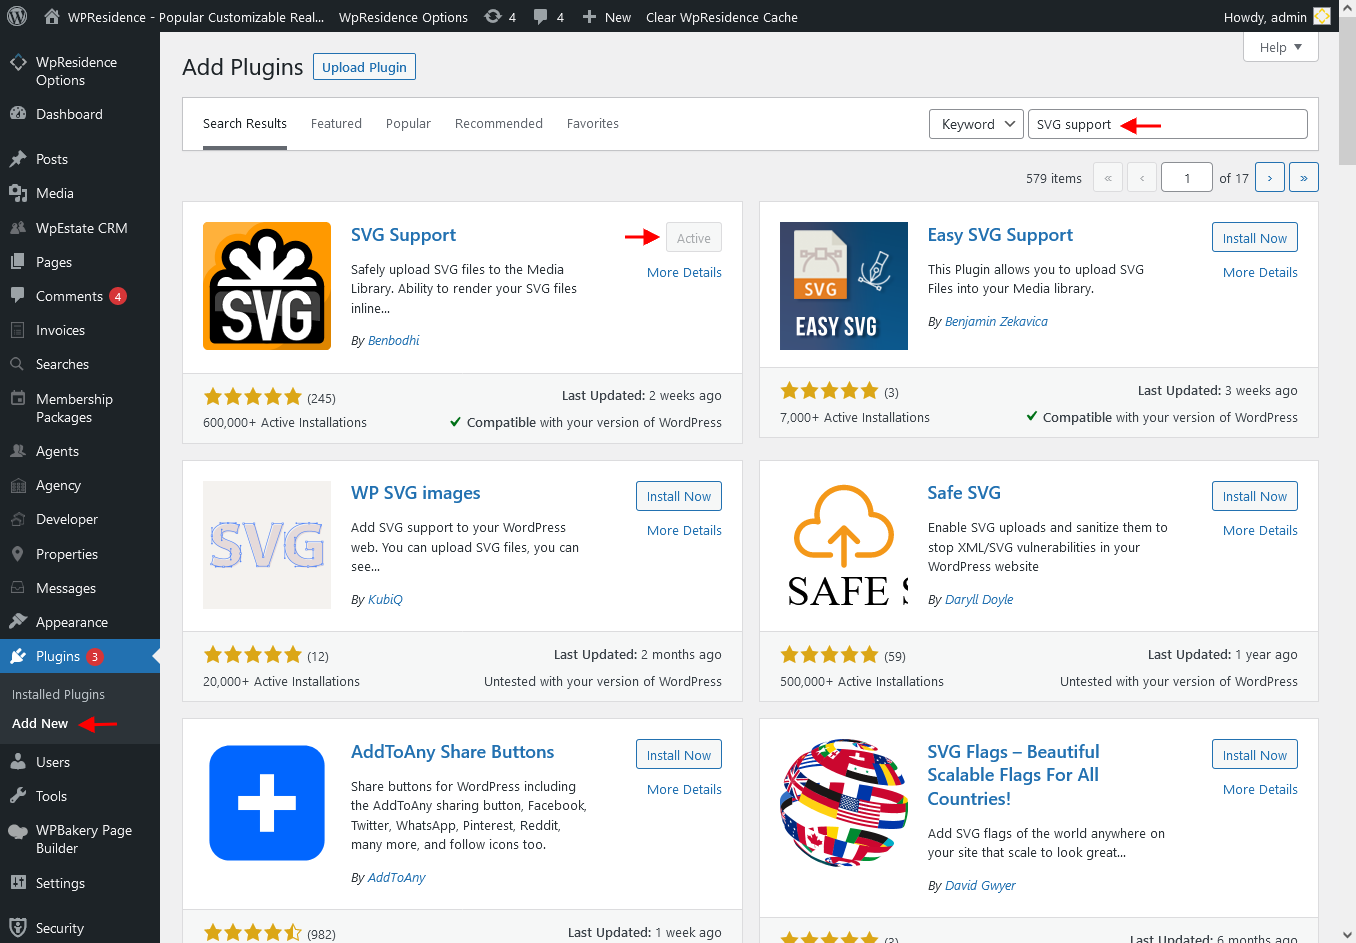
Allow SVG icons before demo import
SVG icons are disabled by default in WordPress.
Some demos use SVG icons, so SVG support must be enabled before importing the demo.
The easiest method is to install this plugin:
SVG Support plugin
After installing the plugin, enable SVG upload for administrators only.
How to import a demo
Step 1:
Go to Import Demo Data and select the demo you want.

Step 2:
Confirm the demo import. When the import finishes successfully, you will see this message:
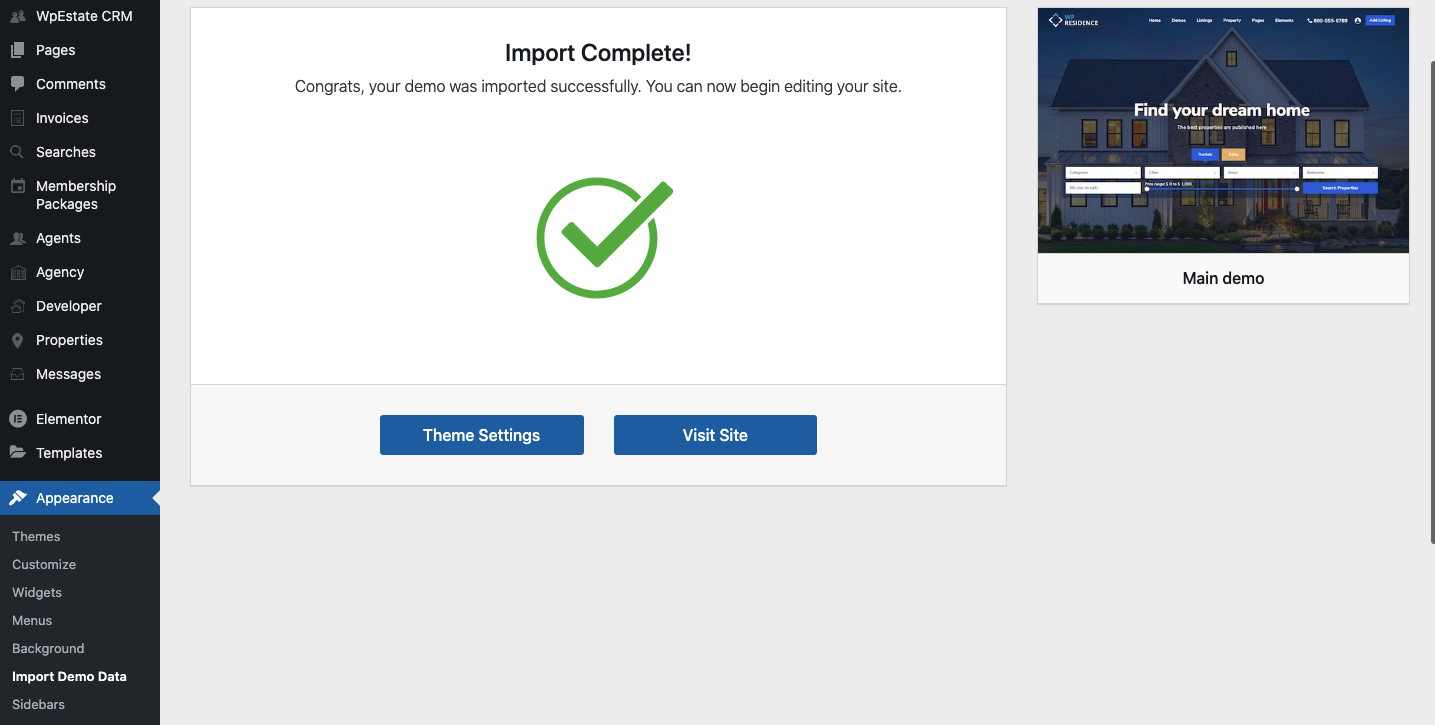
Important steps after demo import
Step 3:
Delete the One Click Demo Import plugin. It is no longer needed.
Step 4:
Import Revolution Slider demos manually:
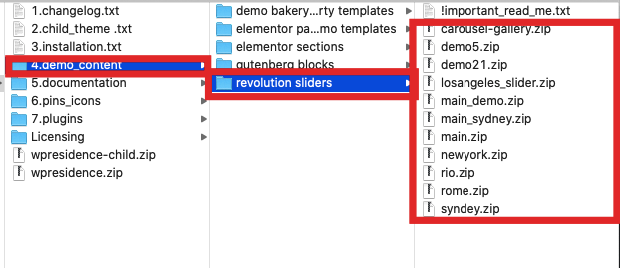
- Unzip the Full theme and documentation package downloaded from ThemeForest.
- Open the demo_content/revolution sliders folder.
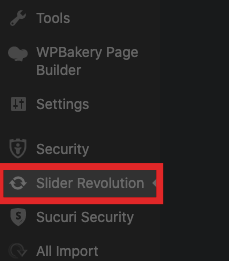
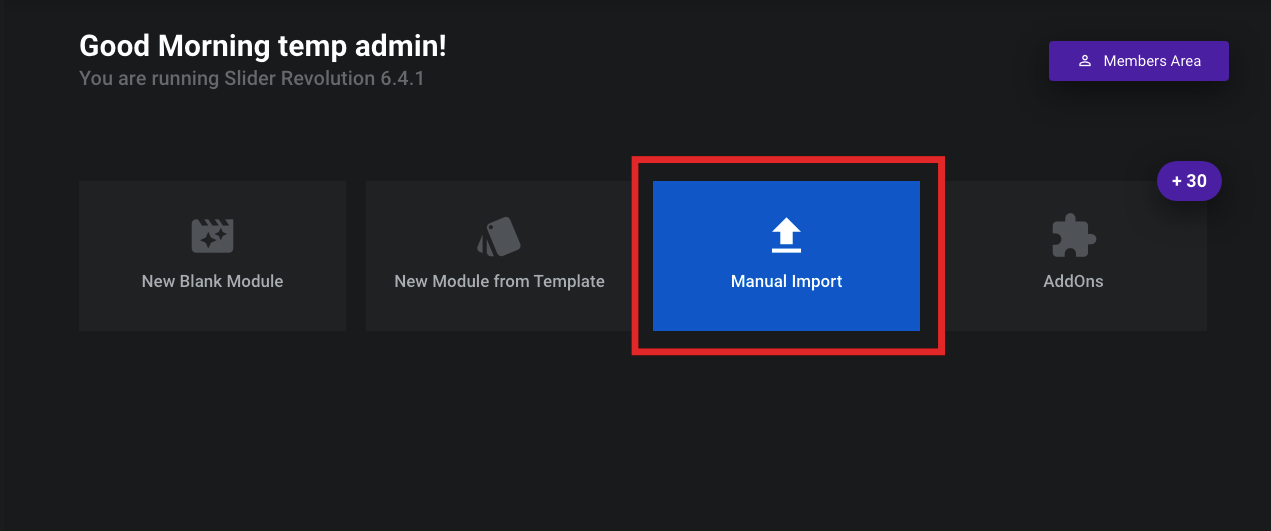
- Go to Revolution Slider → Import.
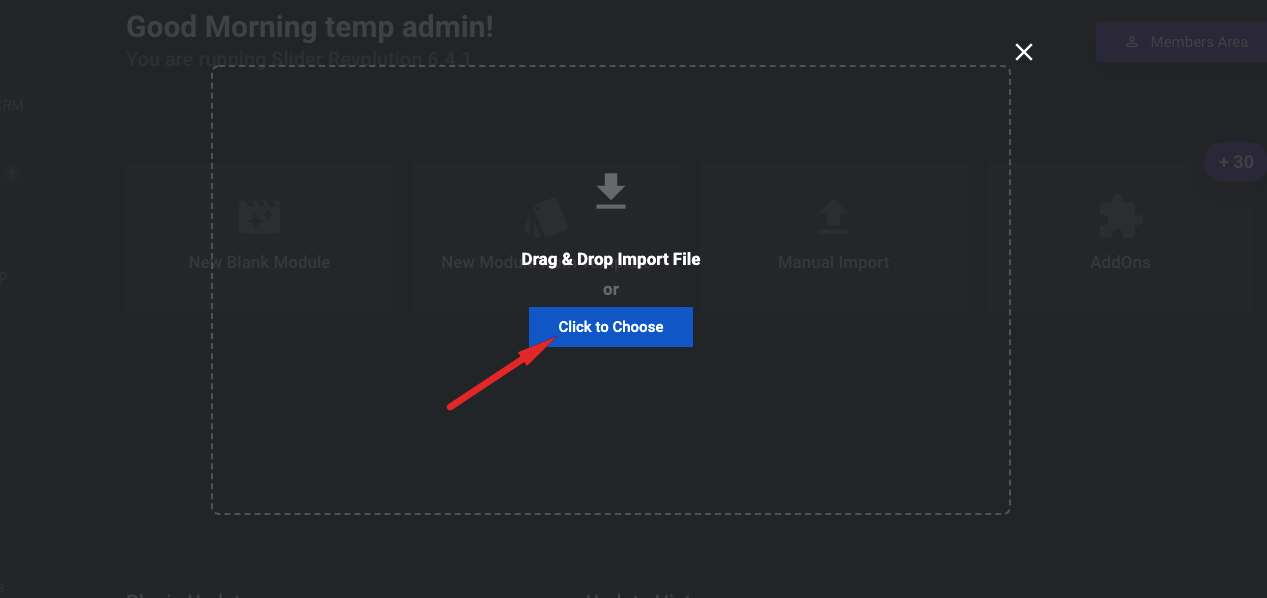
- Select a slider ZIP file and click Import.
Step 5:
If the imported demo uses Elementor, confirm that the following plugins are installed and active:
- Elementor
- WPResidence Elementor Widgets
If Elementor does not load or Edit with Elementor shows Page Not Found
If you import a demo successfully but Edit with Elementor opens a Page Not Found page, shows a critical error, or the Elementor editor does not load, the issue is usually related to the server configuration, not to the demo import itself.
The first setting to test is:
Elementor → Settings → Advanced → Switch Editor Loader Method → Enable
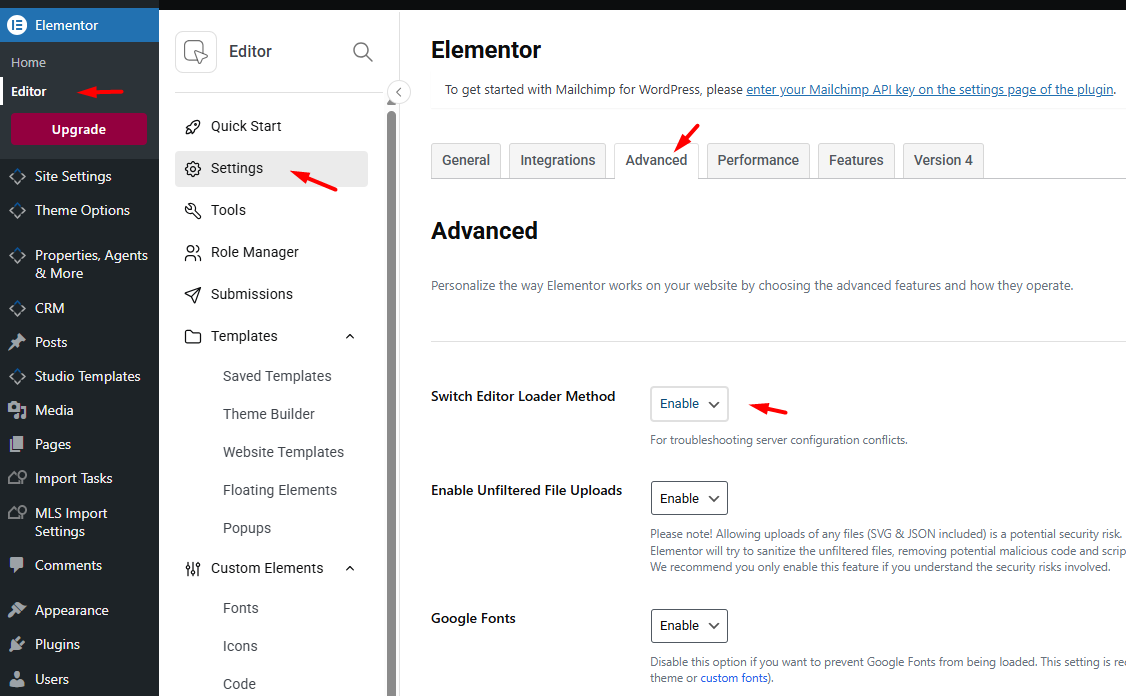
This option solves many Elementor loading problems caused by server configuration conflicts.
After enabling this option, save the settings and test Edit with Elementor again.
If needed, also check the following:
- Make sure Elementor and WPResidence Elementor Widgets are updated to the latest version.
- Go to Settings → Permalinks and click Save Changes.
- Clear all cache layers, including plugin cache, server cache, and CDN cache.
- Temporarily disable security, optimization, redirect, or firewall plugins and test again.
- Ask your hosting provider to check whether ModSecurity, firewall rules, or server restrictions are blocking Elementor requests.
If demo import fails (server errors)
If you see errors such as:
- Import Failed
- Whoops, there was a problem importing your content
- 500 error or 503 error
These issues are almost always caused by server limits or hosting restrictions.
Recommended minimum PHP limits
- max_execution_time: 180
- memory_limit: 96M (128M recommended)
- post_max_size: 32M
- upload_max_filesize: 48M
How to verify your current PHP limits
Important troubleshooting steps
- Disable all caching and optimization plugins before importing.
- Especially disable LiteSpeed Cache if your host auto-installs it.
- Purge all caches before retrying the import.
- Ask your host to confirm that cURL is enabled.
- Ask your host to confirm that outbound HTTPS (port 443) is allowed.
- Ask your host to check server error logs for the exact cause of 503 or timeout errors.
503 errors are usually related to server timeouts or insufficient resources.
How to reset WordPress before importing a new demo
To completely switch demos, you must first reset the existing demo.
Do not import another demo on top of an existing one.