WPResidence allows administrators to manually assign a membership package to a registered user from the WordPress admin area.
This is useful when you want to give a package manually, activate access after an offline payment, correct a user’s membership package, or test how a package works for a specific user.
When to assign a package manually
You can manually assign a membership package when:
- You want to give a package to a registered user from admin.
- A user paid outside the website and you need to activate the package manually.
- You need to correct or extend a user’s current membership package.
- You want to test a package for a specific user.
- You need to manually activate a package after checking an invoice or payment.
Check the package details first
Before editing the user profile, first check the membership package you want to assign.
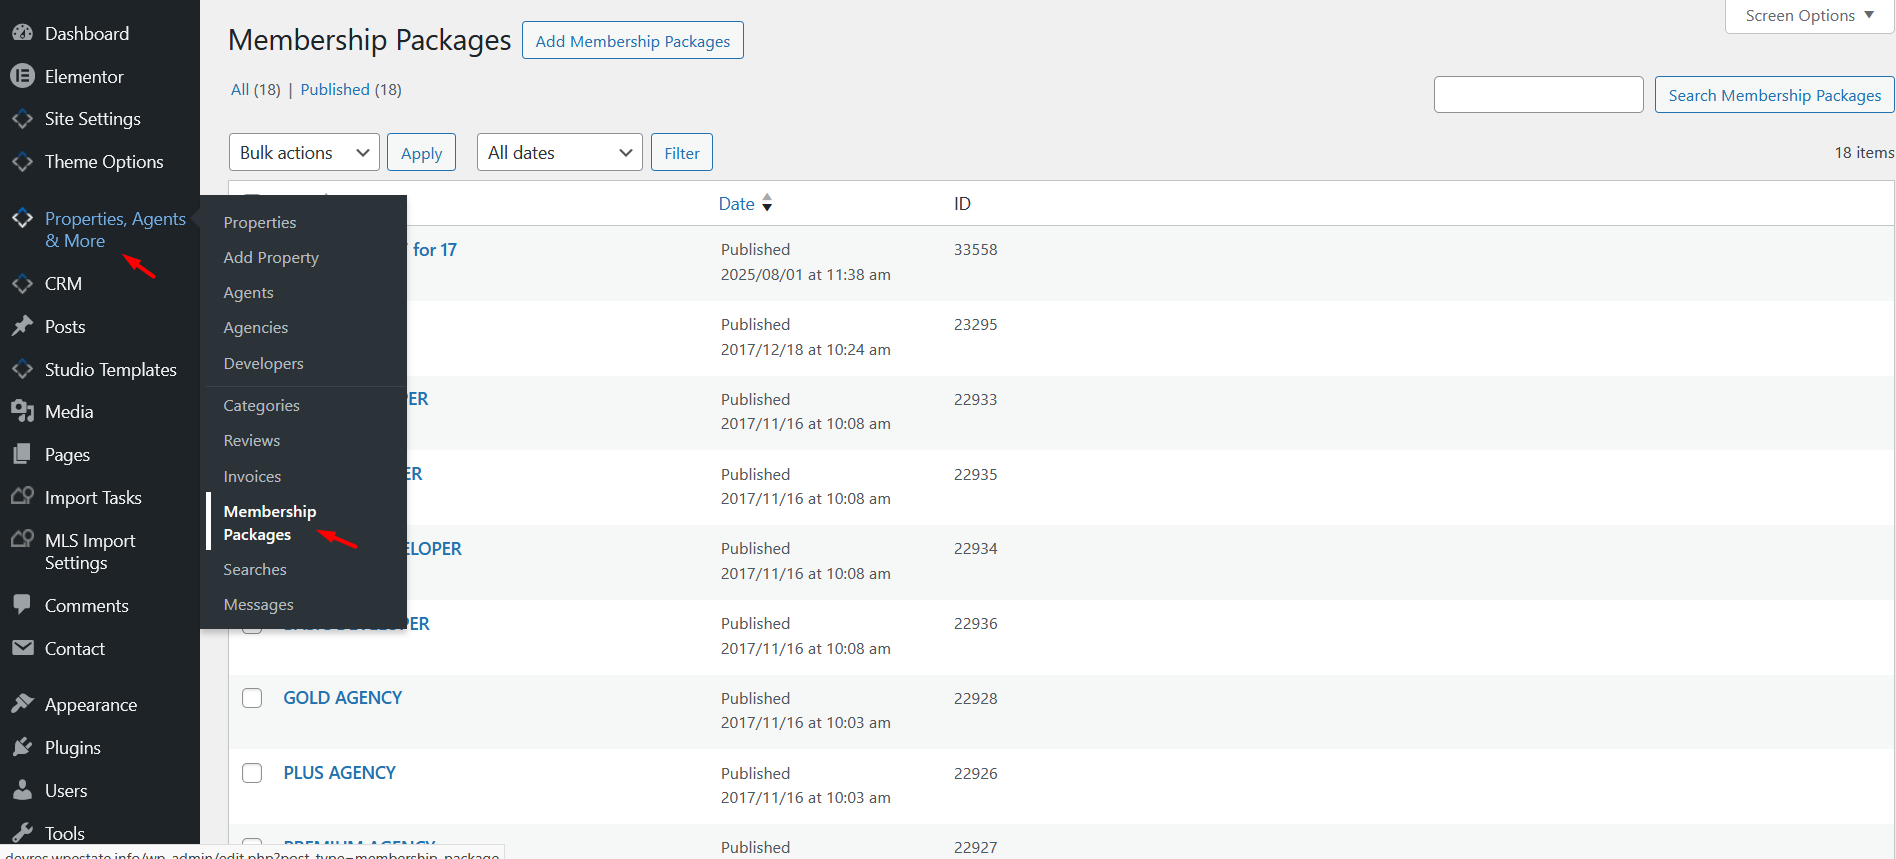
Go to:
WP Admin > Membership Packages
Open the membership package you want to use.
From the package edit page, get the following details:
- Package ID
- Listings Included
- Featured Listings Included
These values must be copied manually into the user profile.
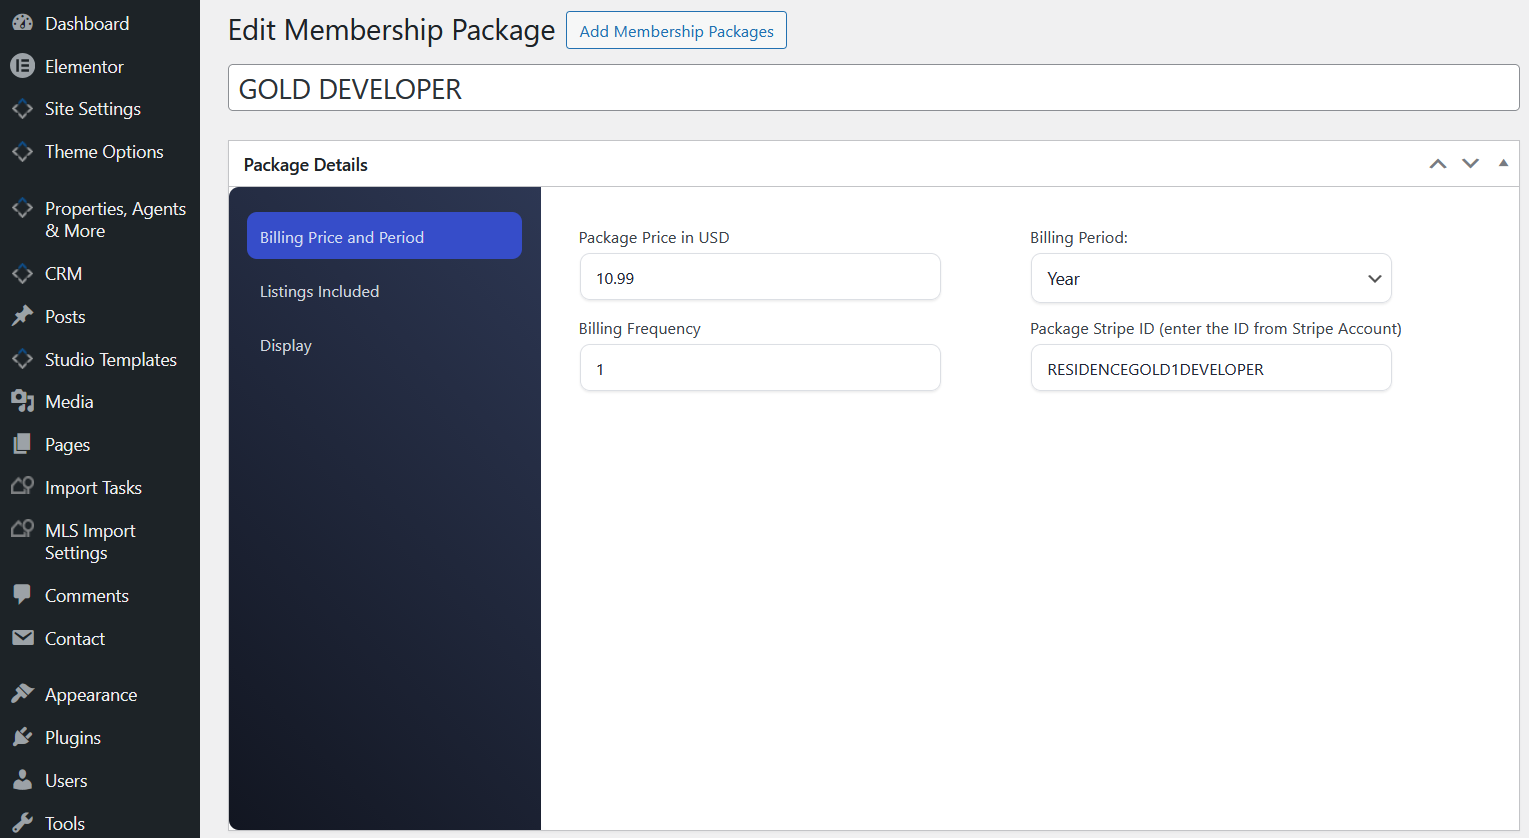
Get the Package ID
The Package ID is required when assigning the package manually to a user.
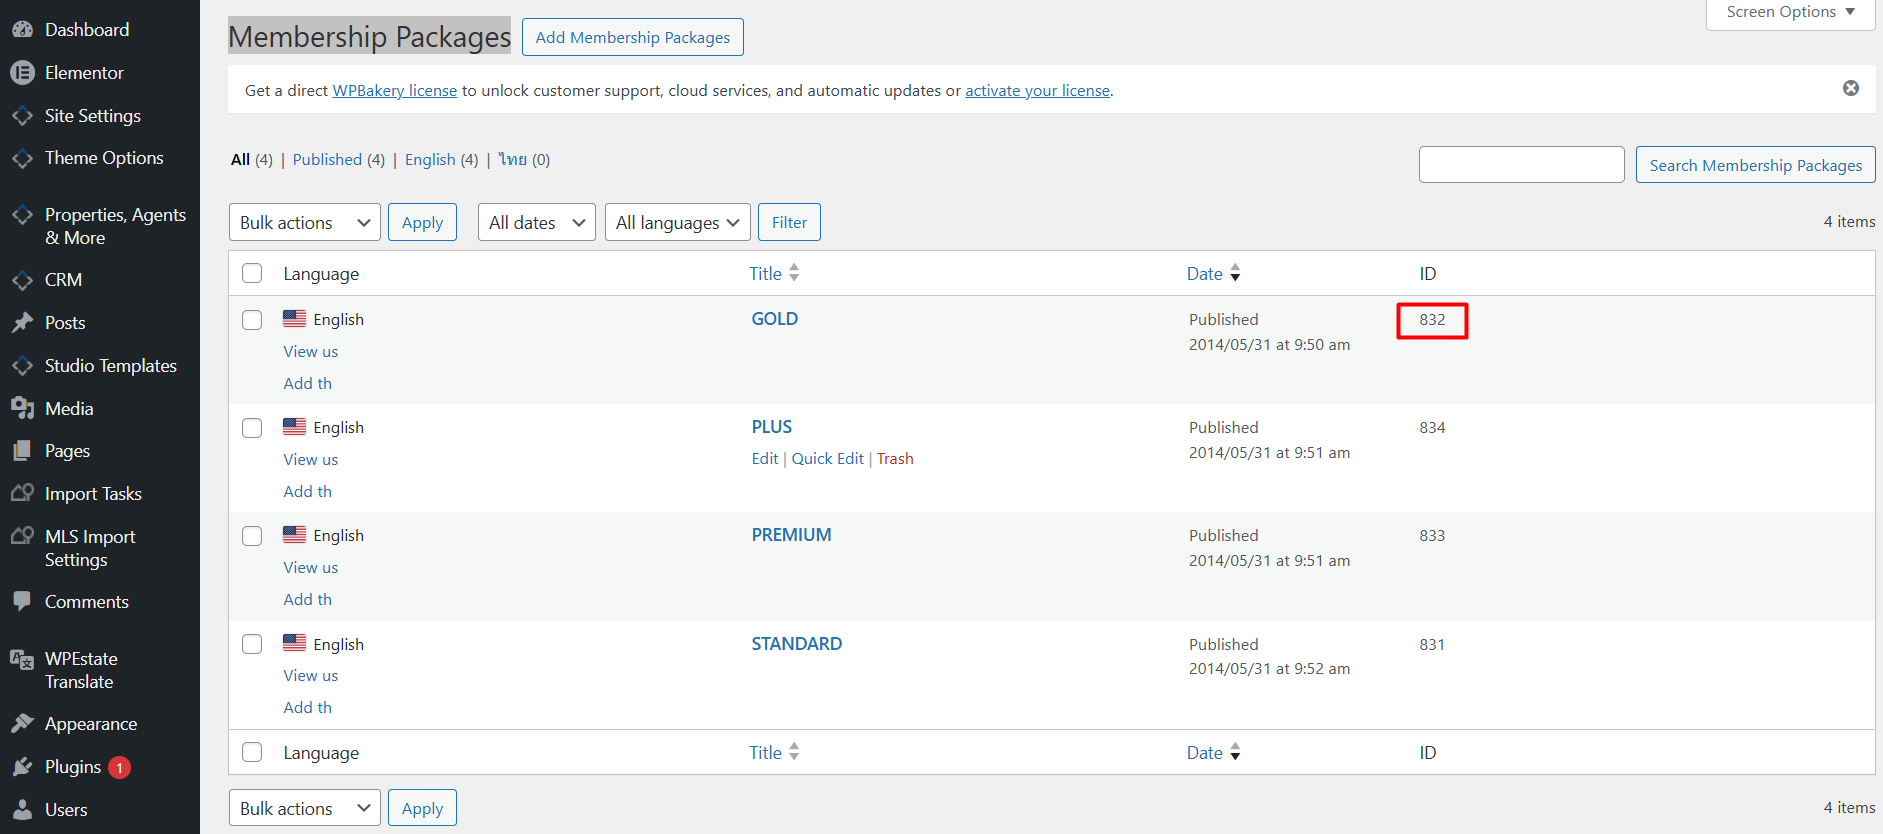
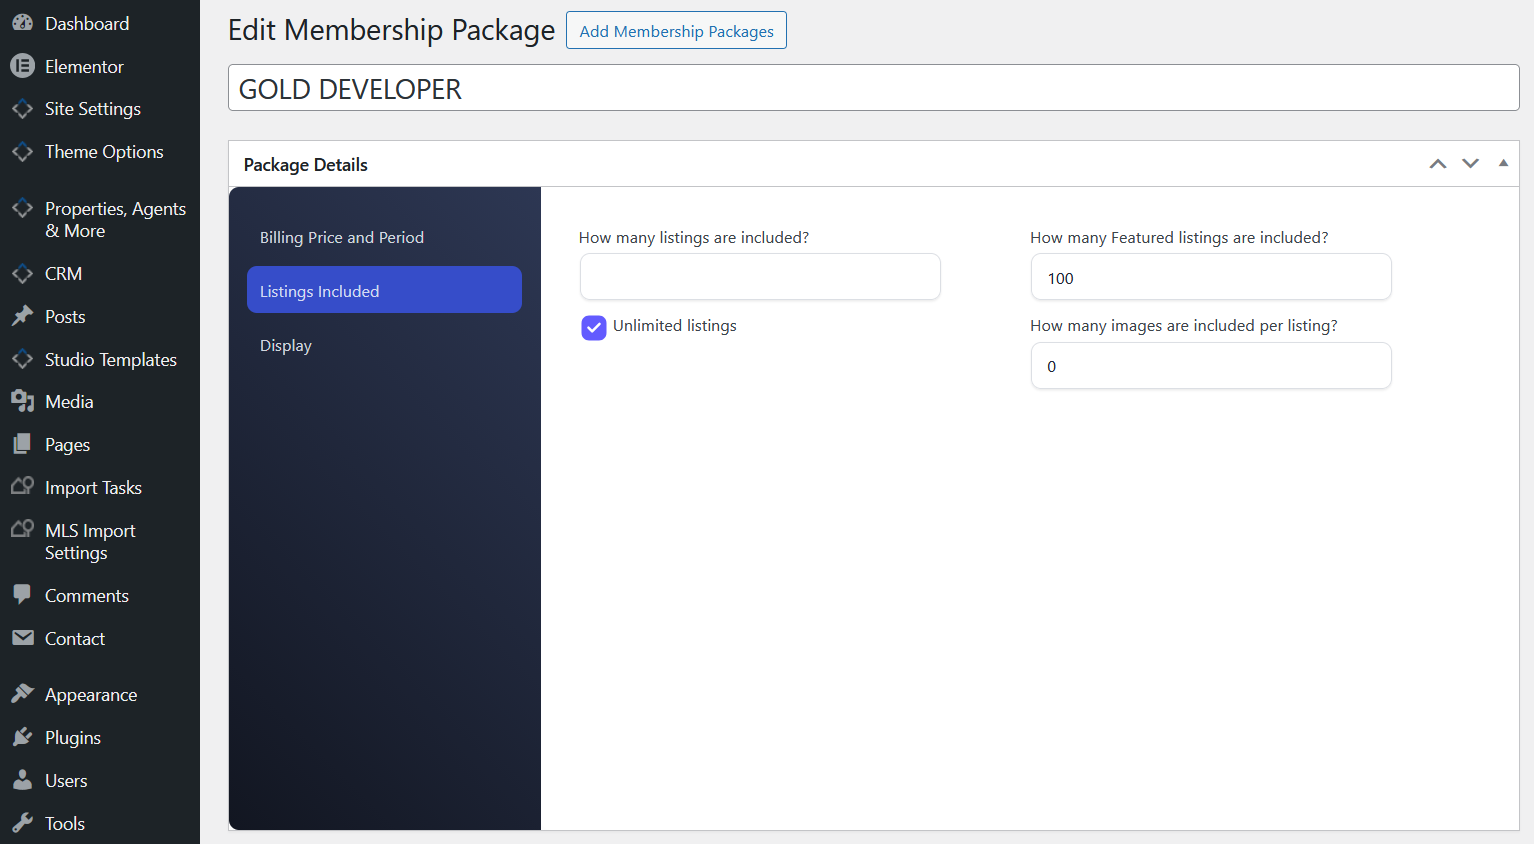
Get the package limits
From the same membership package edit page, check the number of listings and featured listings included in the package.
You need these values for the user profile fields.
Where to assign the package
After you have the package details, edit the user profile.
Go to:
WP Admin > Users > All Users
Find the user who should receive the package and click Edit.

Package expiration date format
The package expiration date must be added in this format:
YYYY-MM-DD HH:MM:SS
Example:
2014-12-31 10:05:44
This means:
- 2014 – year
- 12 – month
- 31 – day
- 10:05:44 – hour, minutes, and seconds
If the expiration date is set correctly, the package will expire on the due date. Properties connected to that package will also expire based on the membership package rules.
How to assign the package to a user
- Go to WP Admin > Membership Packages.
- Edit the membership package you want to assign.
- Copy the Package ID.
- Copy the number of Listings Included.
- Copy the number of Featured Listings Included.
- Go to WP Admin > Users > All Users.
- Find the registered user who should receive the package.
- Click Edit.
- Scroll to the membership package fields.
- Add the Package ID.
- Add the number of included listings.
- Add the number of included featured listings.
- Add the package expiration date using this format: YYYY-MM-DD HH:MM:SS.
- Save or update the user profile.
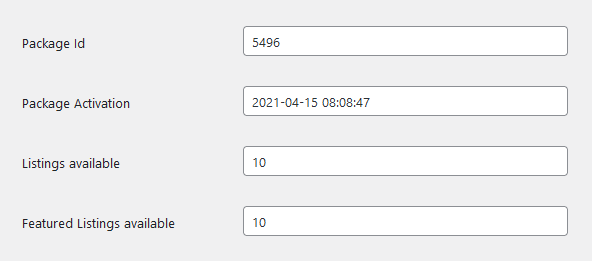
Example of membership package setup:
What the user receives
The user will have access to the package limits you added manually in the user profile.
The package can control:
- How many listings the user can publish.
- How many featured listings the user can use.
- How long the package remains active.
The user will receive an email notification 3 days before the package expires.
Important notes
- The user must already be registered before you can assign a package from Users > Edit User.
- The Package ID must be copied from the membership package you want to assign.
- The number of included listings and included featured listings must match the package details.
- The expiration date must use this exact format: YYYY-MM-DD HH:MM:SS.
- If the expiration date is not added correctly, the package and property expiration may not work as expected.
- If listings do not show correctly after assigning the package, check the user’s package ID, package limits, expiration date, property status, and cache.