WPResidence supports Google Login, which allows visitors to log in or register on your website using their Google account.
Where to add Google Login details
Google Login is enabled and configured from:
Theme Options > Social & Contact > Social Login
In this section, you must add the Google app details:
- Client ID
- Client Secret
- API Key

Step 1: Create a Google project
- Go to https://console.developers.google.com.
- Log in with your Google account.
- Click Select a project.
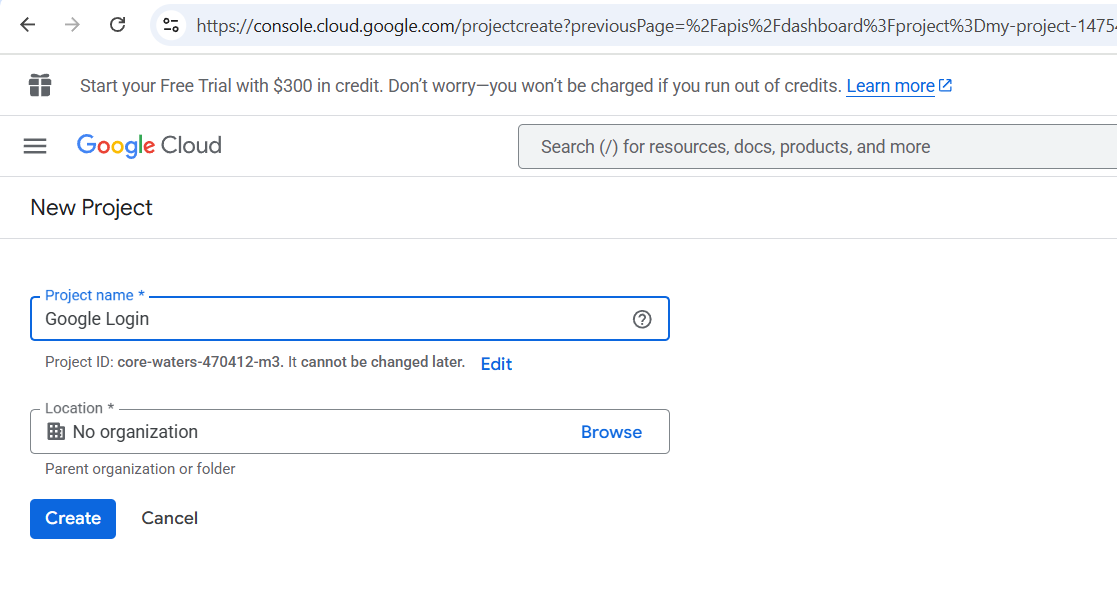
- Click New Project.
- Add a project name.
- Click Create.

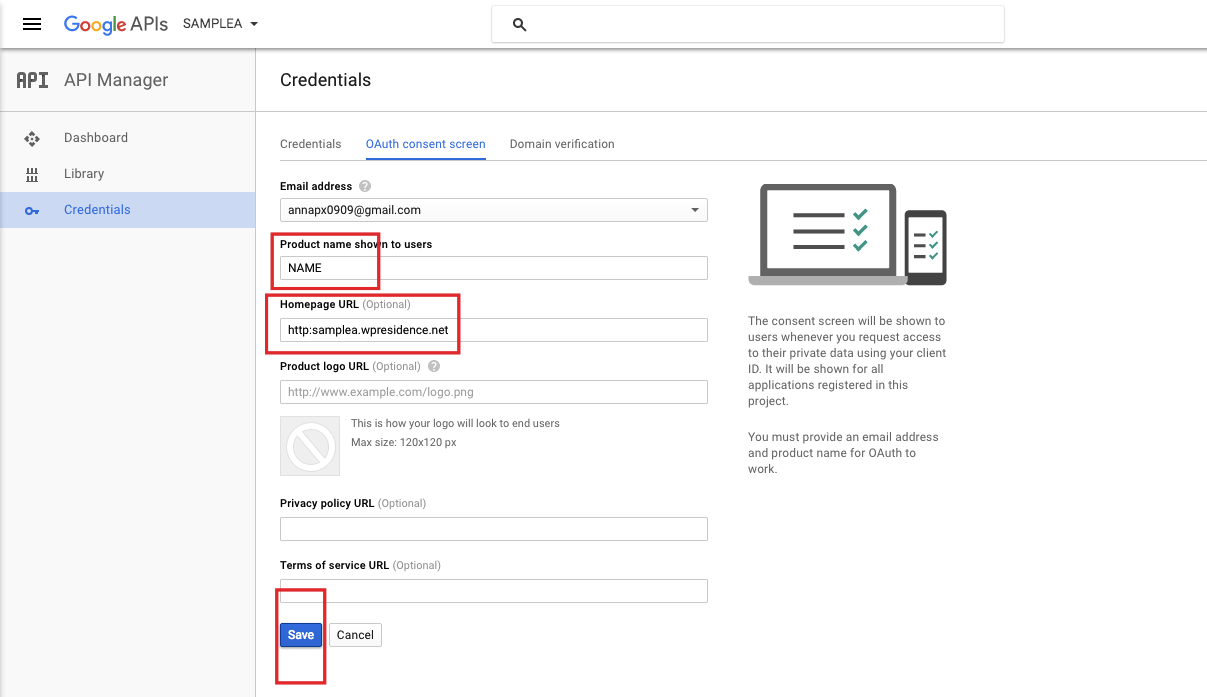
Step 2: Configure the OAuth consent screen
The OAuth consent screen is the screen Google shows when users allow your website to use Google Login.
- Go to APIs & Services.
- Open OAuth consent screen.
- Choose External if the login is for public website visitors.
- Add the app name.
- Add the support email.
- Add the developer contact email.
- For scopes, select the basic user profile and email scopes.
- Save and continue until the setup is complete.

Add the app name and, if requested, the homepage URL. Then save.
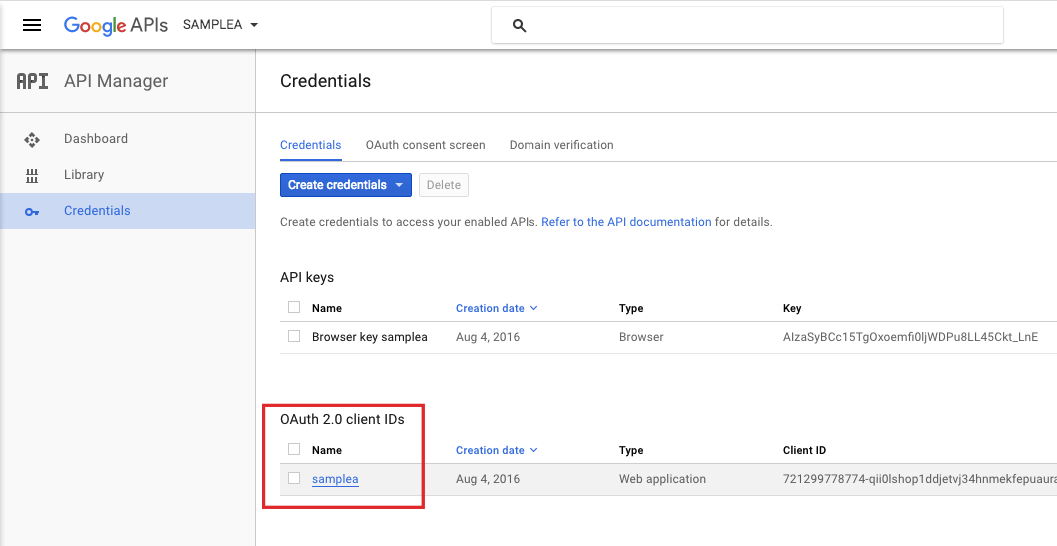
Step 3: Create the OAuth Client ID
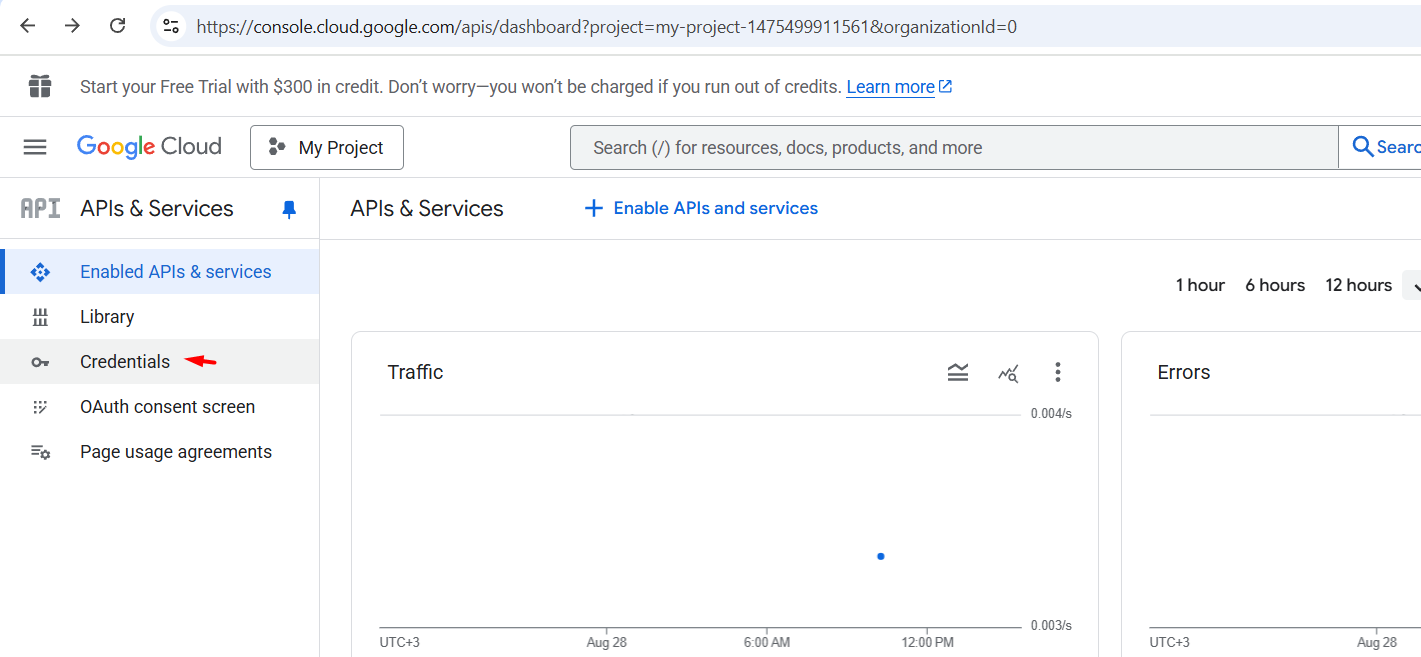
- Go to APIs & Services > Credentials.
- Click Create Credentials.
- Select OAuth Client ID.
- For Application Type, select Web Application.
- Add a name for the OAuth client.
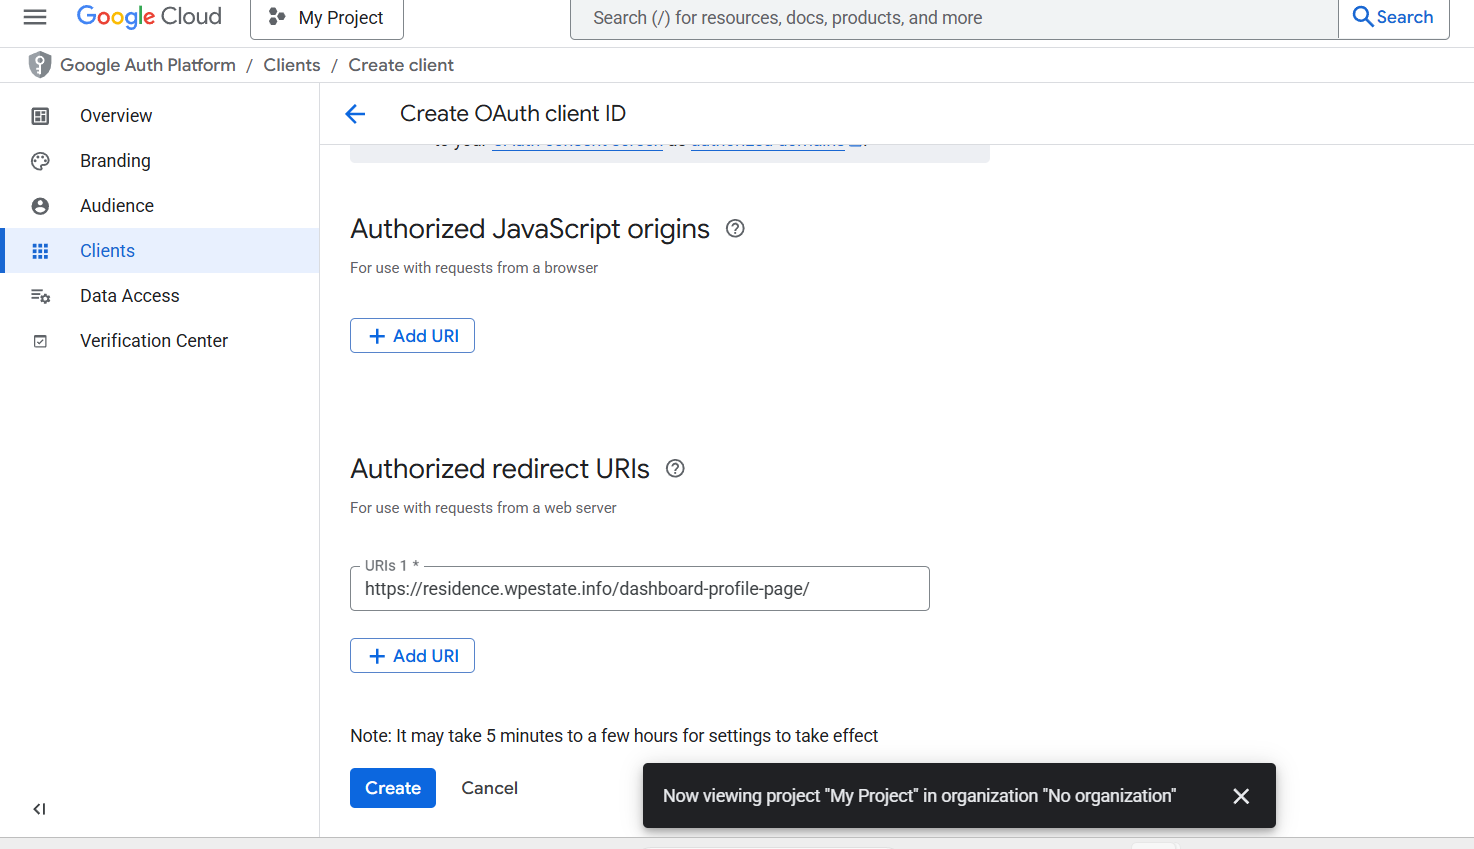
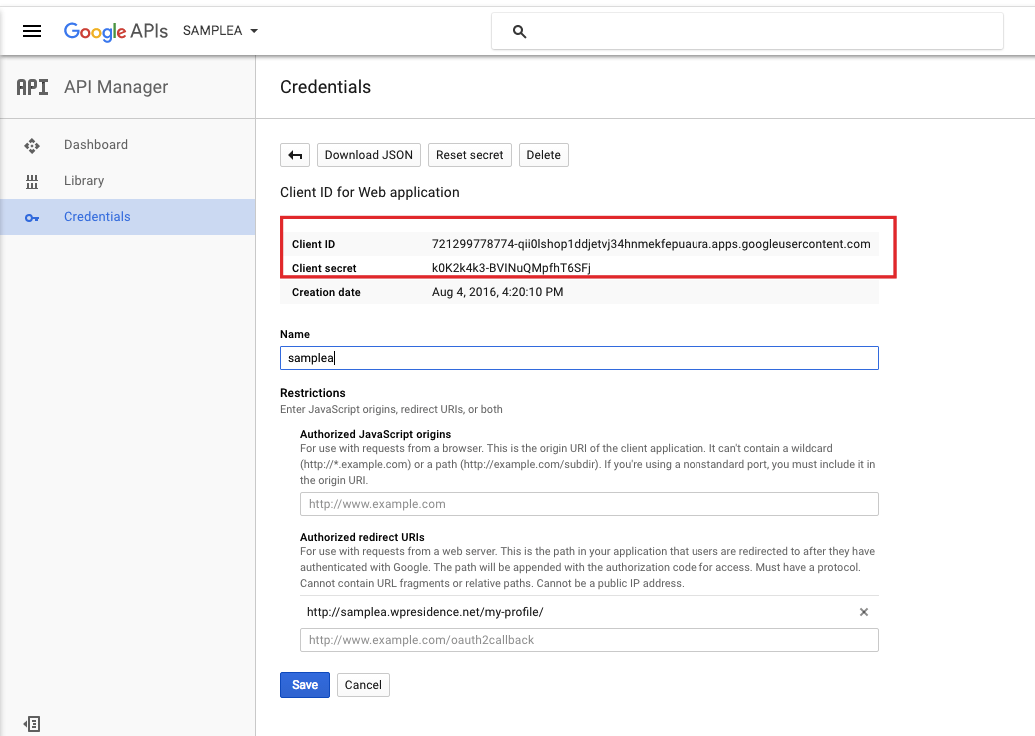
Step 4: Add the Authorized Redirect URI
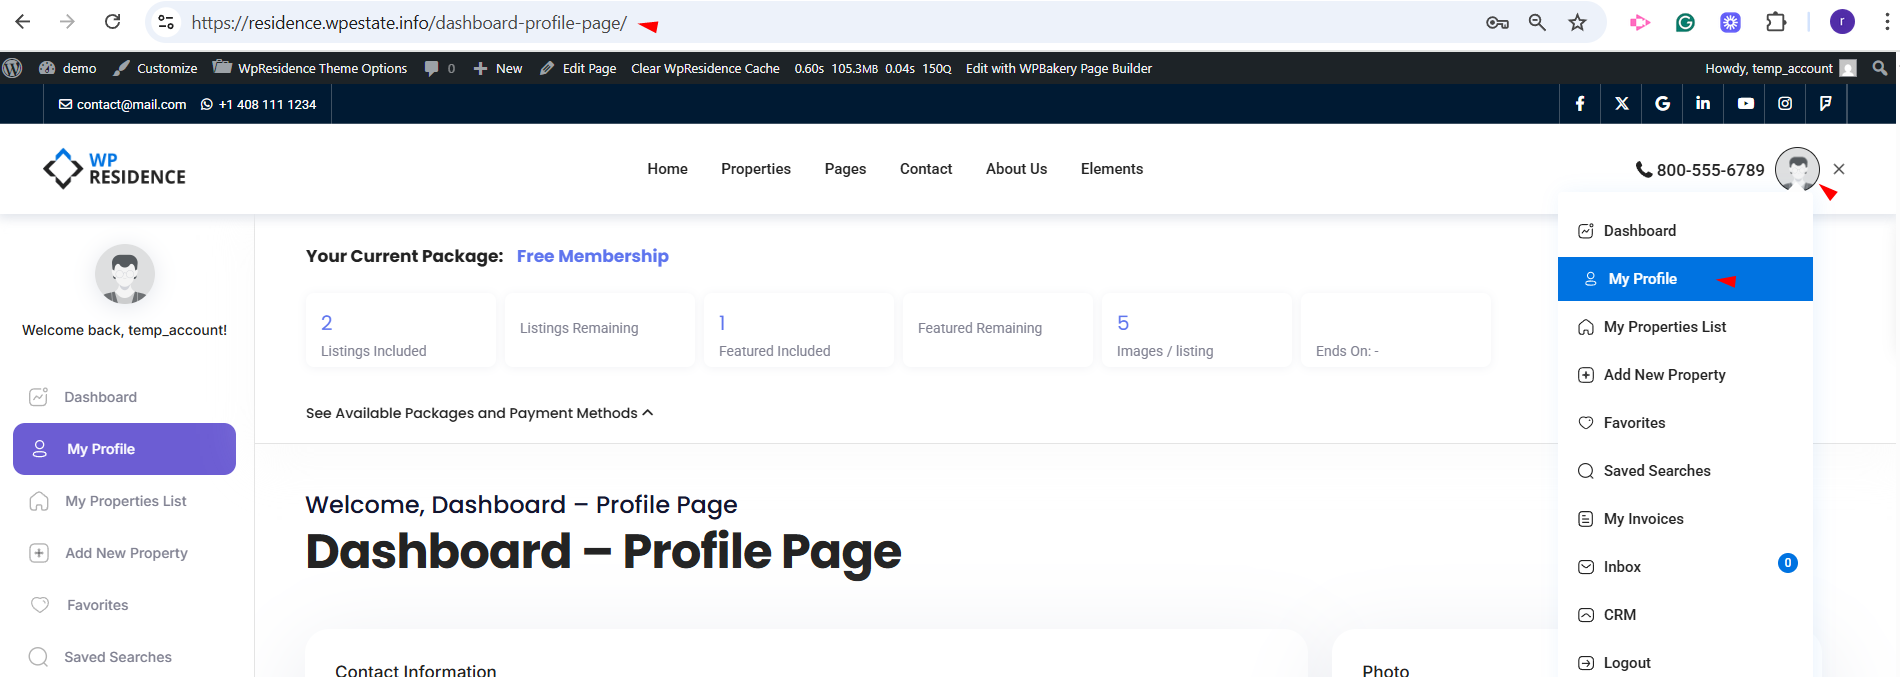
In Authorized Redirect URIs, add your website My Profile page URL.
To get this URL:
- Log in to your WordPress website.
- Open the My Profile page from the front end.
- Copy the page URL from the browser.
- Paste it in Google as the Authorized Redirect URI.
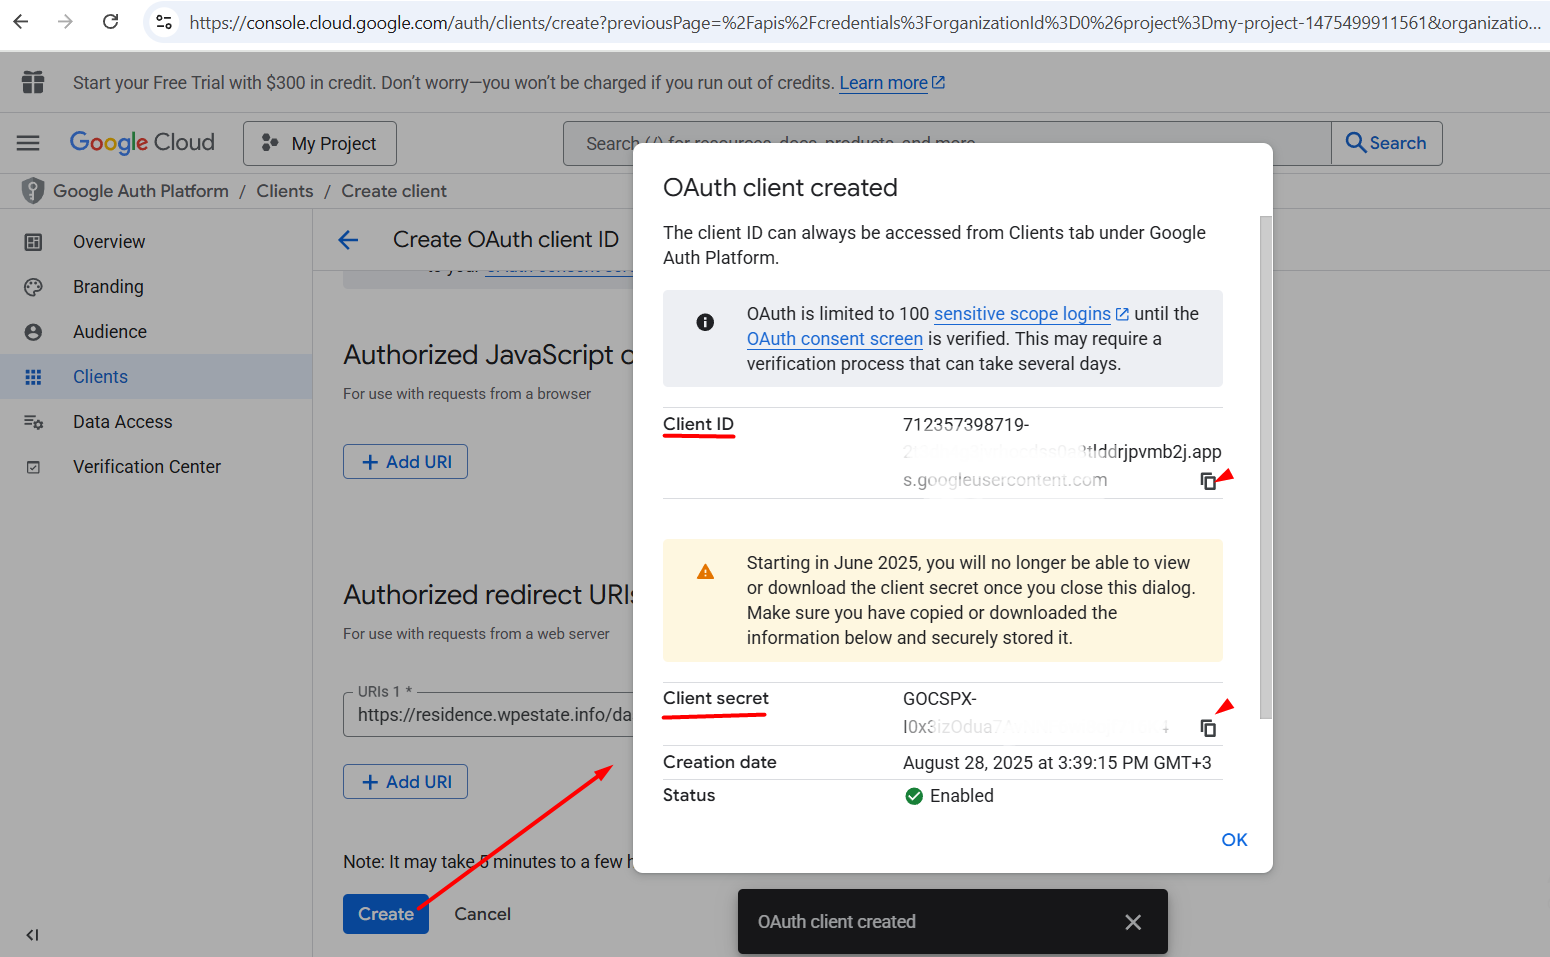
After the redirect URI is added, click Create.
Google will generate the:
- Client ID
- Client Secret
Copy these values because you will need to add them in WPResidence Theme Options.
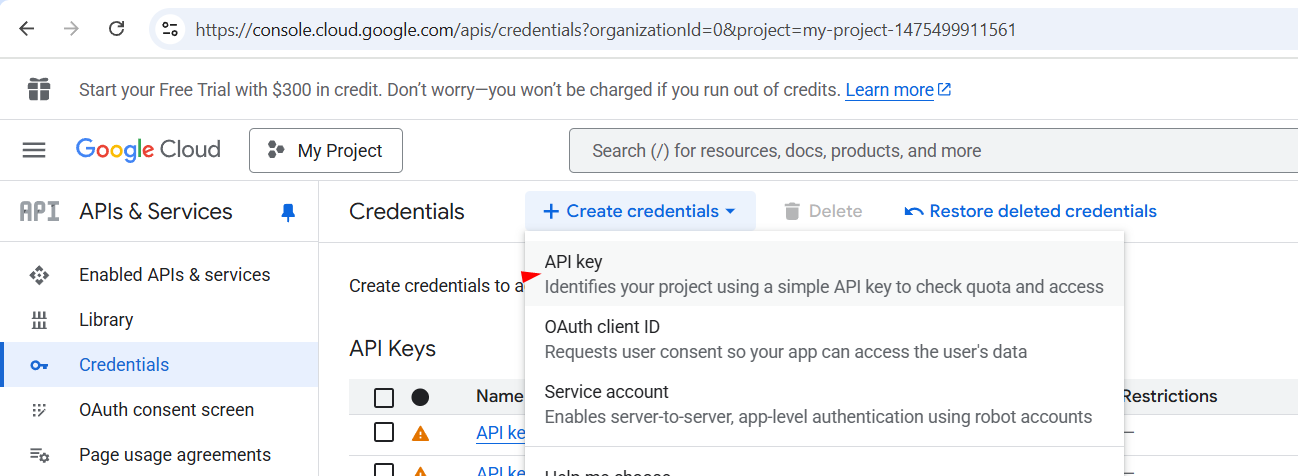
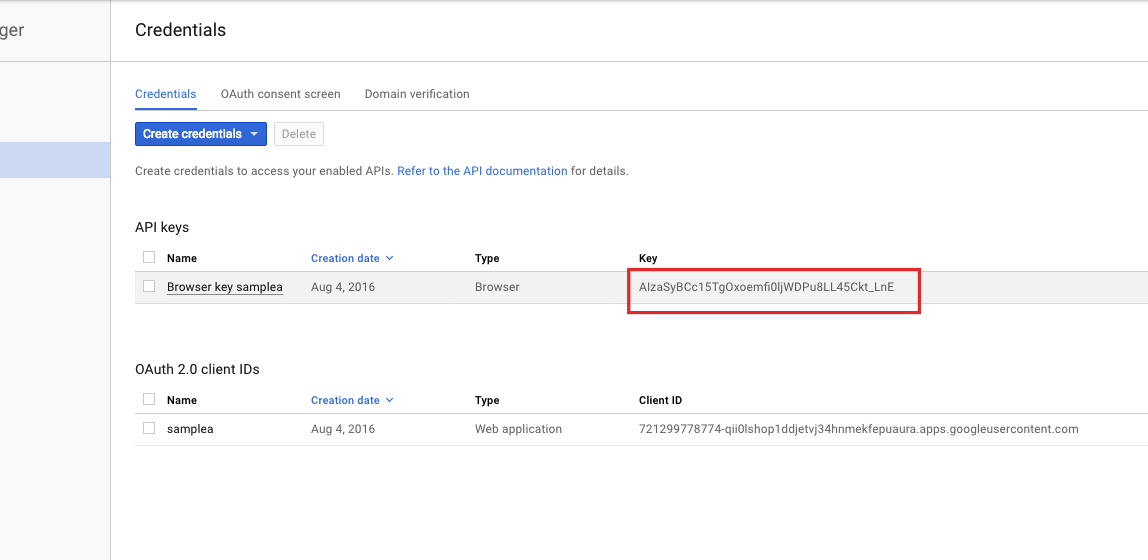
Step 5: Create the API Key
- Go to APIs & Services > Credentials.
- Click Create Credentials.
- Select API Key.
- Copy the API Key.

Step 6: Copy the details to Theme Options
After you create the Google credentials, go back to your WordPress admin.
Go to:
Theme Options > Social & Contact > Social Login
Paste the following values:
- Client ID
- Client Secret
- API Key
Then enable Google Login and save changes.
Important notes
- Google Login requires PHP version 8.1 or higher.
- Users who log in with Google will be registered as regular users.
- Google Login imports the user’s email address.
- If a user gets an error, check if the same email address already exists in the WordPress users list.
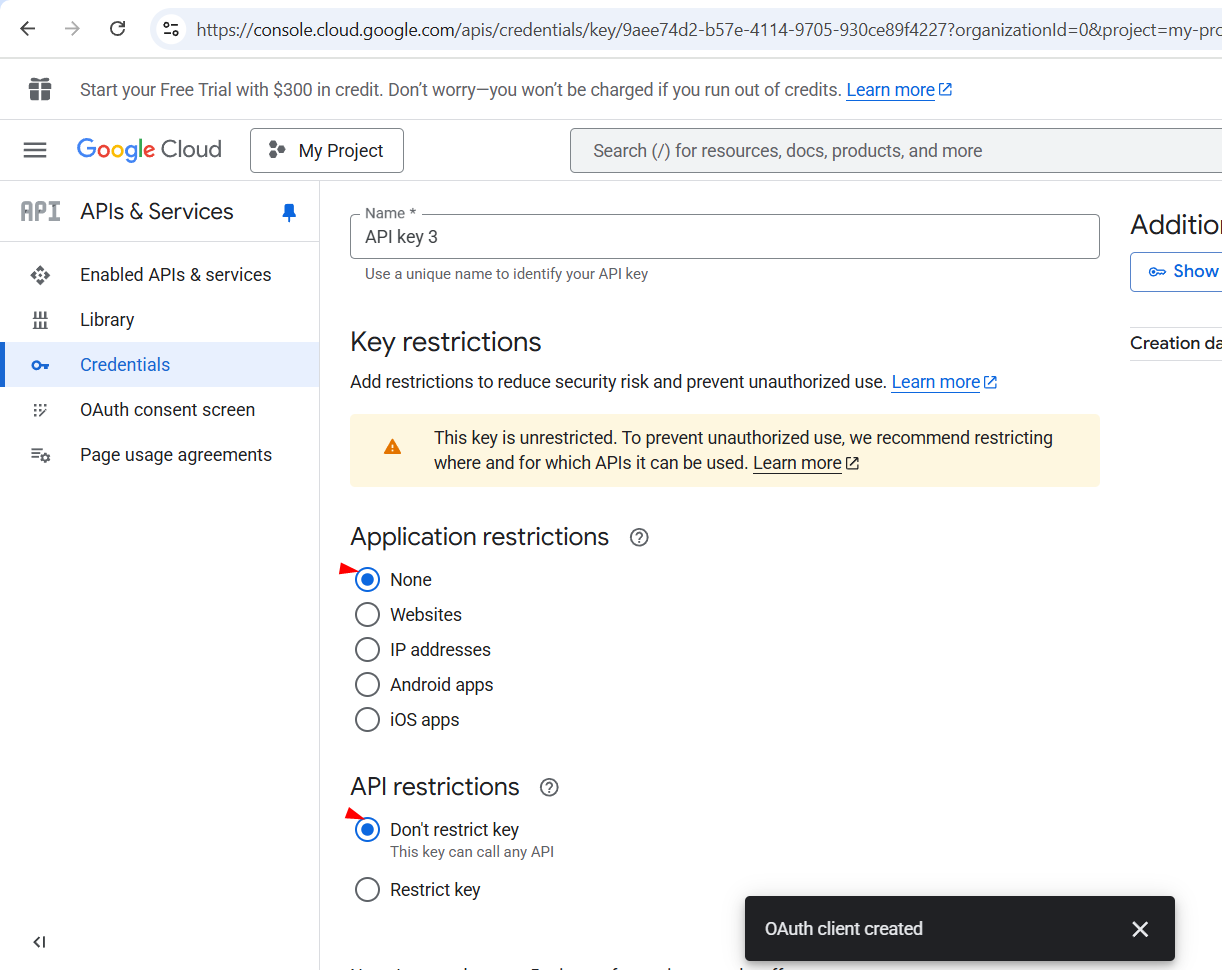
- Use a separate API Key for Google Login.
- Do not reuse the Google Maps API Key for Google Login. Google Maps uses different requirements and usually requires billing.
- Do not add an HTTP referrer restriction to the Google Login API key in this setup.
- If Google changes the Google Cloud interface, the button names may look slightly different, but the required values remain the same: Client ID, Client Secret, API Key, and Authorized Redirect URI.