The Display Categories shortcode enables you to showcase various property taxonomies — such as cities, areas, categories, actions, states/counties, and property statuses — in any page created with the Default Template, Elementor, or WPBakery.
Content
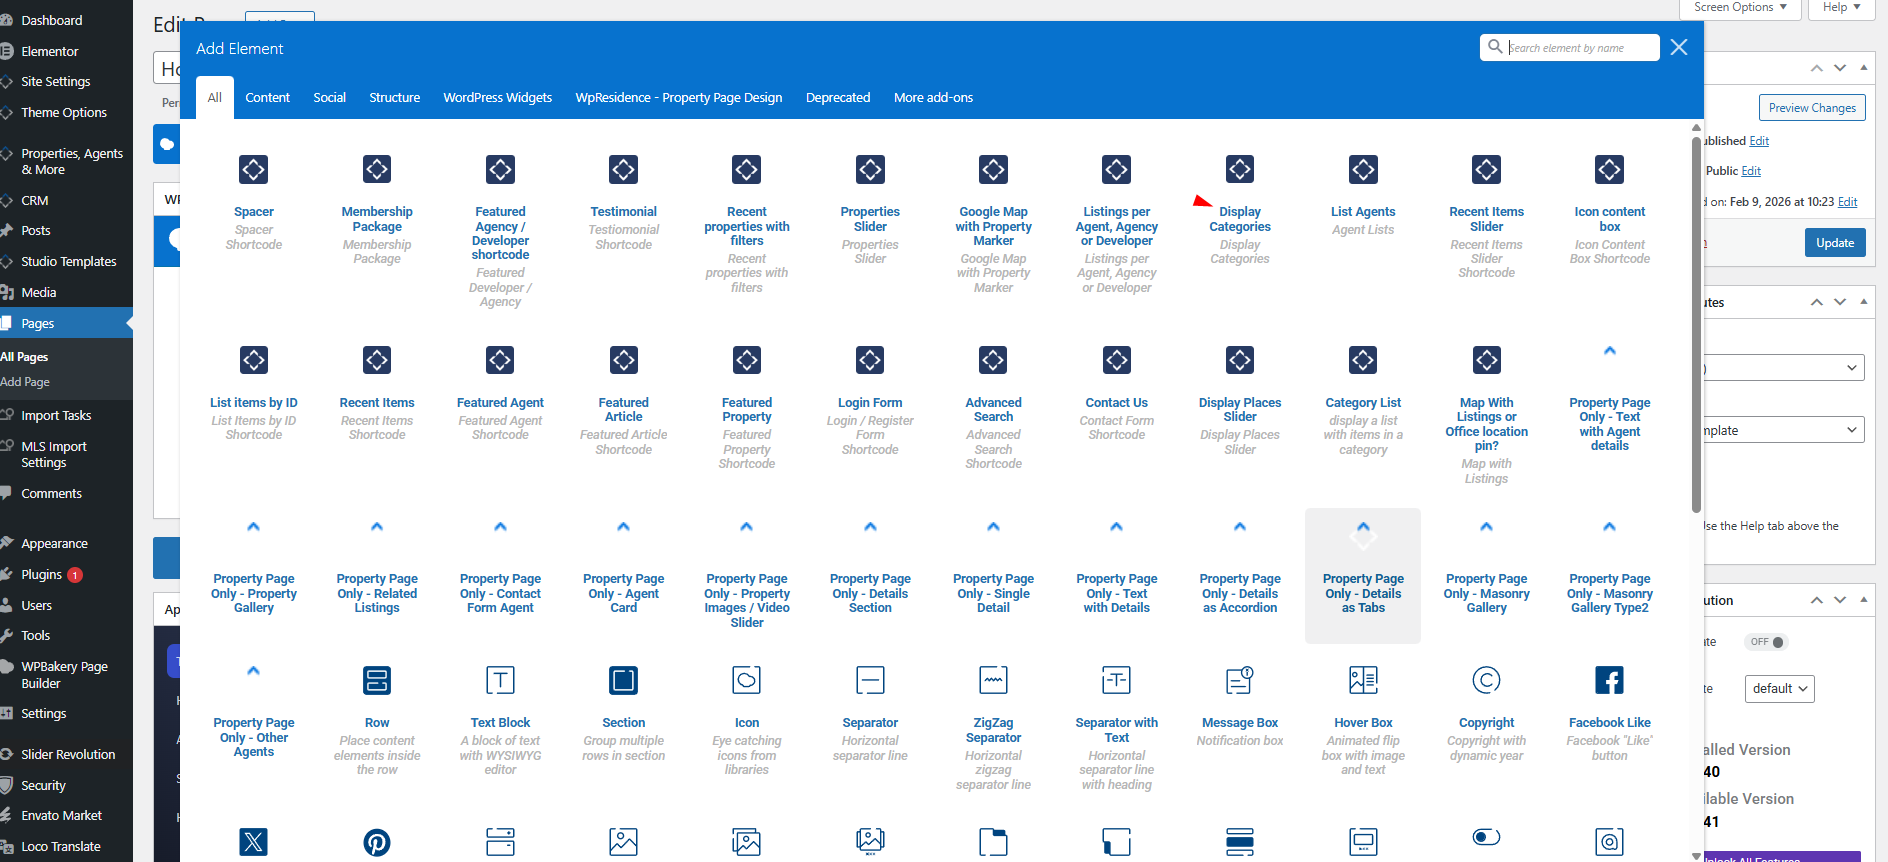
- Add shortcode with Elementor Builder
- Add shortcode with WPBakery Page Builder
- Add shortcode block in Gutenberg editor
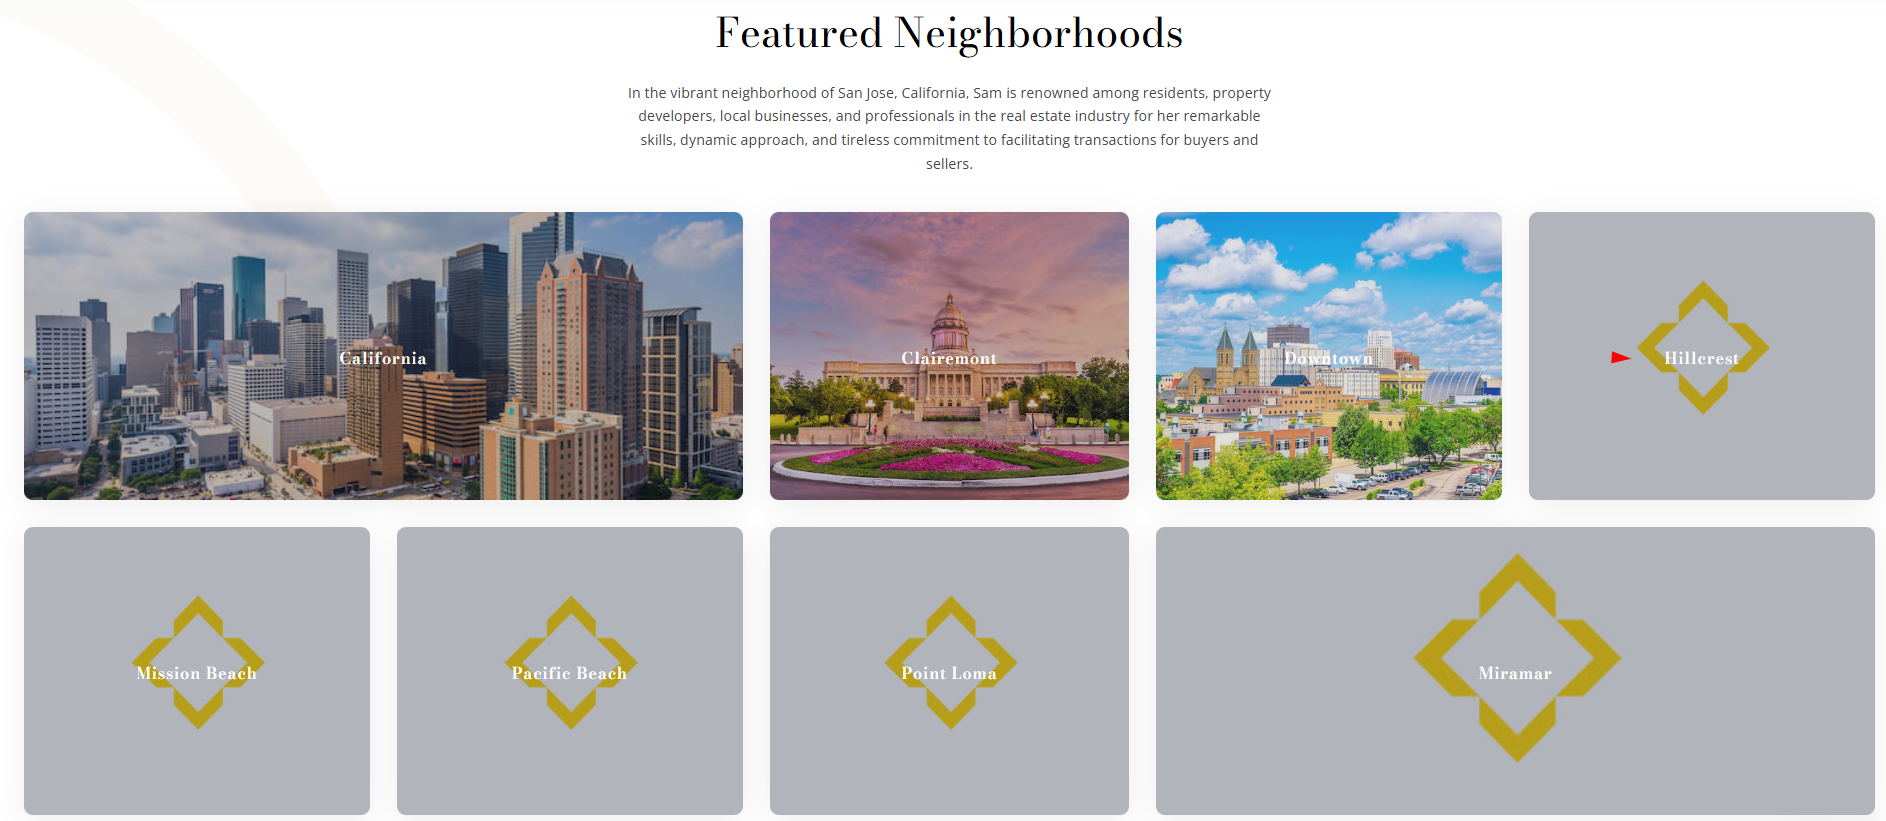
The categories used with the Display Categories Shortcode need to have an image set manually.
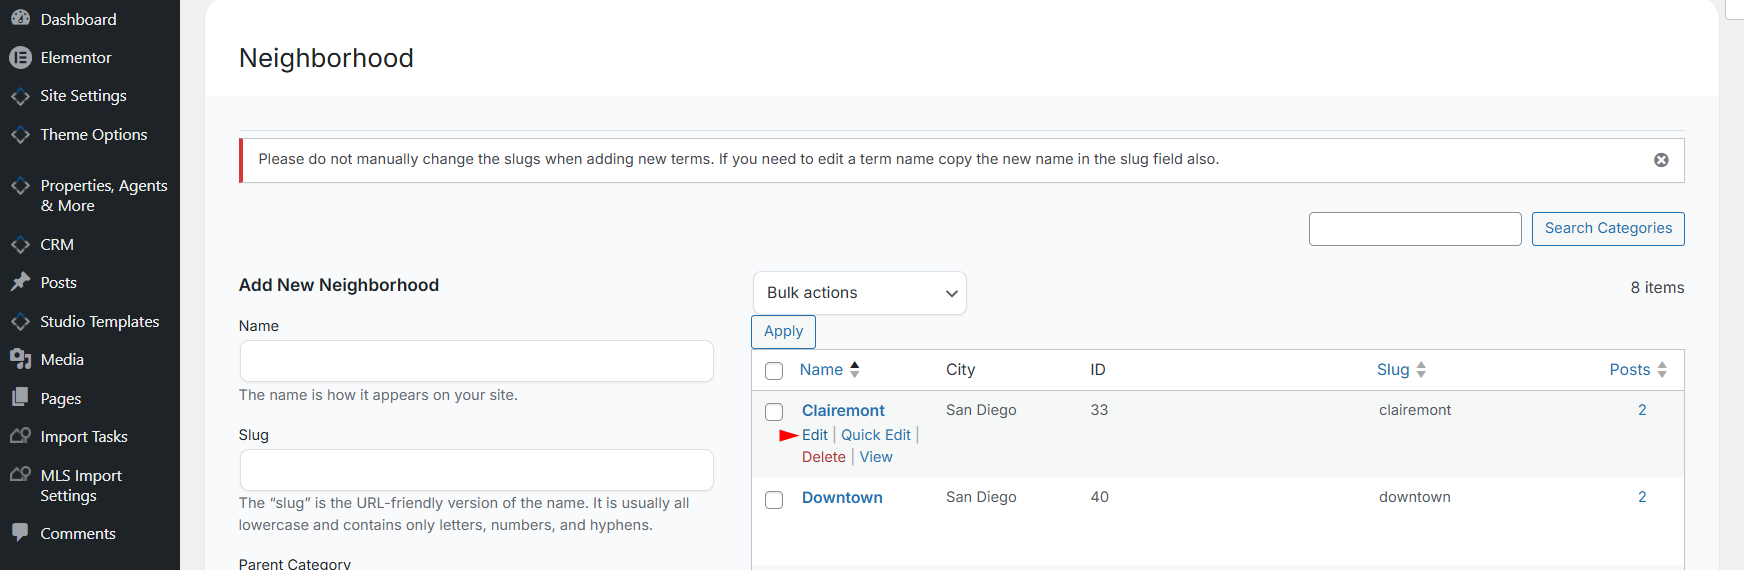
The Property Categories can be managed from admin-Properties, Agents & More

To add an image, edit the Category
Scroll down to the Media section and press the upload image button
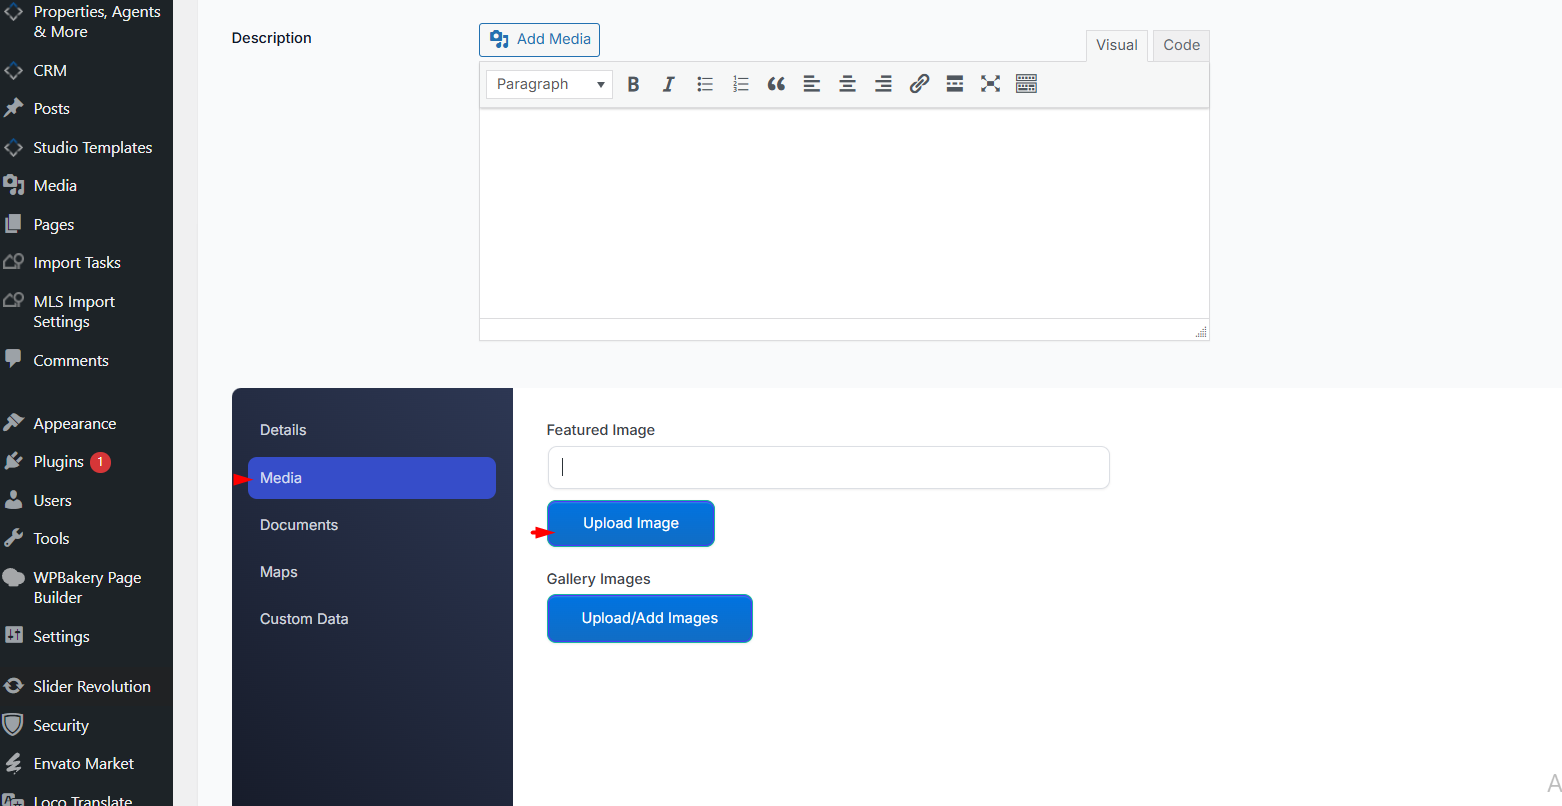
Choose an image from Media or your device and save
The categories that do not have an image will show the theme’s default thumb
Supported Taxonomies
You can display the following taxonomies using this shortcode:
-
Property City
-
Property Area
-
Property Category
-
Property Action (such as Sale, Rent)
-
Property State/County
-
Property Status (For Sale, For Rent, Sold, etc.)
Using Elementor
Edit the page with Elementor.
In the widgets panel, search for WPResidence Shortcodes or Display Categories.
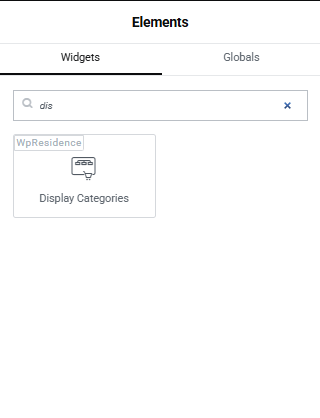
Drag the Display Categories widget into your page layout.

Configure the options:

Taxonomy Type: Select the taxonomy you want to display (City, Area, Category, etc.).
Items per Row: Choose how many items to display per row.
Design/Style: Select the design variation that fits your layout.
Save your changes and preview the page.
2. With WPBakery Page Builder
Edit your page and open WPBakery Page Builder.
Add a new element and choose Display Categories Shortcode.
Select the taxonomy you want to show (Cities, Areas, etc.).

Set the number of items per row and choose a design style.
Save your page and verify the output.
3. Using Gutenberg
Open the page in the Gutenberg editor.
Click the + Add Block icon.
Search for WpResidence Blocks.
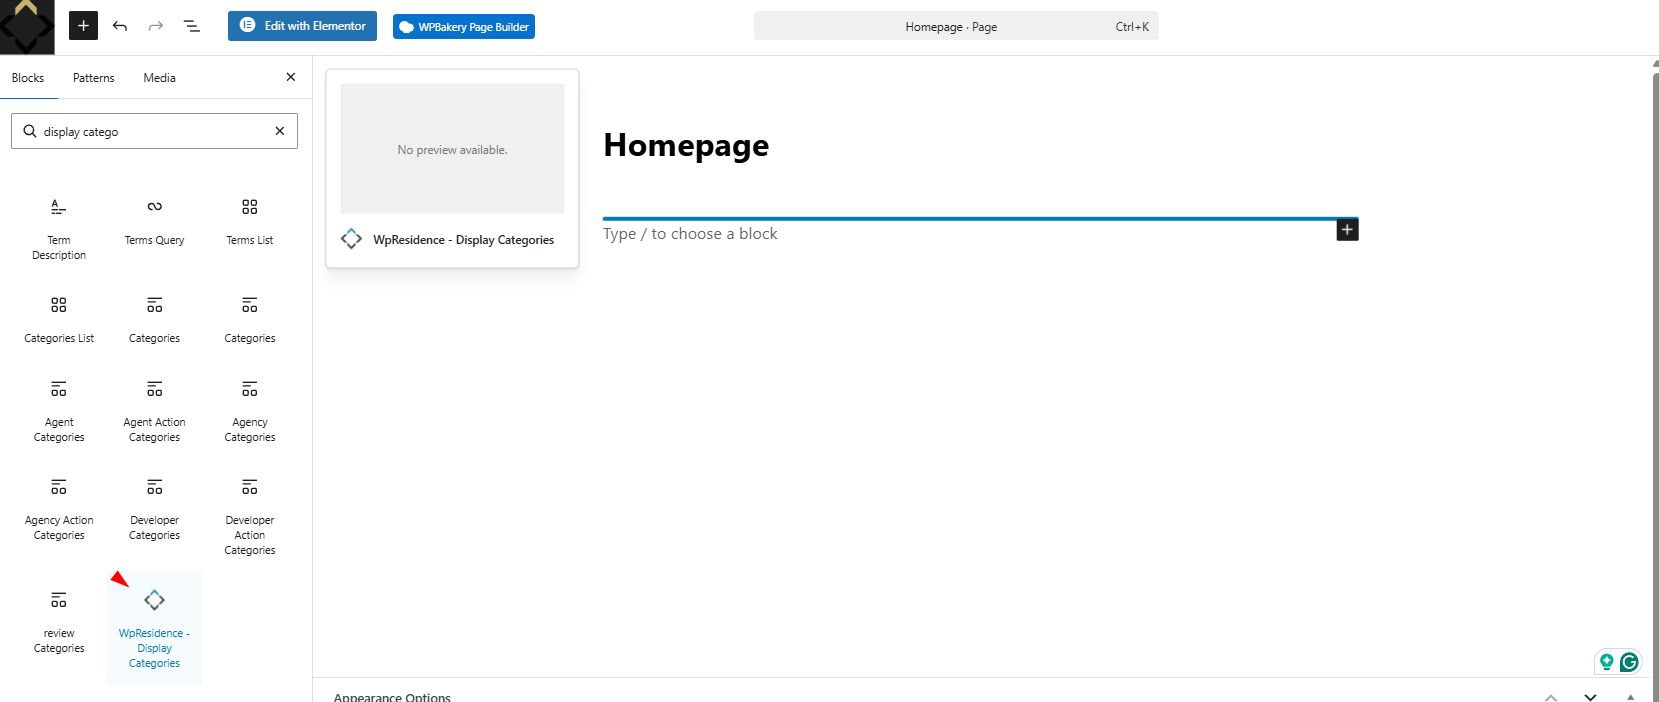
Select the Display Categories / Categories List block.

Configure the options similar to the steps above.
Publish or update the page.
Related Help
How to install the theme
How to import demo content
How to work with WpResidence Elementor Widgets plugin