What this template controls
This guide explains how to create and assign a fully custom single agent, single agency, or single developer template using the WPResidence Studio system and Elementor Free.
With these templates, you can control the layout and content shown on individual agent, agency, or developer profile pages.
Video guide
Activate the WPResidence Studio plugin
Install the WPResidence Elementor Design Studio plugin.
You can install it from:
- WP Admin > Appearance > Install Plugins
- WPResidence > Site Settings > Plugins
Then install and activate WPResidence Studio.

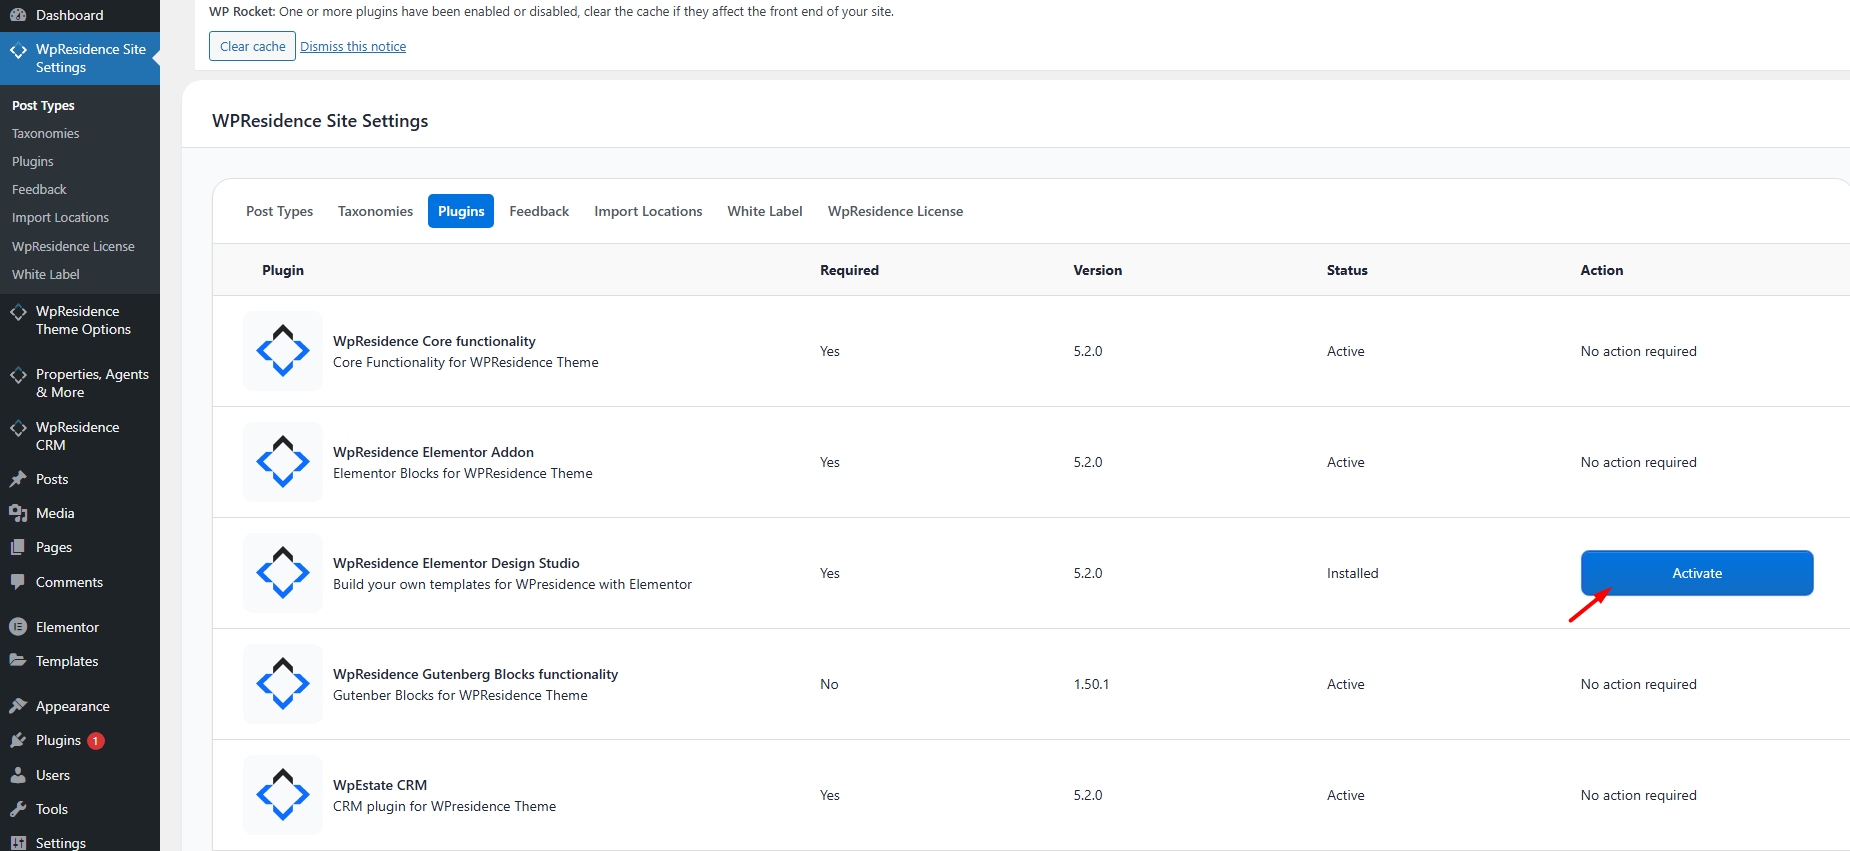
Once active, you will see a new menu item in wp-admin:
WPResidence Studio Templates
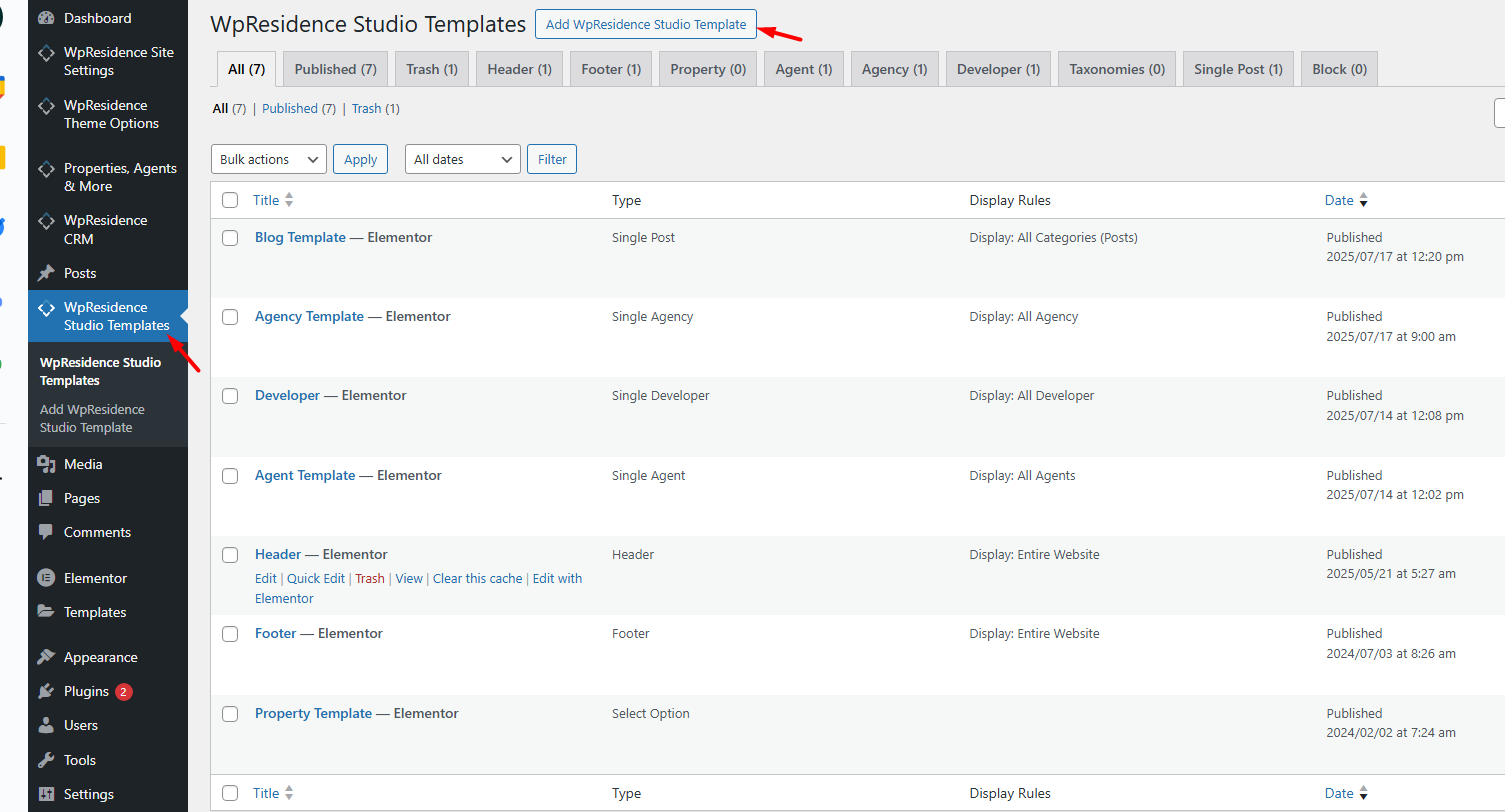
Create a new template
To create a new agent, agency, or developer template:
- Go to WPResidence Studio Templates.
- Click Add New.
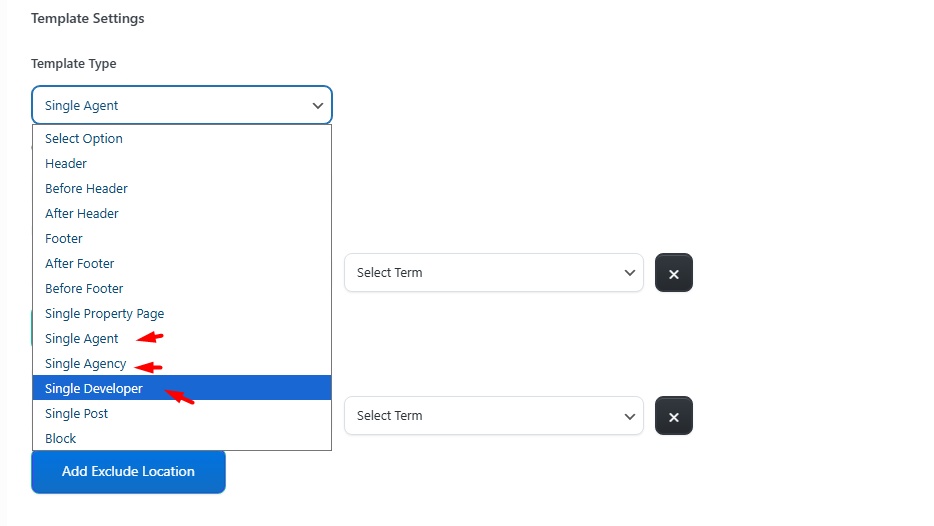
- Enter a clear template name, such as Agent Template, Agency Template, or Developer Template.
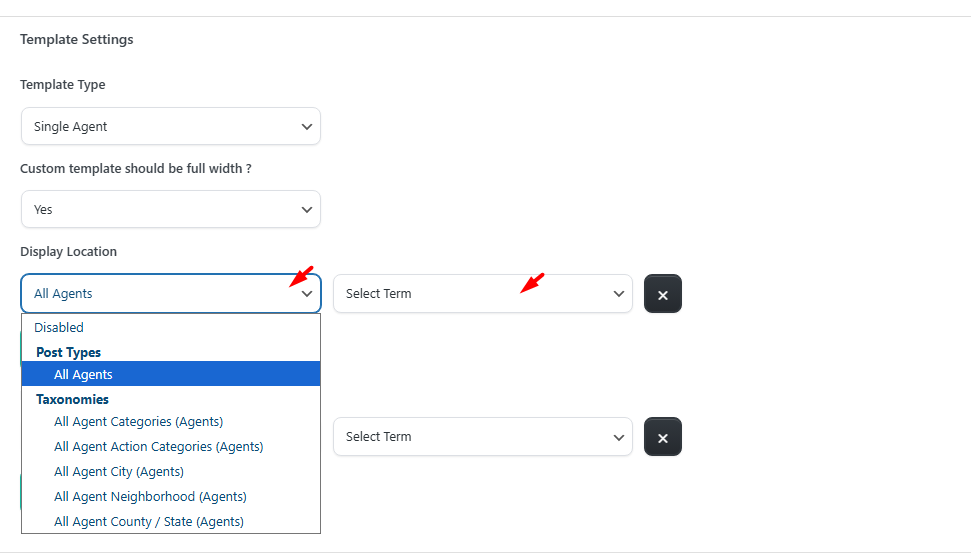
- Select the template type: Single Agent, Single Agency, or Single Developer.
- Set Elementor Full Width to Yes if you want to manage layout and spacing directly with Elementor.
- Click Publish.
After publishing, the template will be listed under its related template type.
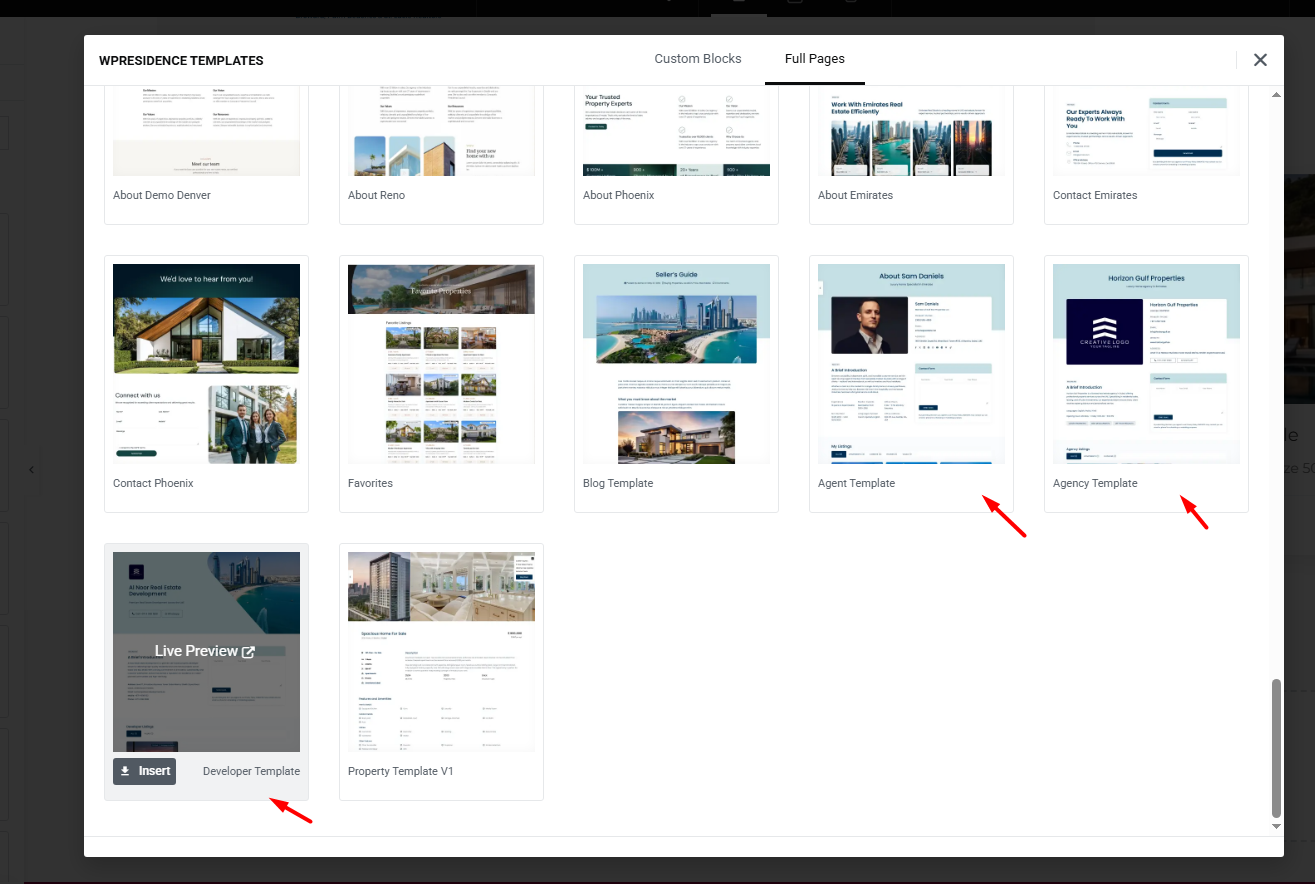
Import an existing Studio template
You can start from an existing WPResidence Studio layout and edit it with Elementor.
To import a template:
- Click Edit with Elementor to open the Elementor editor.
- In Elementor, click the Folder icon to open the WPResidence Design Studio Templates library.
- Select the template you want to use.
- Click Insert to add it to your page.


Design the template with Elementor
After opening the template with Edit with Elementor, you can build the layout from scratch or use an imported Studio layout as a starting point.
Use the WPResidence Studio widgets created for agent, agency, and developer templates to display profile information, contact details, listings, images, and other profile content.
Available template widgets
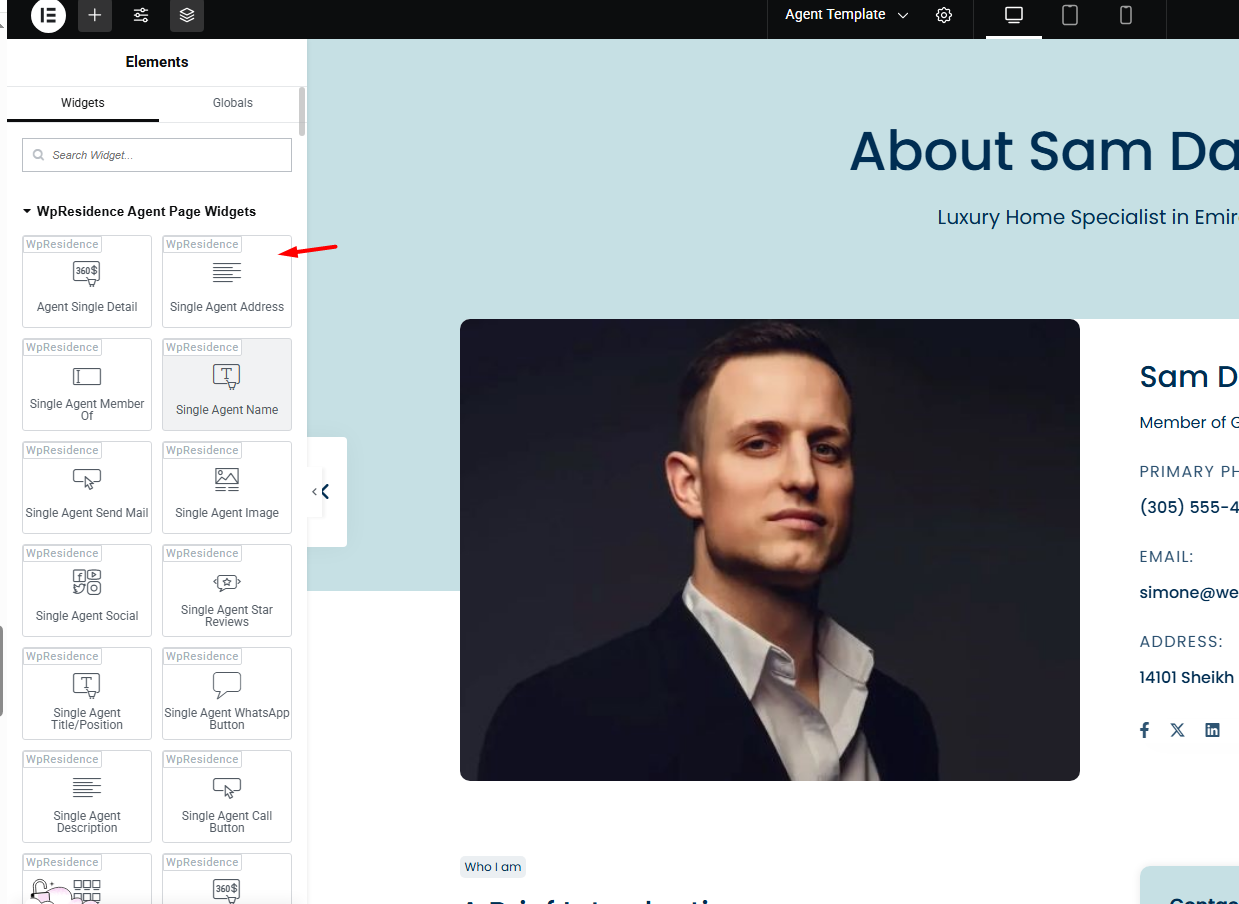
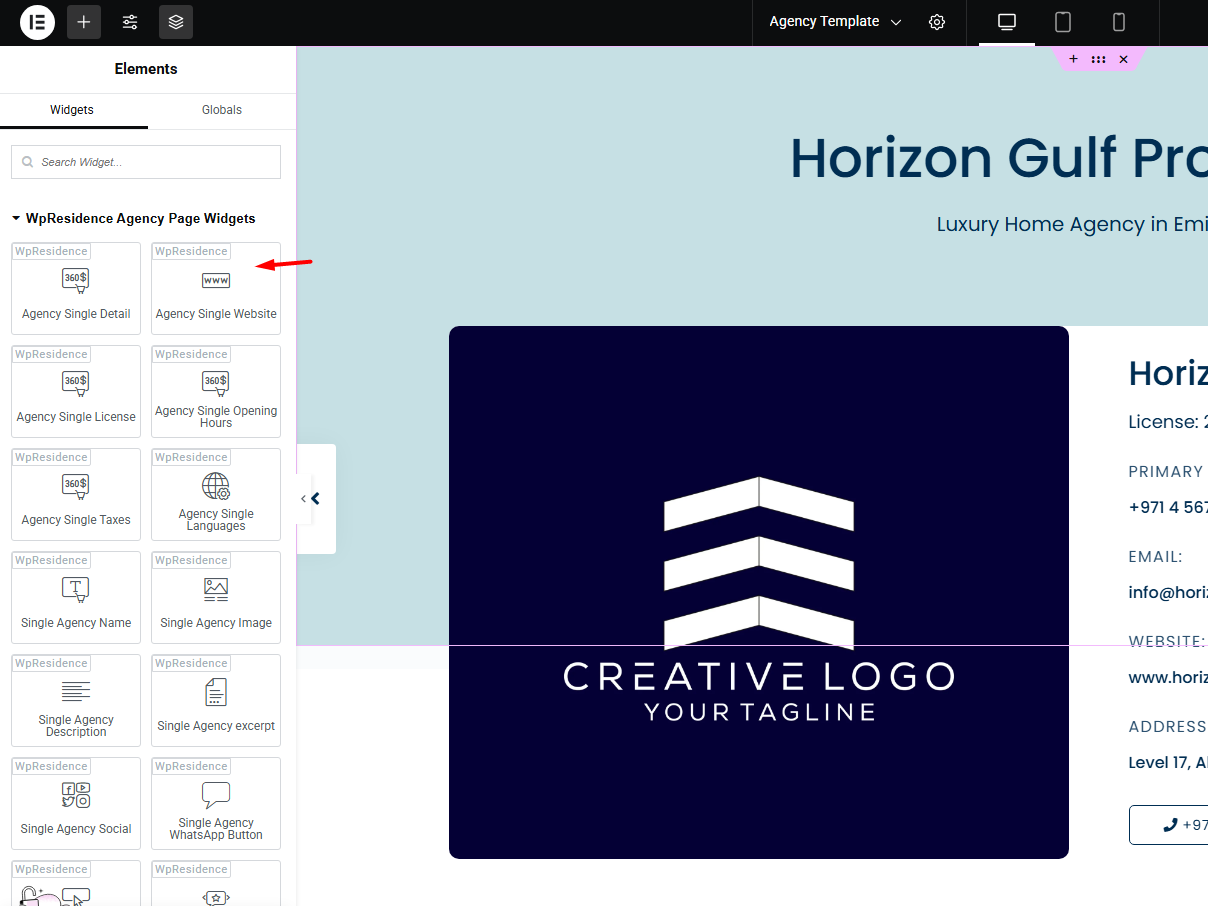
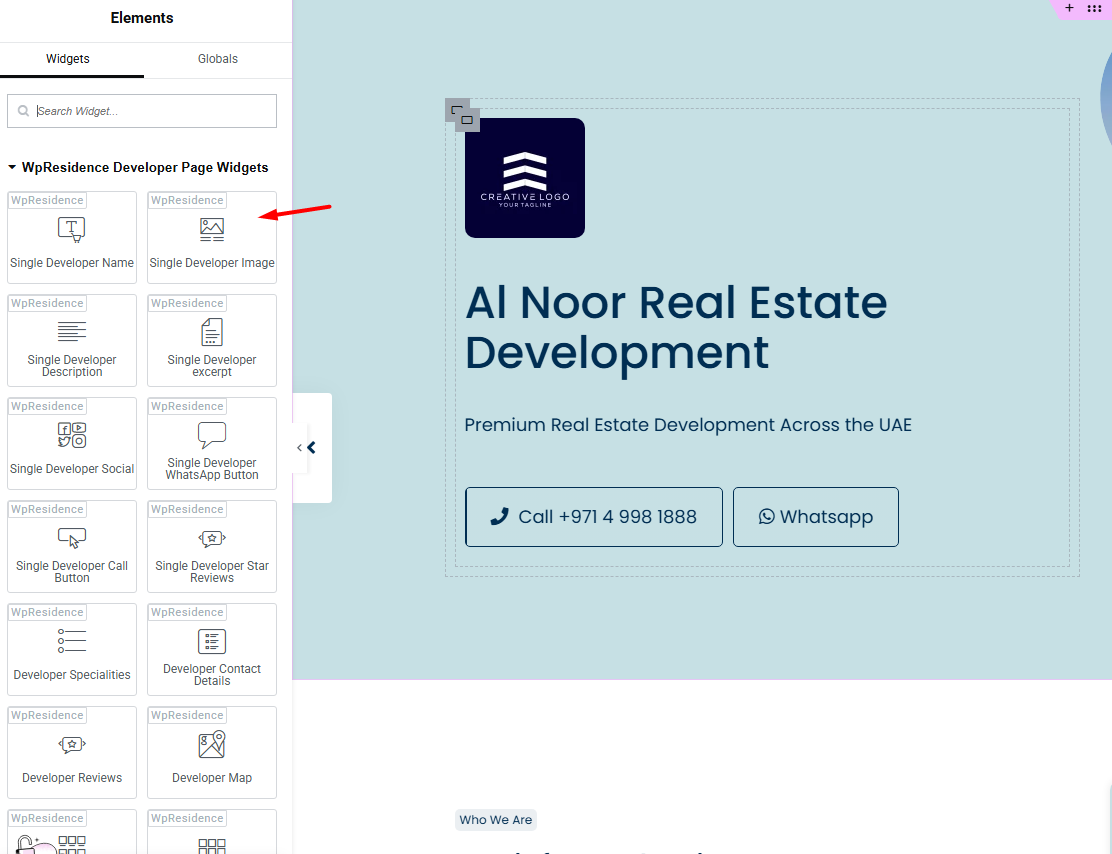
In Elementor, you will find dedicated widgets for each template type.
Agent Template Widgets
Agency Template Widgets
Developer Template Widgets
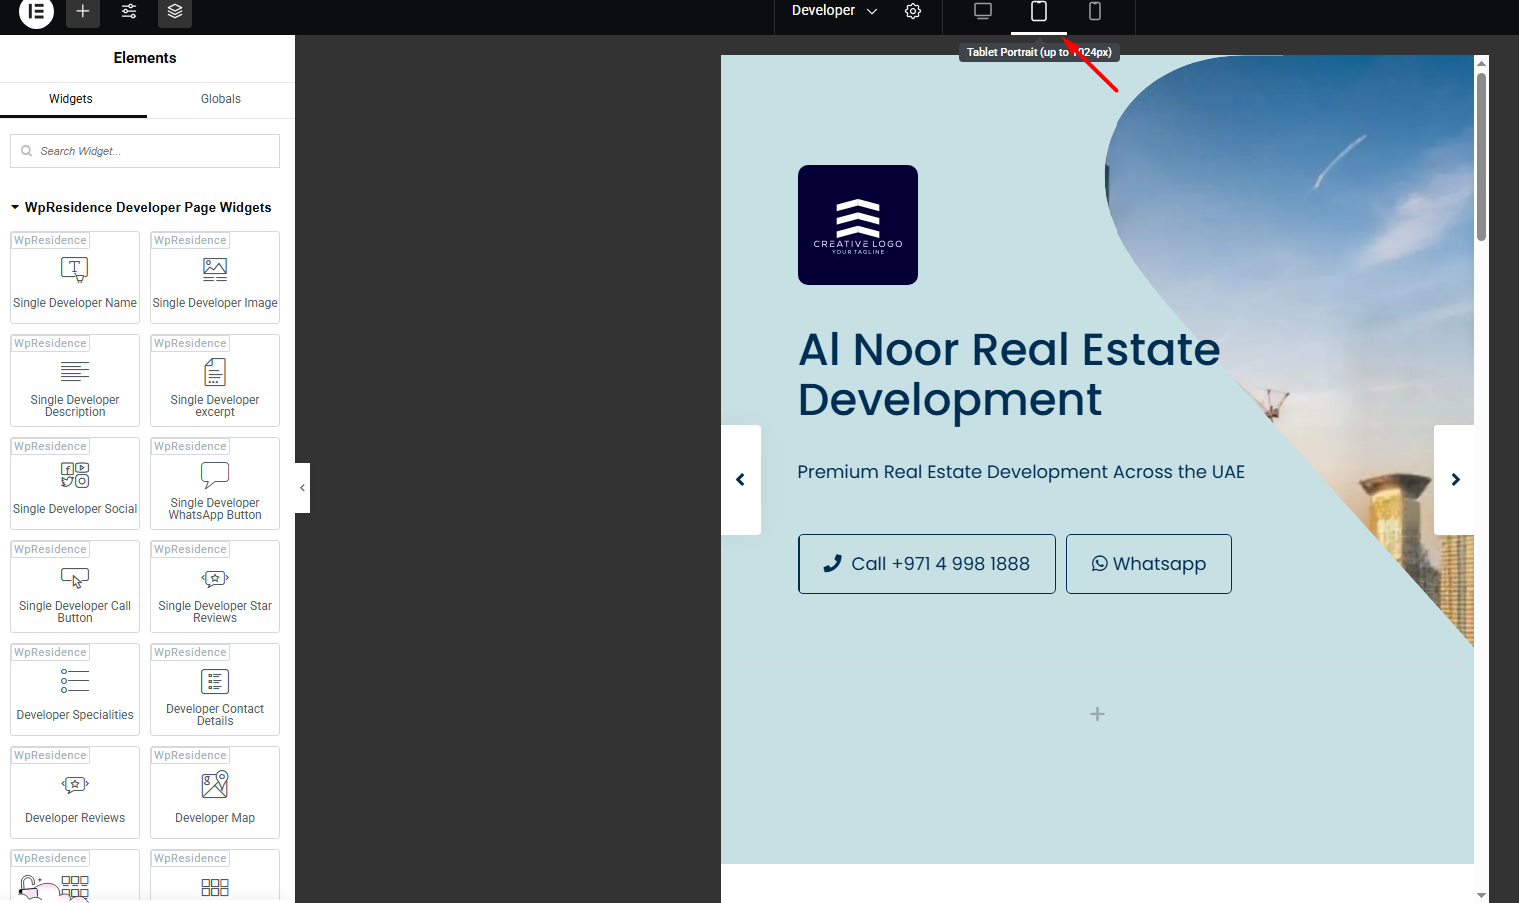
Responsive design
Use Elementor’s responsive preview options to adjust the template for:
- Desktop
- Tablet
- Mobile
After editing the responsive layout, test the template on real devices to confirm that it displays correctly.
Assign the template
After the template is ready, assign it where it should be used.
You can assign it:
- Globally, so it applies to all agents, agencies, or developers.
- To specific categories, if you want different templates for different profile groups.
If the new design does not show on the frontend, check the template assignment and clear cache after saving the template.