Add font awesome icons independently
For this end result:
![]()
Follow the below steps.
Go to admin – menus – edit menu

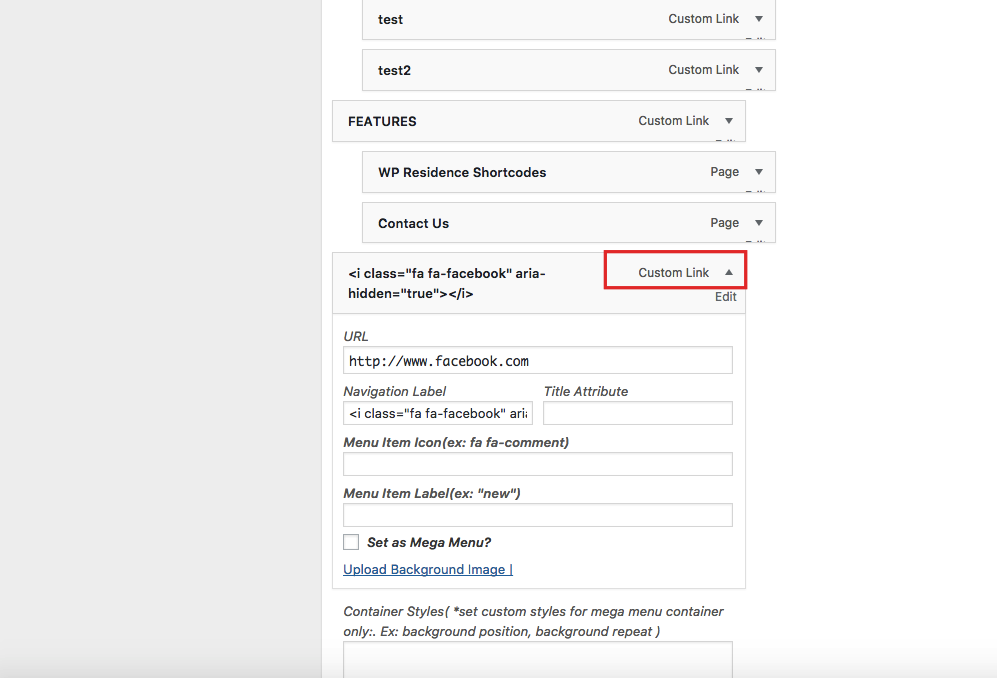
Example of Navigation Label
For the spacing between icon menus we added a custom css solution (which may need to be adjusted to your number of icons
.menu>li:nth-last-of-type(-n+4) a,

.menu>li:nth-last-of-type(-n+4) a:hover{

padding-left: 5px!important;

padding-right: 0px!important;

margin-left:0px!important;

margin-right:0px!important;

}
Help article about how to add custom CSS
Add Font Awesome Icons next to menu text
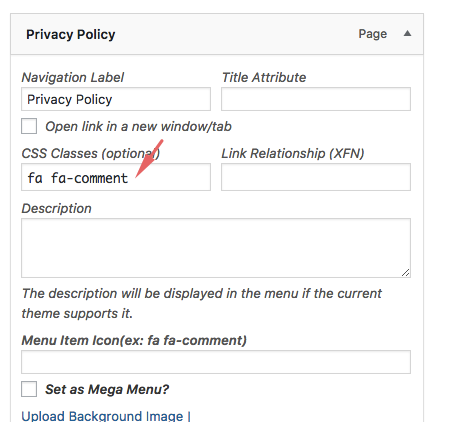
Edit a footer menu item from Admin – Menus
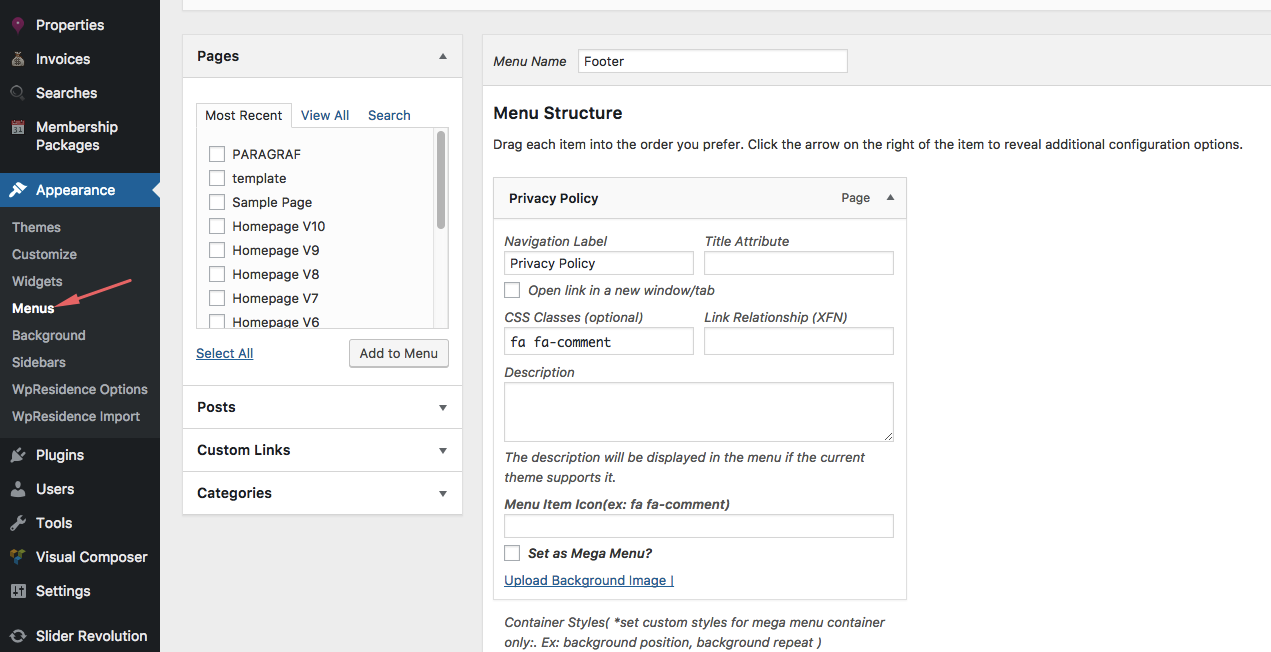
Add the icon font awesome in the CSS CLASSES element.
You can find the CSS class for your icon on the Font Awesome homepage or by using the the cheatsheet. Each is prefixed by “fa-” to differentiate from any other common classes that may already be in use.
If you don’t see this element, Edit Screen Options from up right corner to enable it.

The CSS for the fontawesome icon may need a css to add spaces / font or something else. You can use this css to add custom elements.
.fa-comment:before {

padding-right: 5px;

}
And you replace “fa-comment” with your icon name.
Help article about how to add custom CSS
The result from this example:
