This guide shows you how to create and assign a fully custom single blog post template using the WpResidence Studio system and Elementor Free.
WpResidence includes a built-in layout for blog posts. Read all about it in this help article .
But if you want to fully customize the layout, typography, featured image positioning, social share buttons, related posts, and more, then the Template Studio is the right tool.
It gives you full control using drag-and-drop widgets and works with Elementor Free.
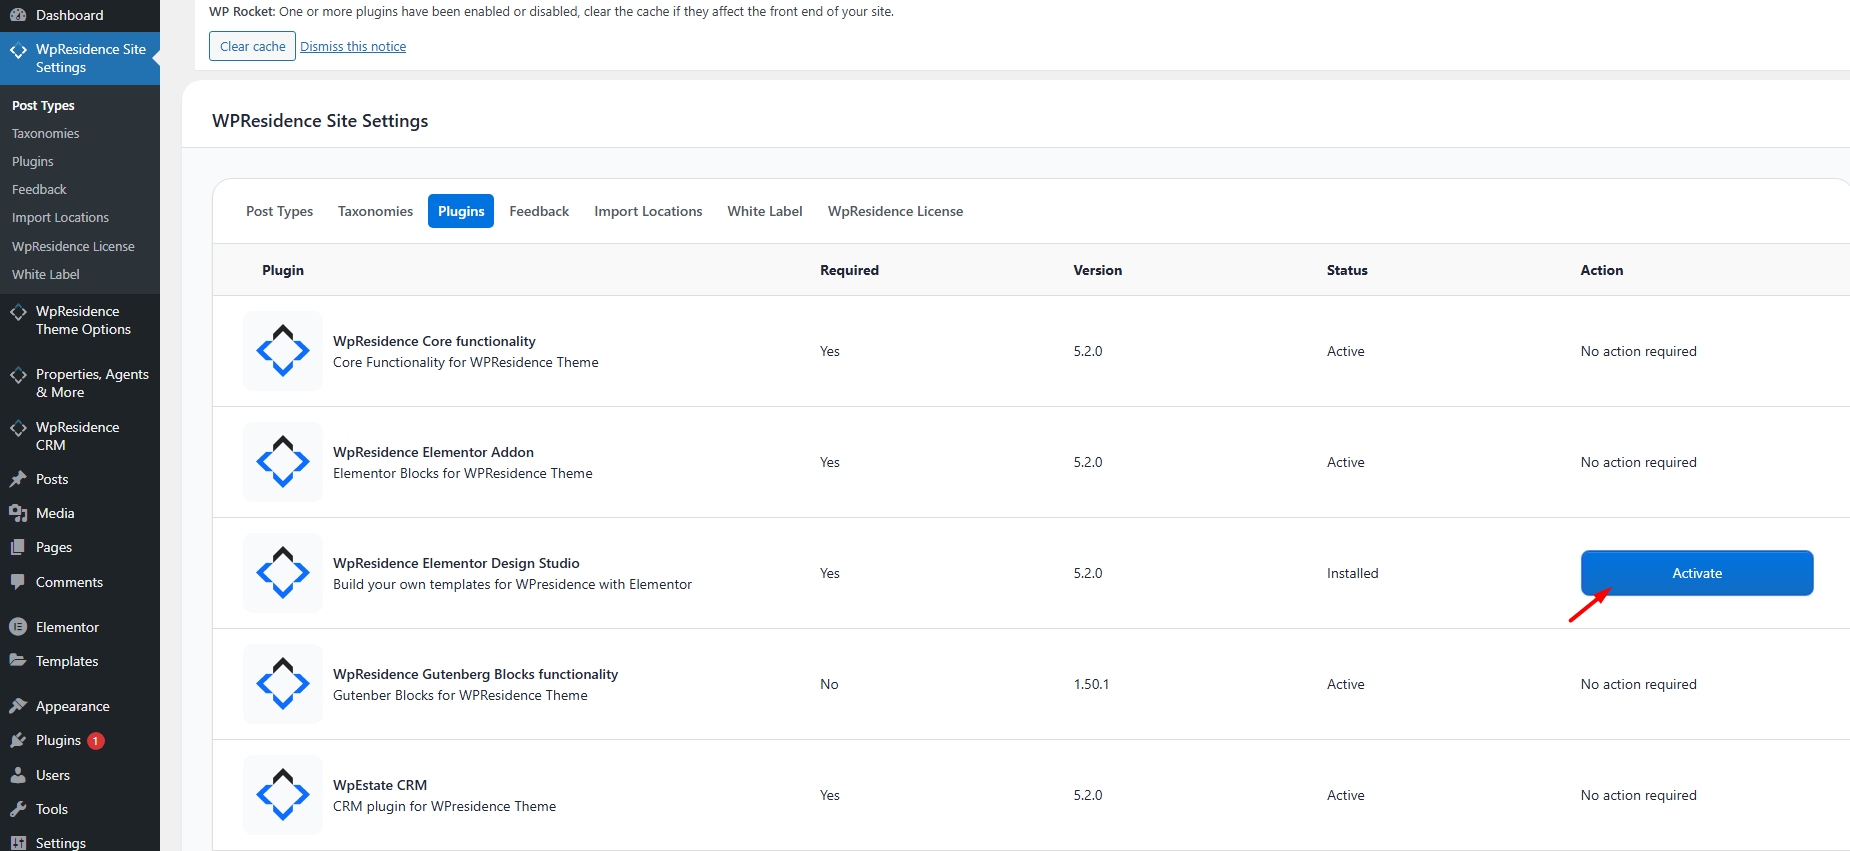
Activate the WpResidence Studio Plugin
Install the WpResidence Elementor Design Studio plugin
-
Go to WP Admin > Appearance > Install Plugins
-
Or go to WpResidence > Site Settings > Plugins
-
Install and activate WpResidence Studio

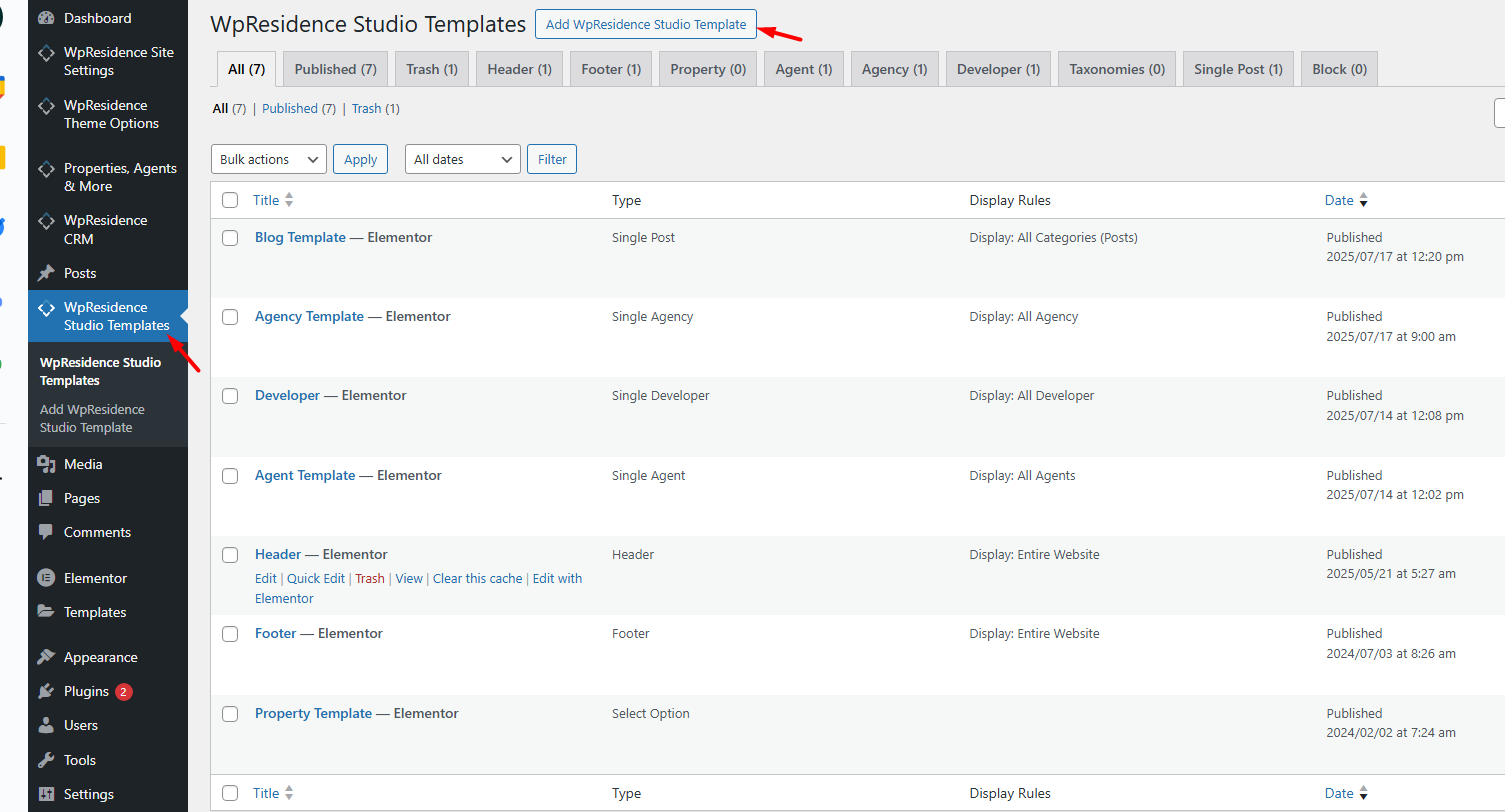
Once active, you’ll see a new menu item:
WpResidence Studio Templates
Create a Custom Blog Post Template
-
Go to WpResidence Studio > Add New
-
Name your template (e.g., “Blog Layout – Clean”)
-
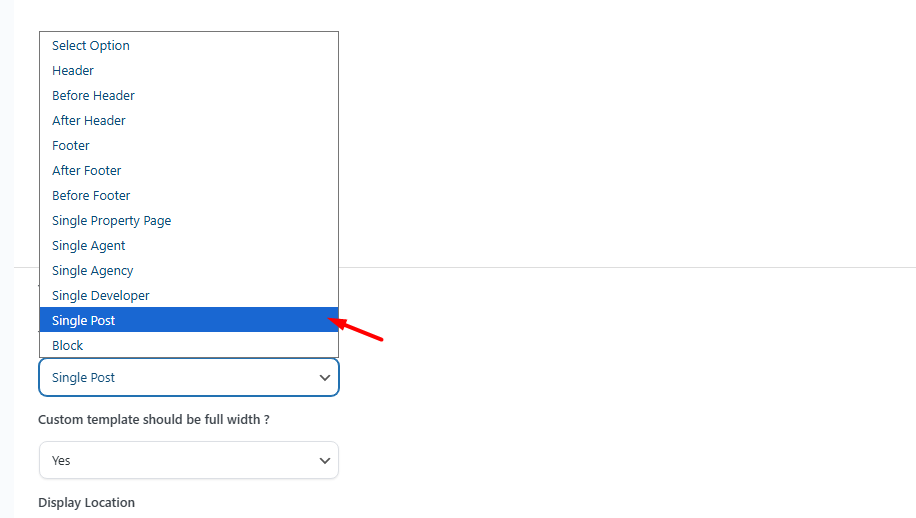
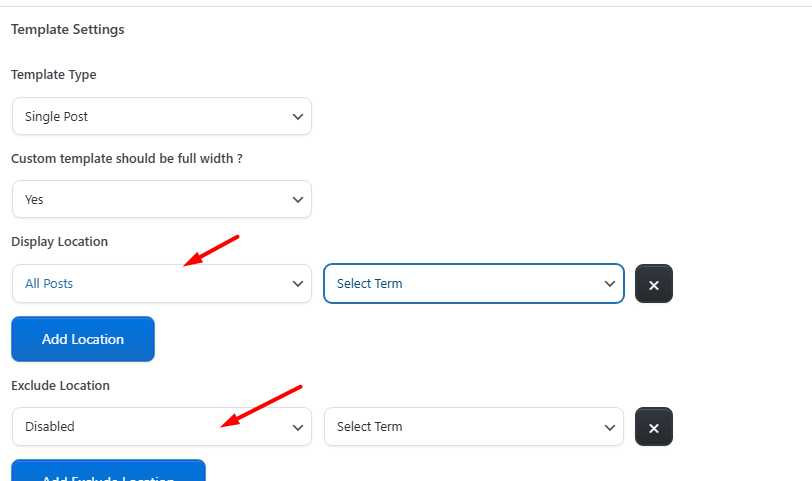
Under Template Type, choose Single Post
-
Set Elementor Full Width to YES if you want to manage layout and spacing inside Elementor
-
Click Publish
-
Click Edit with Elementor to launch the visual builder
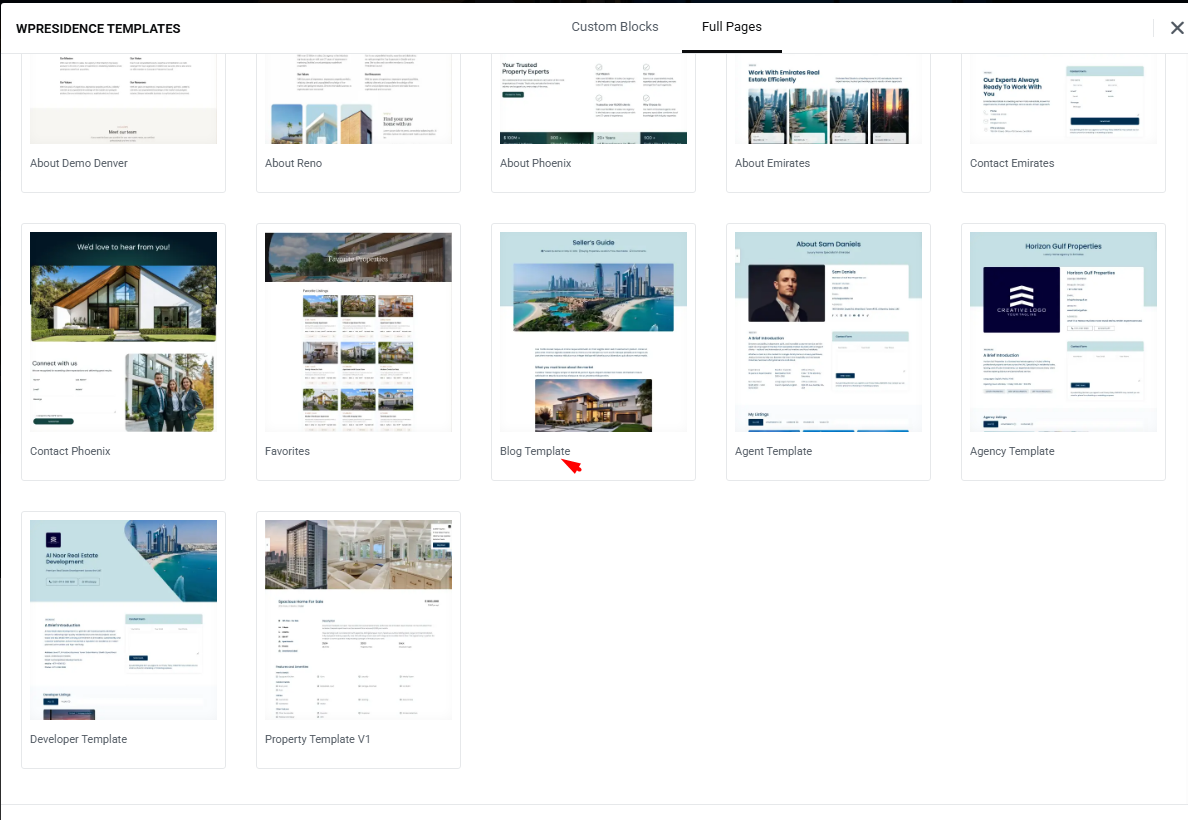
Optional – Import an existing template and edit it
- Click the Edit with Elementor button to open the Elementor editor.
- In the Elementor editor, click the Folder icon to open the WpResidence Design Studio Templates library.
- Click Insert to add the desired template to your page.


Design the Blog Layout with Elementor
Once inside Elementor, you can build your layout from scratch or start from a Studio prebuilt layout (if available).
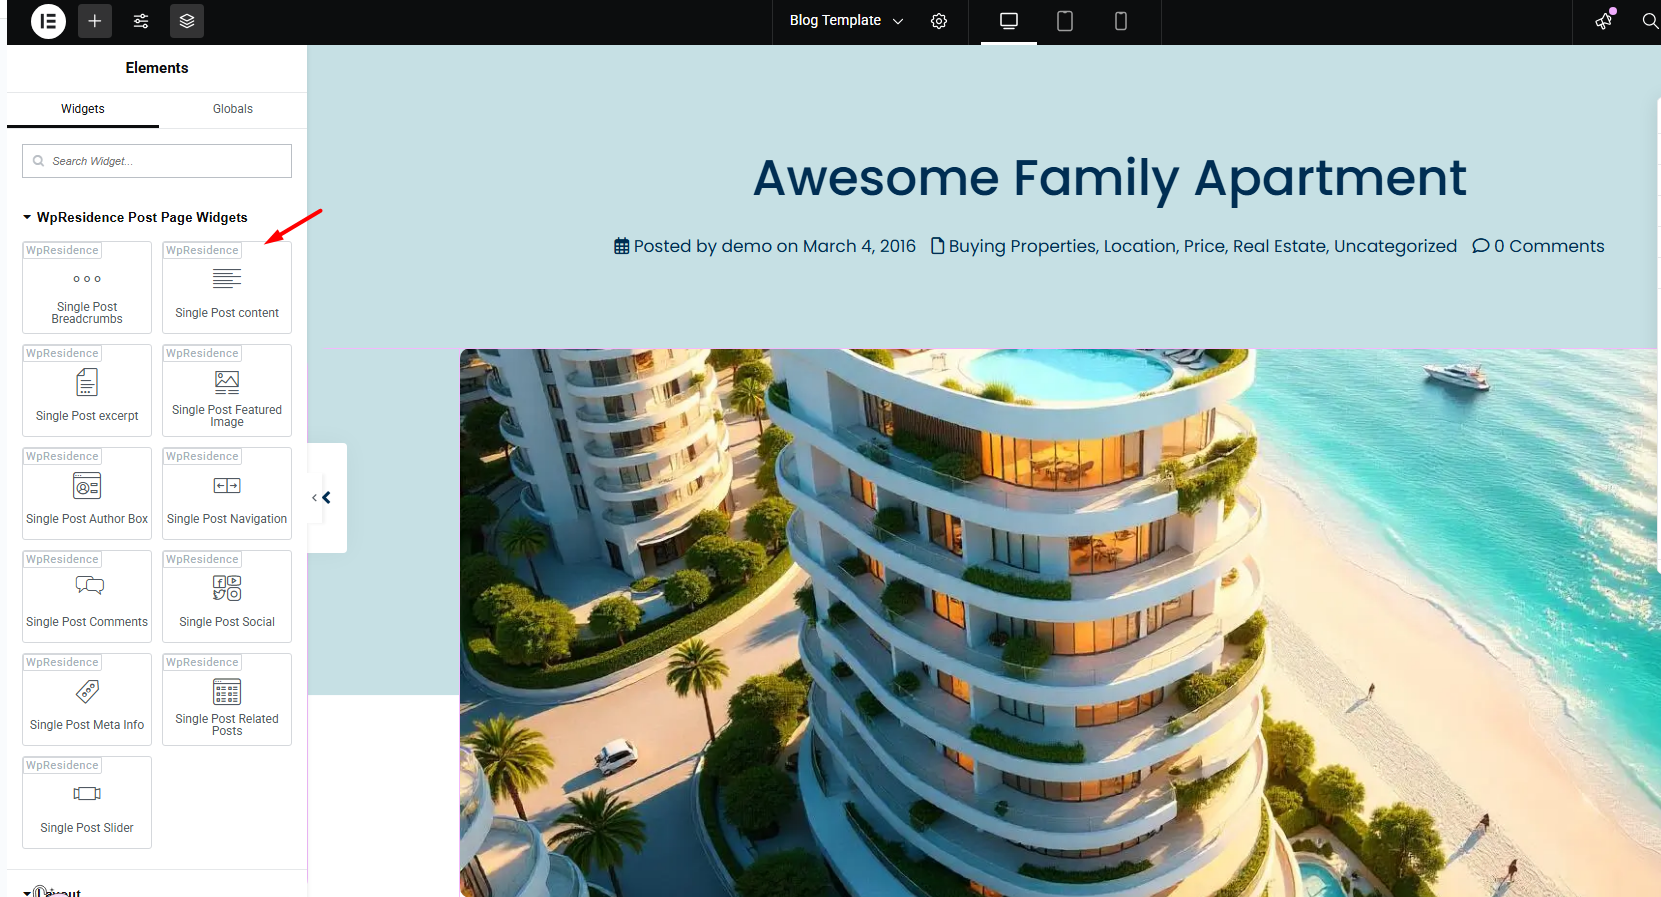
You’ll find blog-specific widgets in the WpResidence > Post Page Widgets section:
-
Title
-
Featured Image
-
Post Meta (author, date, category)
-
Post Content
-
Tags
-
Share Buttons
-
Author Box
-
Related Posts
-
Next/Previous Navigation
-
Comments Section
Assign the Template to Your Blog Posts
Once your template is ready:
-
Go to Theme Options > Blog Settings
-
Under Template for Blog Post, select the one you just created
-
You can choose to:
-
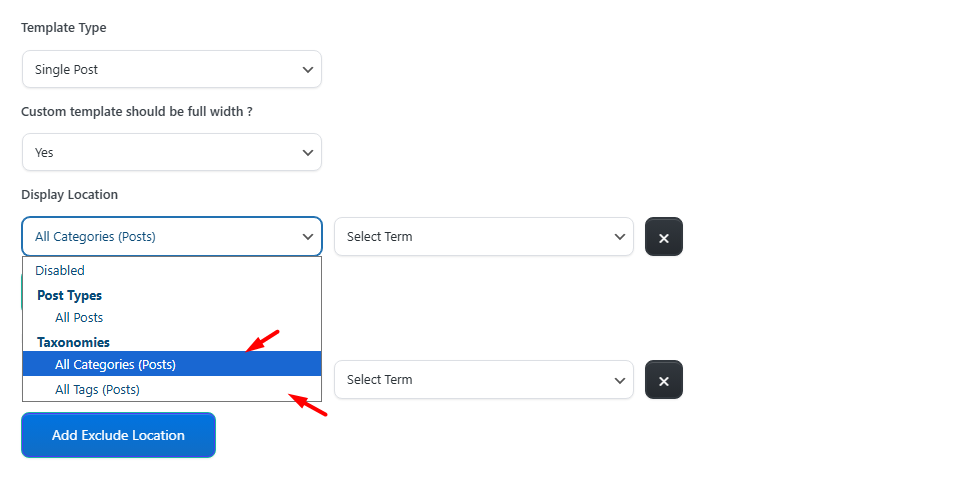
Assign the template to all blog posts
-
Assign it to specific categories or tags only
-

That’s it! Your custom blog post layout is now live.