This guide shows you how to create and assign a fully custom single agent, single agency or single developer template using the WPResidence Studio system and Elementor Free.
Activate the WpResidence Studio Plugin
Install the WPResidence Elementor Design Studio plugin
-
Go to WP Admin > Appearance > Install Plugins
-
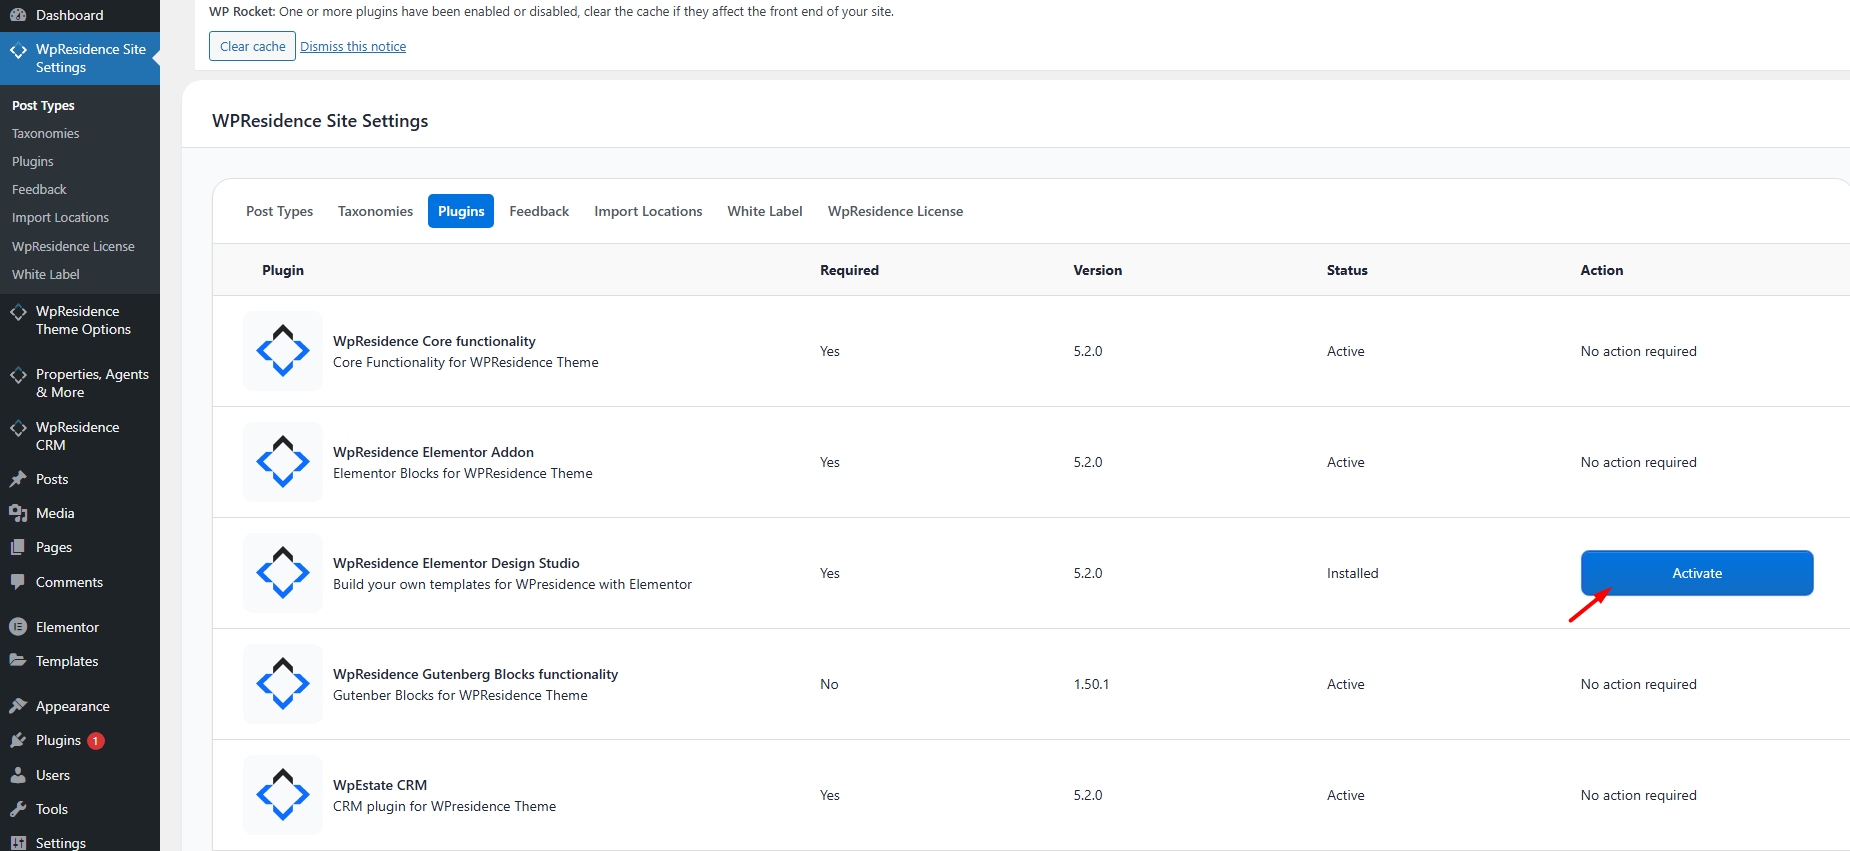
Or go to WPResidence > Site Settings > Plugins
-
Install and activate WPResidence Studio

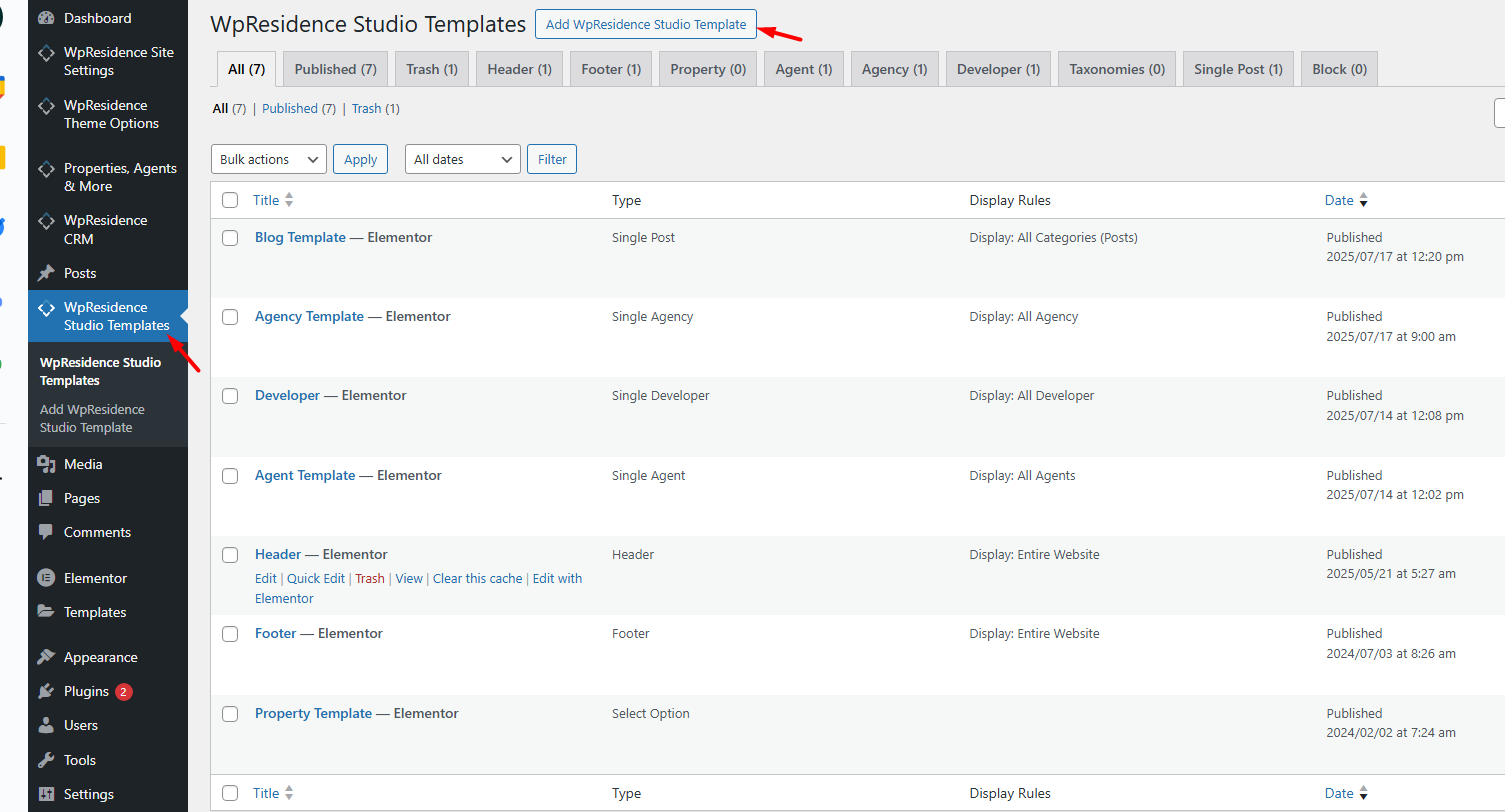
Once active, you’ll see a new menu item:
WPResidence Studio Templates
Creating a New Template
-
Go to WPResidence Studio → Add New.
-
Enter a descriptive name (e.g., “Developer Template”).
-
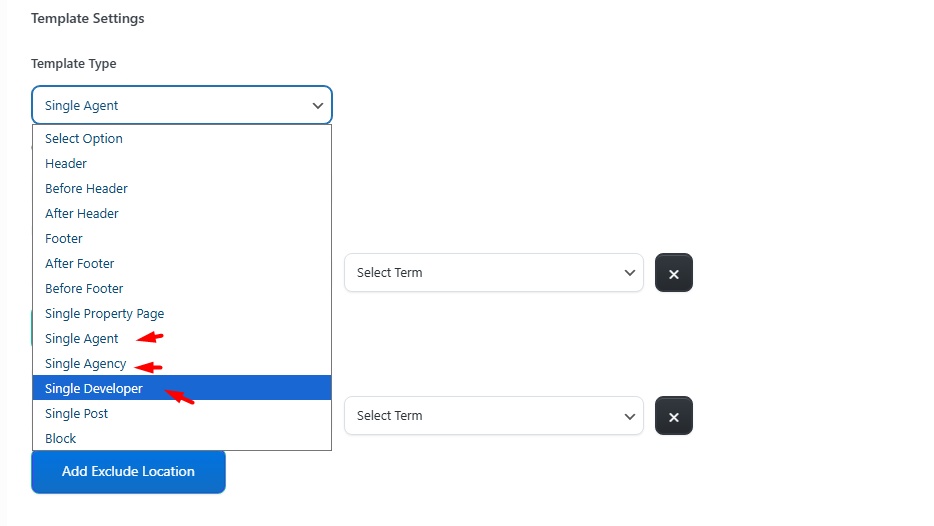
Select the Template Type: Single Agent, Single Agency, or Single Developer.
-
Set Elementor Full Width to Yes if you want to manage layout and spacing via Elementor.
-
Click Publish.
-
Your template will now be listed under its respective tab (Agent, Agency, Developer).
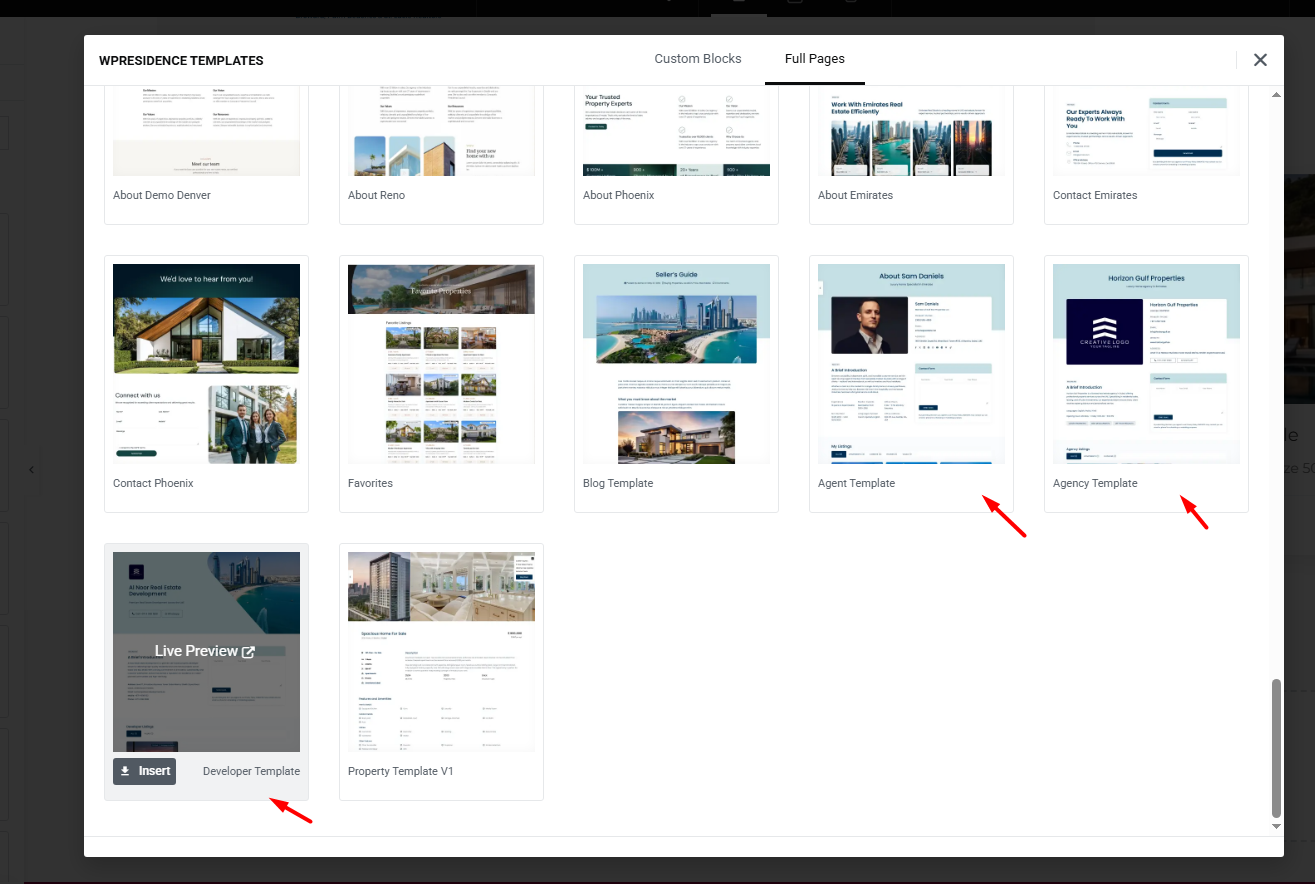
Optional – Import an existing template and edit it
- Click the Edit with Elementor button to open the Elementor editor.
- In the Elementor editor, click the Folder icon to open the WPResidence Design Studio Templates library.
- Click Insert to add the desired template to your page.


Design the Template Layout with Elementor
Once inside Elementor, you can build your layout from scratch or start from a Studio prebuilt layout (if available).
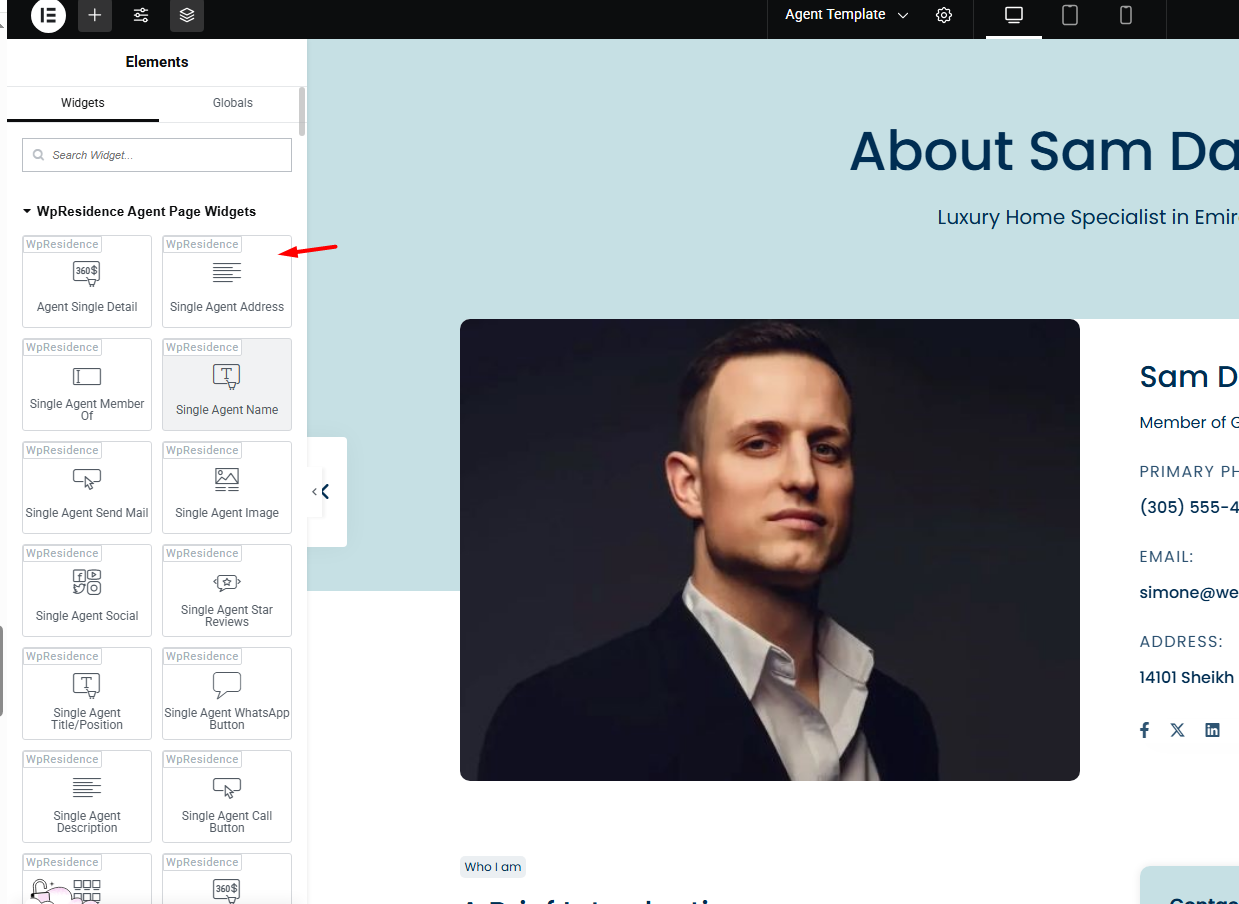
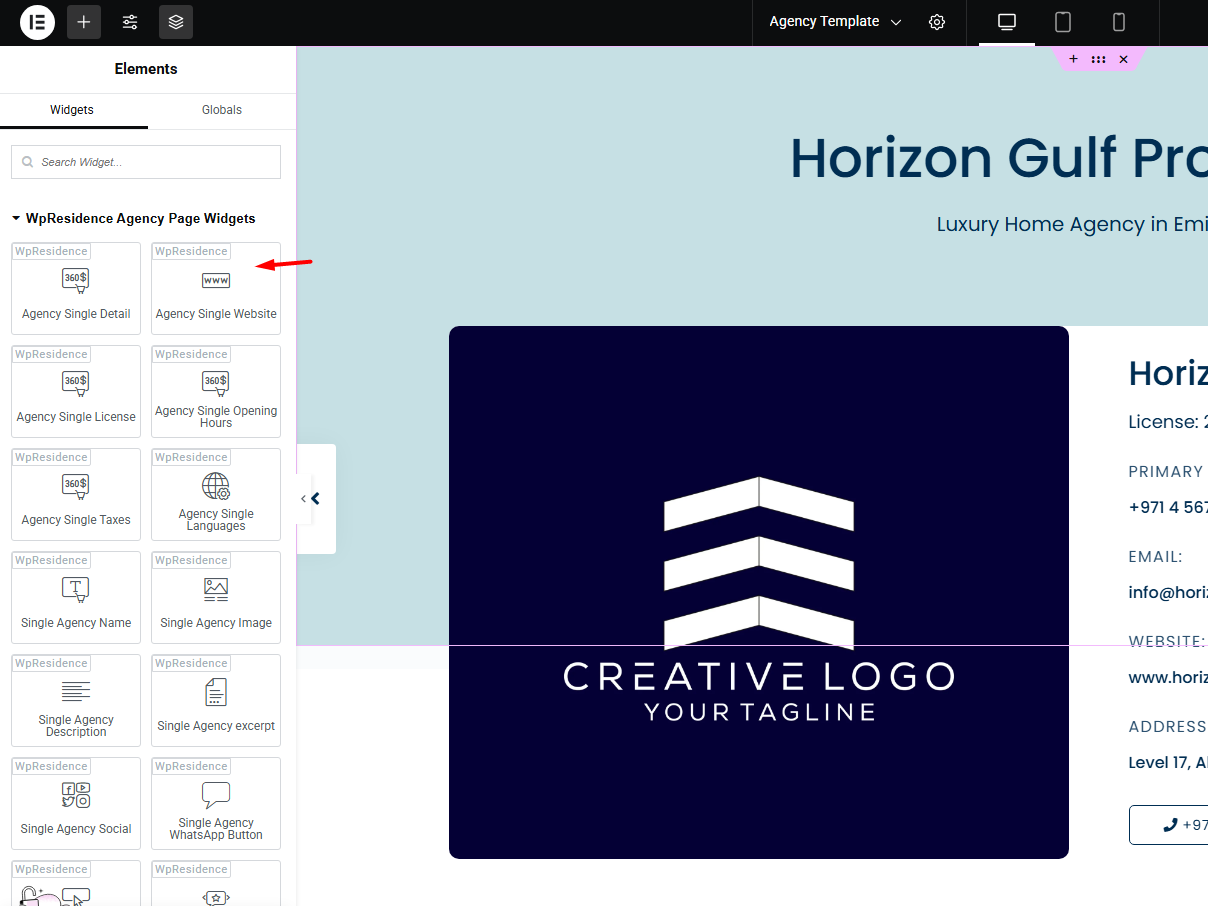
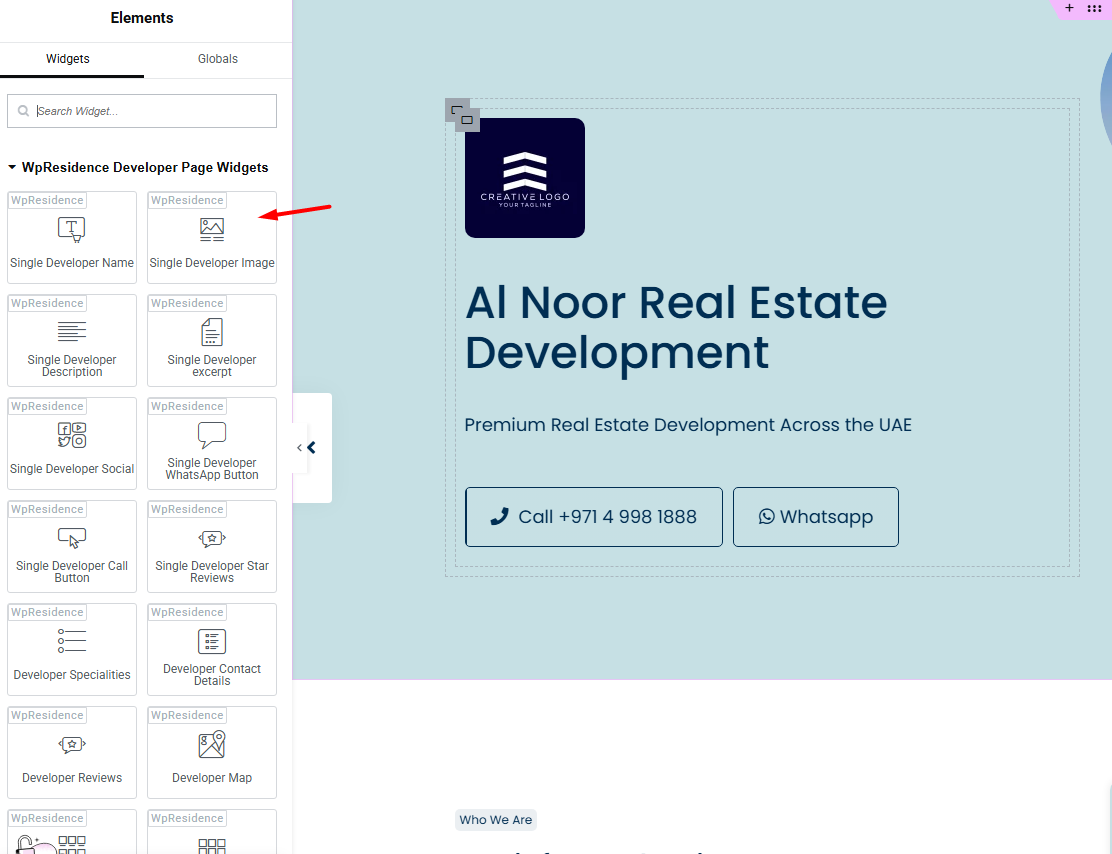
You’ll find specific widgets
- Agent Template Widgets
- Agency Template Widgets
- Developer Template Widgets
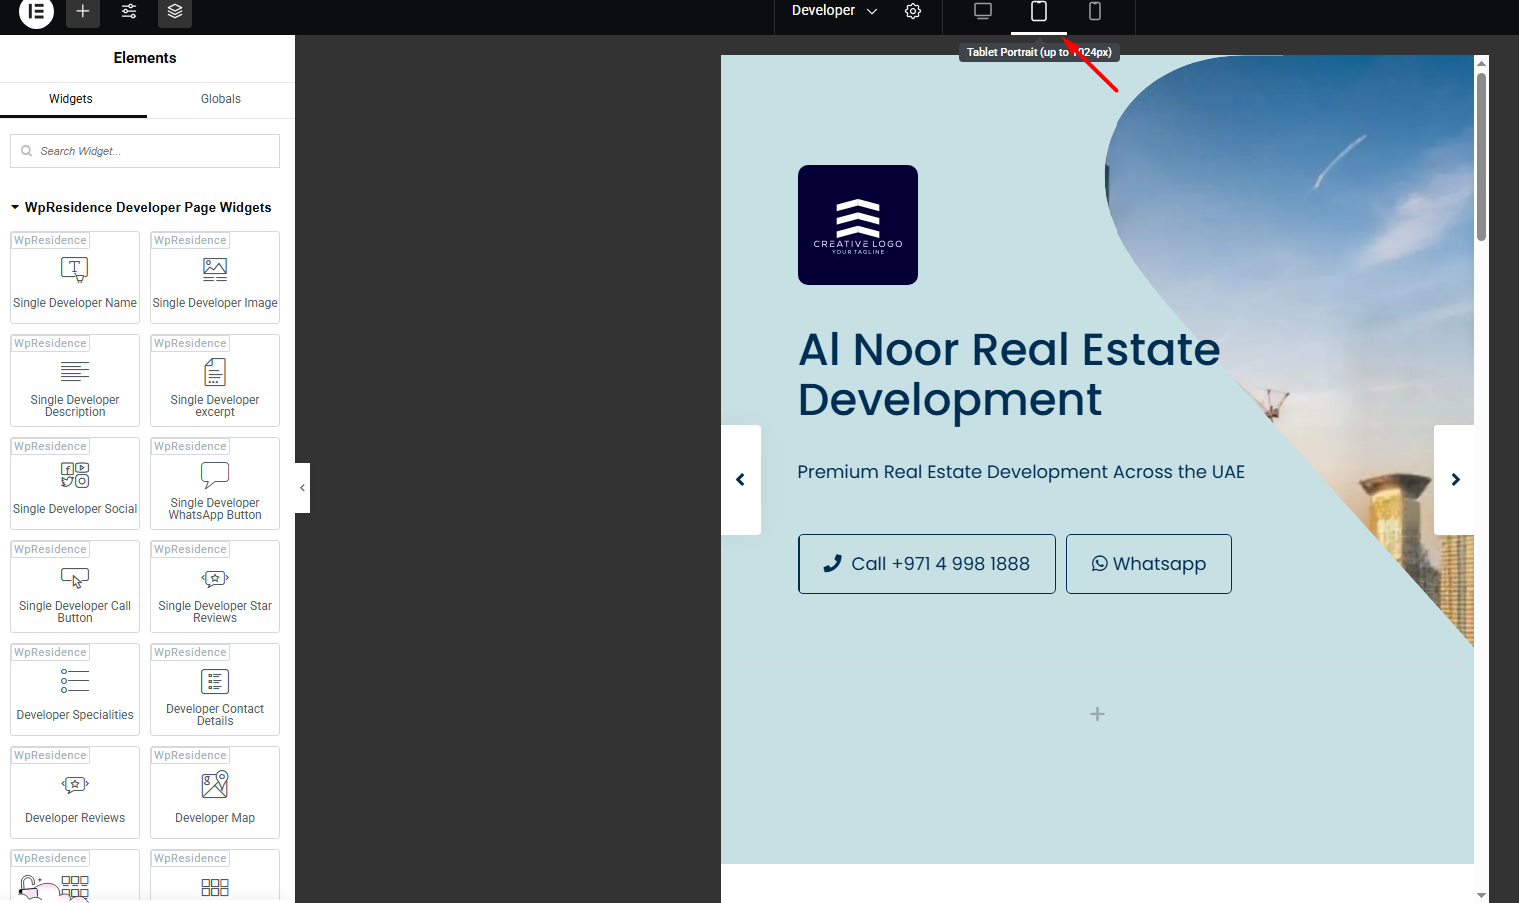
Responsive Design
-
Use Elementor’s responsive preview buttons to adjust designs for desktop, tablet, and mobile.
-
Test your templates on actual devices to ensure perfect display.
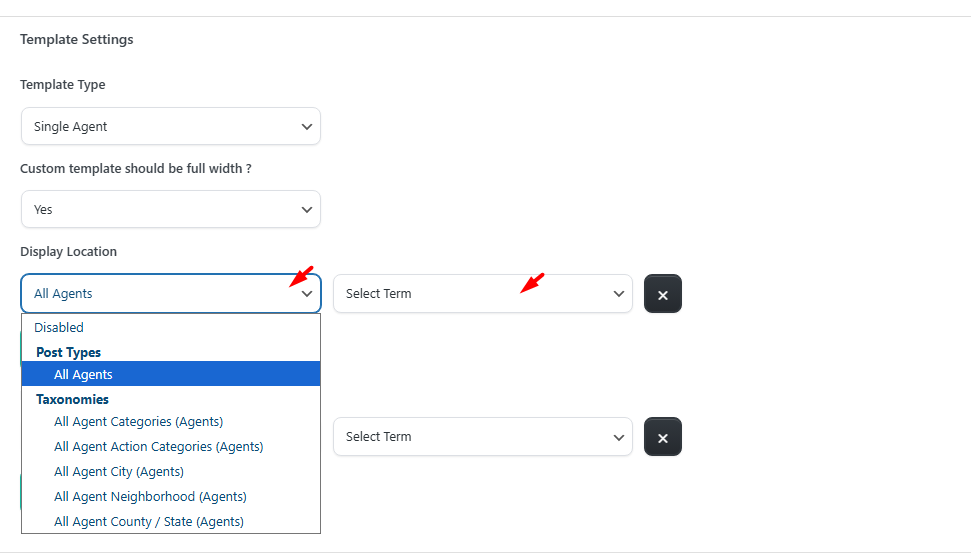
Assigning Templates
Once your template is ready and responsive:
-
Assign it globally from Theme Options to all agents/agencies/developers, or
-
Assign it to specific categories.