This article walks you through installing the WPResidence Translate plugin (internal name WPEstate Translate, version 0.1.0), activating it for the first time, and safely removing it if you ever need to. WPResidence Translate is the companion plugin that turns your theme into a full multi-language real estate website.
Everything below is a wp-admin task. You do not need FTP, SSH, or a developer to follow along.
Before You Install
A few quick checks before you begin:
- You are running the WPResidence (or WPRentals) theme.
- You are logged in as an administrator. The plugin admin pages require the Manage Options capability.
- You have a recent backup of your site. The plugin creates its own tables — but a backup is still a good idea before activating any plugin.

Installing the Plugin
You have two ways to install WPResidence Translate:
Option 1 — Upload From wp-admin
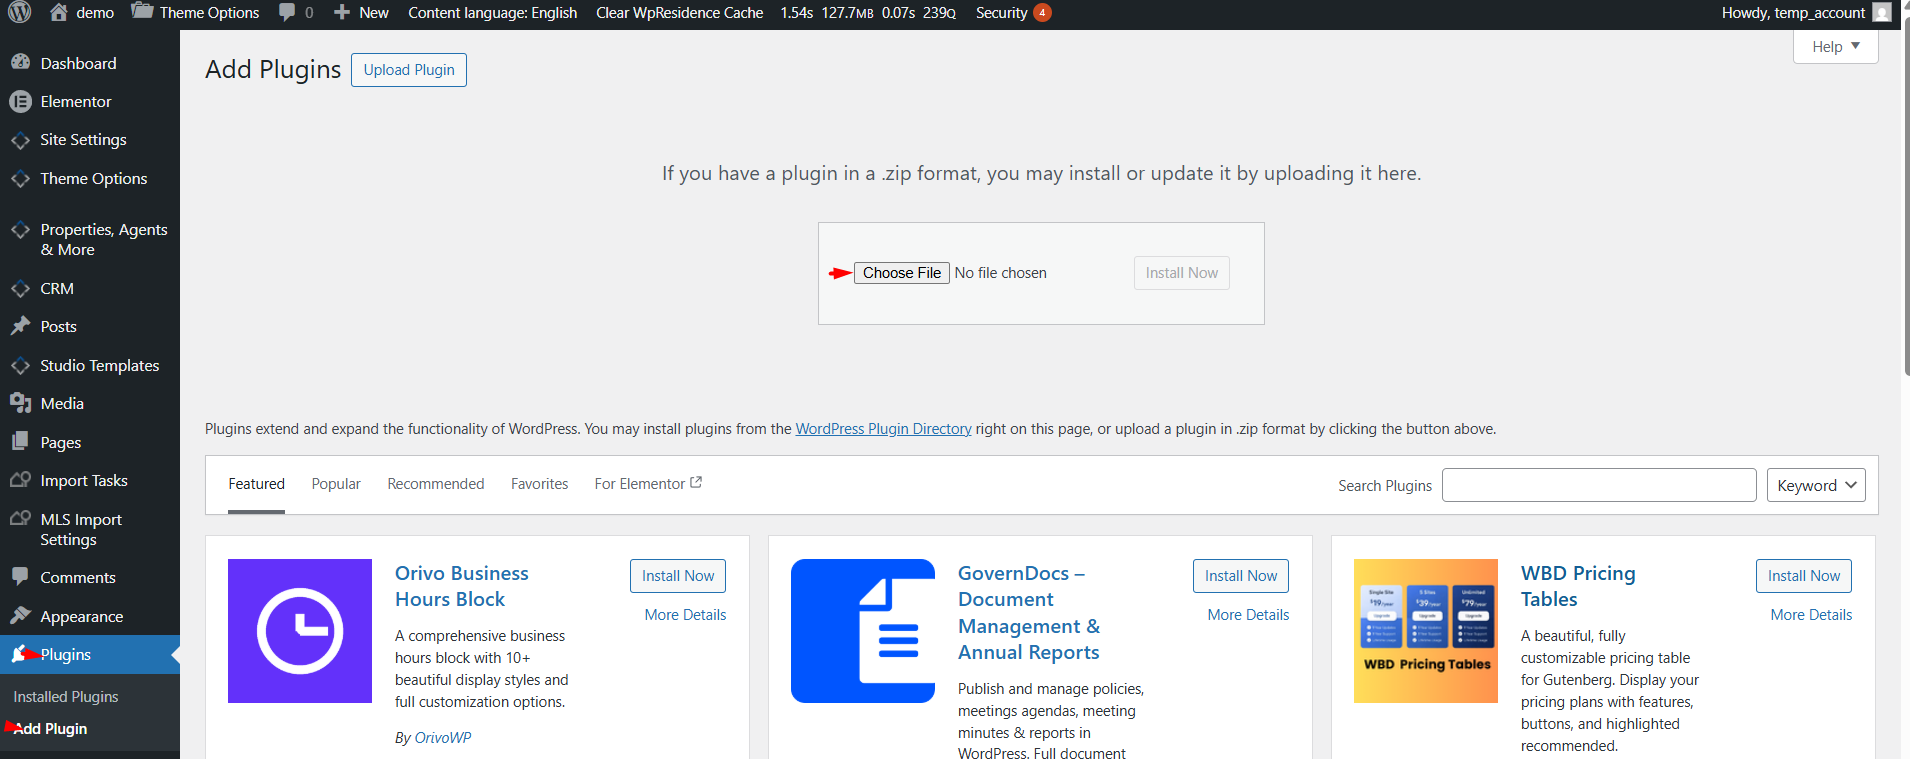
- In the WordPress sidebar go to Plugins > Add New.
- Click Upload Plugin at the top of the page.
- Choose the wpestate-translate.zip file you received with your theme package.
- Click Install Now and wait for the upload to finish.
- Click Activate Plugin.
Option 2 — Upload via FTP
- Unzip wprestate-translate.zip on your computer.
- Upload the resulting wprestate-translate folder into wp-content/plugins/ on your server.
- In wp-admin, go to Plugins and click Activate next to WPEstate Translate.
What Happens When You Activate
Activation is a one-time event. Behind the scenes the plugin automatically:
- Creates its own database tables for translations, strings, slugs, glossary, translation memory, and languages.
- Seeds a predefined catalog of available languages (around 200 languages and regional variants).
- Reads your site locale (from Settings > General > Site Language) and registers it as your default language.
- Writes sensible default settings so the plugin starts in a safe configuration (subdirectory URL strategy, media sync enabled, Elementor compatibility enabled).
- Refreshes WordPress rewrite rules so language-aware URLs like /fr/ or /de/ start resolving right away.
After activation, a new top-level menu labeled WPEstate Translate appears in the WordPress sidebar. The first page you land on is the Start Here overview — use it as your checklist for the rest of the setup.
First-Run Checklist
Once activated, work through the Start Here page in order:
- Open WPEstate Translate > Languages and add every language you want the site to offer. Mark one as default.
- Open Theme & Plugins Strings and run the scan so UI strings from the theme and active plugins are imported.
- Visit Taxonomy Translation to pick which taxonomies (categories, locations, features) are translatable.
- Review Custom Field Rules to decide which property meta fields should be copied across languages.
- If you want auto-translation, open Automatic Translation and enter an API key for OpenAI, Google Translate, DeepL, or Microsoft Azure.
- Open Menu Synchronization and align your navigation menus across languages.
- Finish on the Settings page to confirm the global defaults.
Deactivating vs Uninstalling
WordPress treats these as two different actions — and WPResidence Translate handles them differently.
| Action | What it does | Your translations |
|---|---|---|
| Deactivate | Stops the plugin from running. Admin menu disappears. Language URLs stop resolving. | Kept intact. All data stays in the database. |
| Uninstall / Delete | Removes the plugin files from the server and triggers a cleanup routine. | Translated posts and terms are kept. Only plugin options are deleted. |
What Uninstall Removes
When you click Delete on the Plugins page, the plugin runs its uninstall routine. It deletes only these four configuration entries:
- The stored plugin version marker.
- Your list of active languages.
- The predefined language catalog.
- Your global plugin settings.
What Uninstall Does NOT Remove
By design, uninstall leaves the following alone:
- The six plugin database tables (they remain in place with all translation rows intact).
- Any translated posts, pages, properties, agents, or terms you created.
- String translations you have entered or auto-translated.
- Your glossary and translation memory data.
This is a safety net. If you reinstall WPResidence Translate later, your translations are still there.
Starting Over — The Reset Tool
If you want a clean slate without uninstalling the plugin, use the built-in reset tool instead. You will find it on WPEstate Translate > Settings, at the bottom of the page, under the red Reset Translation Settings section.
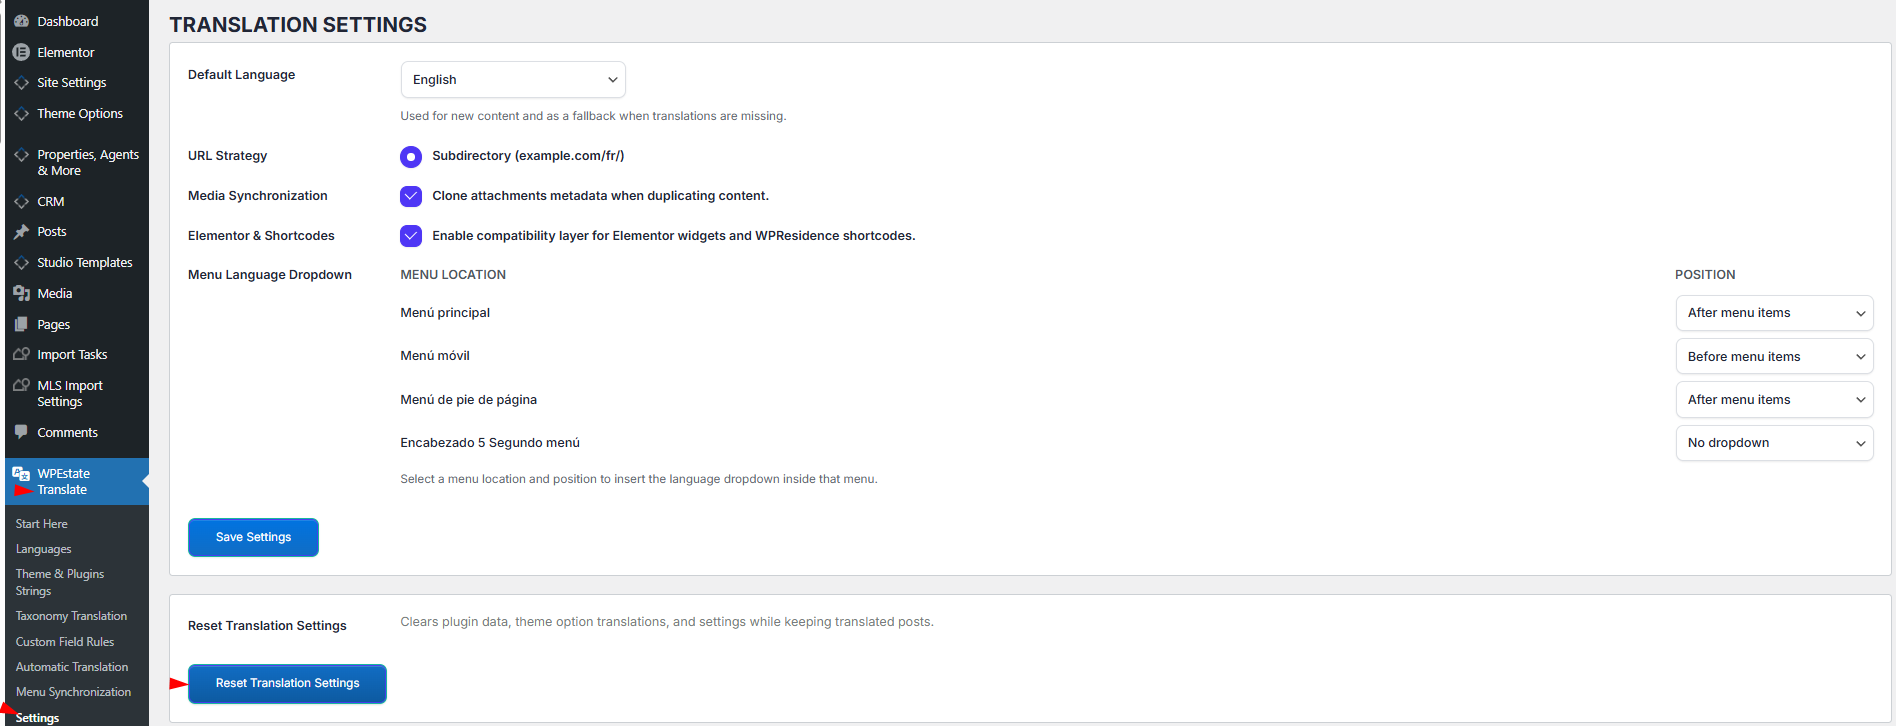
When you click it and confirm, the plugin:
- Truncates all six plugin tables.
- Deletes all plugin options (languages, catalog, settings, glossary, auto-translate config, scanner state).
- Re-runs activation so defaults are rebuilt.
- Keeps your translated posts and terms as regular WordPress content.
Use this when a test run went sideways and you want to reconfigure from scratch — it is faster than uninstalling and reinstalling.
Removing Translated Posts or Terms Separately
If you want to keep the plugin but delete a specific language’s content, open Settings and scroll to the Delete Translations section. You can pick post types or taxonomies, choose a target language, and delete only translated content — the original posts in your default language are never touched.
See the companion Cache Purge & Reset Tools article for full details.
Troubleshooting Activation
- Admin menu does not appear — log out and back in, or refresh the page. If that does not help, deactivate and reactivate the plugin.
- Language URLs return 404 errors — go to Settings > Permalinks and click Save to force a fresh flush of rewrite rules.
- Default language is wrong — open WPEstate Translate > Languages and click the default flag next to the language you want as default.
What To Read Next
- Settings Page — every option on the global Settings screen explained in plain English.
- Managing Languages — how to add, reorder, and enable languages.
- Cache Purge & Reset Tools — how to safely flush translation caches and delete translated content.
For a broader product tour, see the WPResidence guide to building a multi-language real estate website.