
WPEstate Translate has three maintenance tools: clearing the WPResidence cache, resetting the plugin settings, and deleting the translations of one language. This article explains what each one removes and when to use it, from the safest to the most destructive.
Which Tool to Use
| You want to | Use | Can it be undone? |
|---|---|---|
| Show new translations in search dropdowns, lists and menus | Clear WpResidence Cache in the admin bar | Nothing to undo. The cache rebuilds on the next visit. |
| Start the plugin configuration again and keep your translated posts | Reset Translation Settings | Only from a backup |
| Remove all translated posts or terms of one language | Delete Translations | Only from a backup |
| Remove the plugin | Plugins > Delete, see Installing, Activating and Uninstalling | Only from a backup |
Take a database backup before a reset or a delete.
Clear the WPResidence Cache
WPResidence caches the lists of actions, categories, cities, areas, counties, statuses and features used by the search forms, and the translated site keeps one copy per language. WPEstate Translate clears this cache on its own after a bulk automatic translation, after you publish a post translated with Auto translate, and after Automatic Translate on theme and plugin strings. After you translate terms by hand or change a menu, the old list can still show until you clear the cache yourself.
- Click Clear WpResidence Cache in the top admin bar, on any wp-admin screen.
- Clear your cache plugin, server cache or CDN too, if you use one.
- Reload the page in each language.
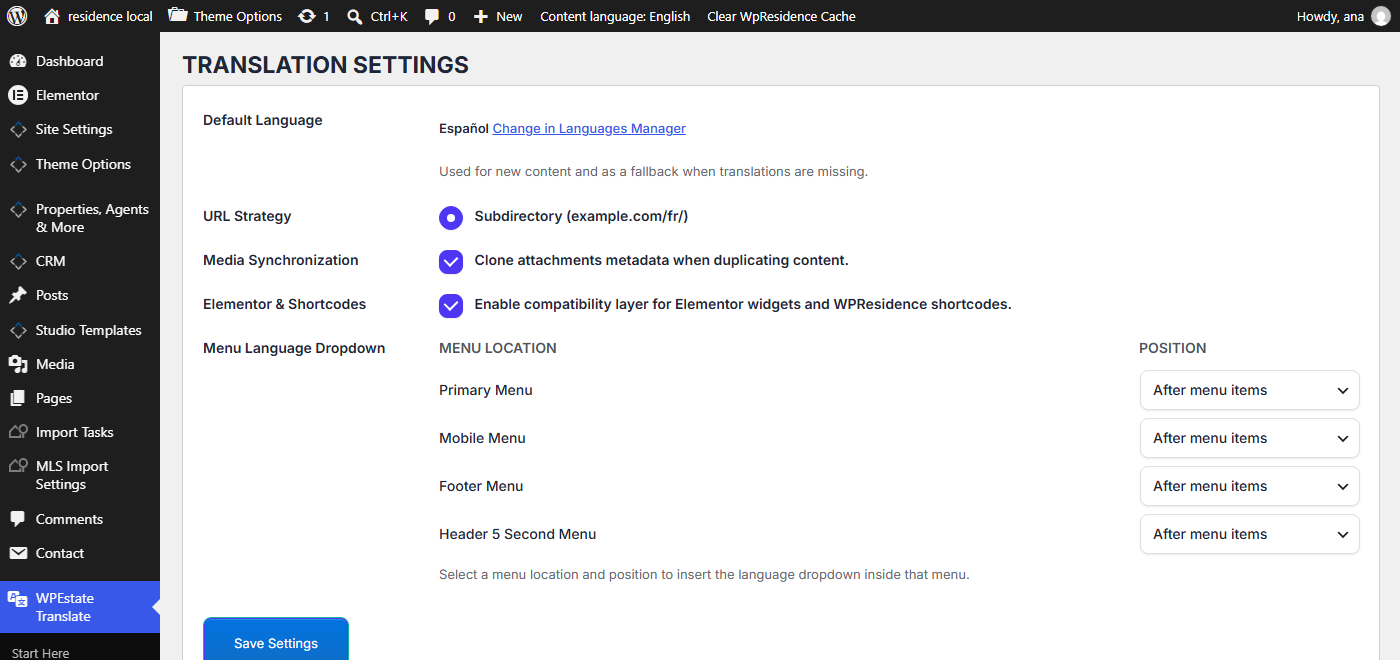
More about what is cached per language: Performance and Caching for a Multilingual Site.
Reset Translation Settings
Use the reset to set the plugin up again from the start, for example on a test site or after a failed migration.
- Take a backup of the database.
- Go to WPEstate Translate > Settings and scroll to Reset Translation Settings.
- Click Reset Translation Settings and confirm the dialog.
The page reloads with the message Translation settings were reset. Existing translated posts were kept.
| Removed | Kept |
|---|---|
|
|
After the reset the plugin starts with its default settings. Next:
- Add your languages again in WPEstate Translate > Languages and mark the same default language. See Managing Languages.
- Enter the API key again in Automatic Translation, if you use it.
- Scan and translate the strings in Theme & Plugins Strings, then click Generate translation files. See Translating Theme and Plugin Strings.
Delete the Translations of One Language
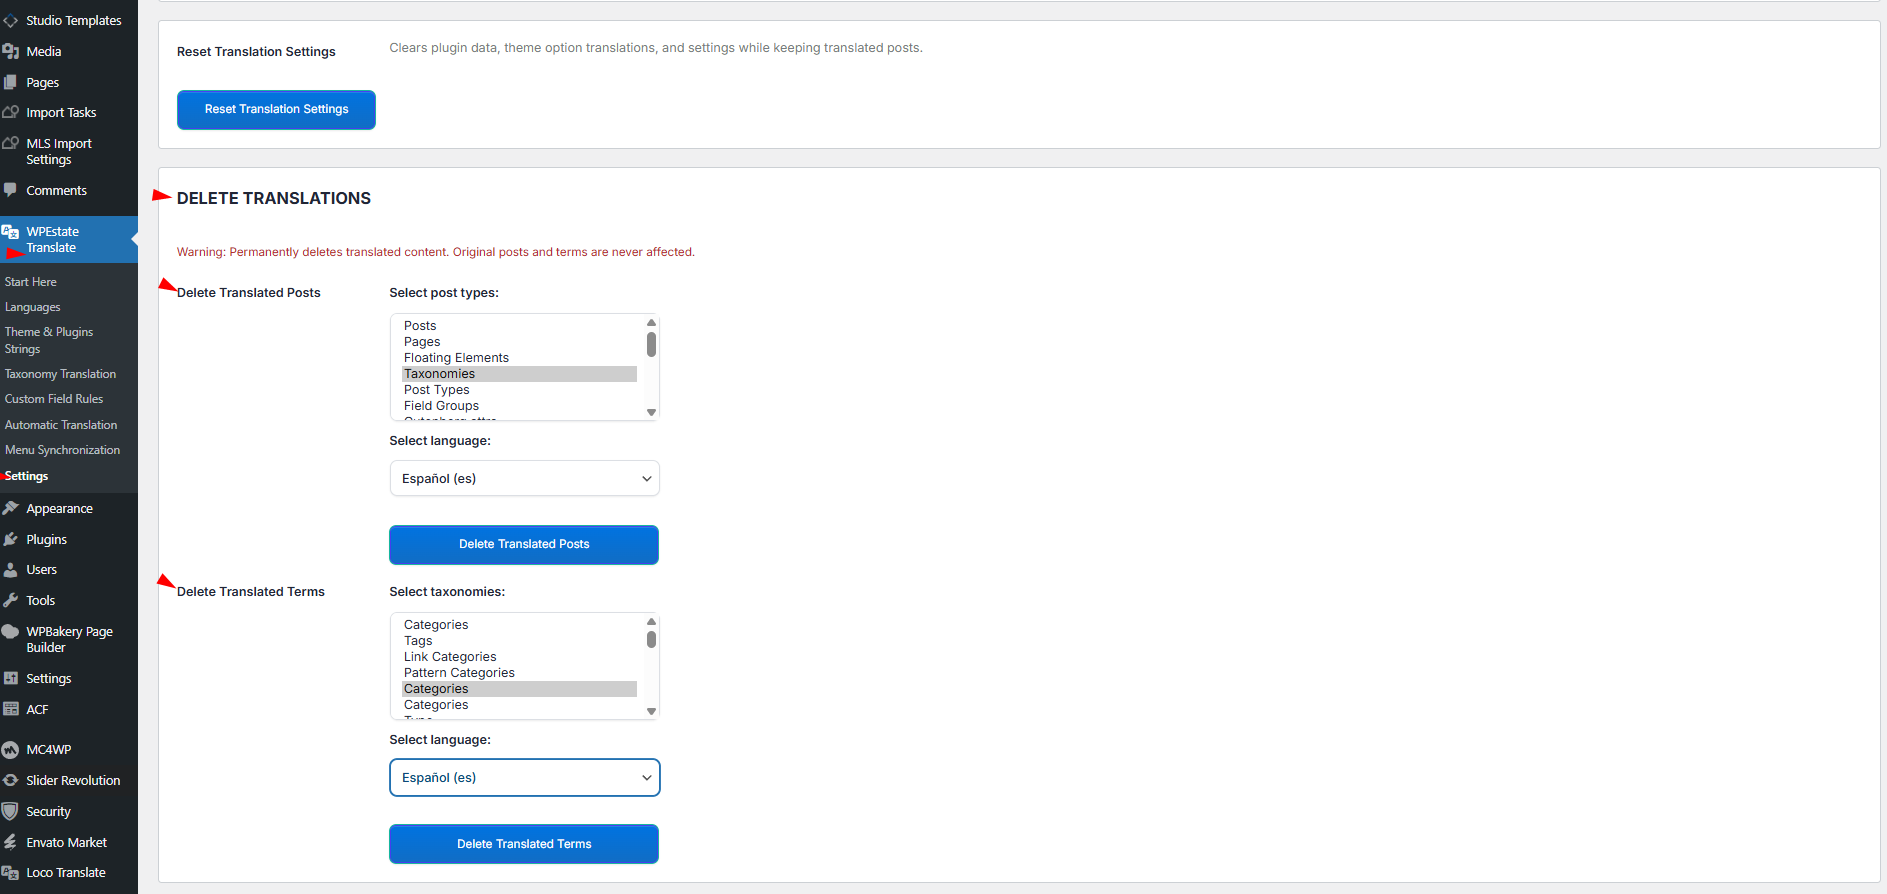
The Delete Translations box under the reset permanently deletes the translated posts or terms of one language. Use it to drop a language, or to start a language over after a poor automatic translation. Originals are never deleted, and the default language is not in the list.
- Under Delete Translated Posts, select the post types in Select post types. Hold Ctrl (Cmd on Mac) to select more than one.
- Choose the language in Select language.
- Click Delete Translated Posts. A dialog shows how many items will be deleted. Confirm it.
- Keep the page open until the status line reaches the end. Items are deleted 20 at a time.
Translated categories, cities, areas and features work the same way under Delete Translated Terms, with Select taxonomies and Delete Translated Terms.
- Translations in the trash are deleted too.
- Image files shared with the original are not deleted.
- Items that are not linked as a translation of an original are skipped.
After deleting, click Clear WpResidence Cache. To stop showing a language without deleting anything, untick Enabled for it in WPEstate Translate > Languages.