In WpResidence, you can build your website header in 2 different ways:
- Use the default theme header, managed from Theme Options > Header
- Use a custom header created with Elementor Free, managed with the WpResidence Studio plugin
This guide explains both options clearly so you know which settings apply to your website based on the type of header you use.
Important: If you use a custom header created with WpResidence Studio, the visible header layout must be edited in Elementor. Theme Options > Header controls the default theme header, not the custom Studio header. If a custom Studio header is assigned to a display location, it replaces the default theme header for that location.
How to choose the correct header setup
You should first decide which header system you want to use on your website.
Use the default WpResidence header if you want to manage the logo, menu layout, login/register area, submit property button, top bar, mobile header, hero header behavior, and header colors from Theme Options.
Use a custom Elementor header if you want to design your own header layout with drag and drop controls using WpResidence Studio + Elementor Free. When a custom header is assigned to a location, it replaces the default WpResidence header in that location.
When you use the default WpResidence header
If you are using the theme default header, all header management is done from:
WP Admin > Theme Options > Header
This area includes the settings for header layout, header height, sticky header height, menu font sizes, login/register options, top bar settings, hero media settings, mobile header options, and header colors.
Use the default header if you want to work with the built-in WpResidence header types and their global design controls, without building a custom header in Elementor.
Default header settings in Theme Options
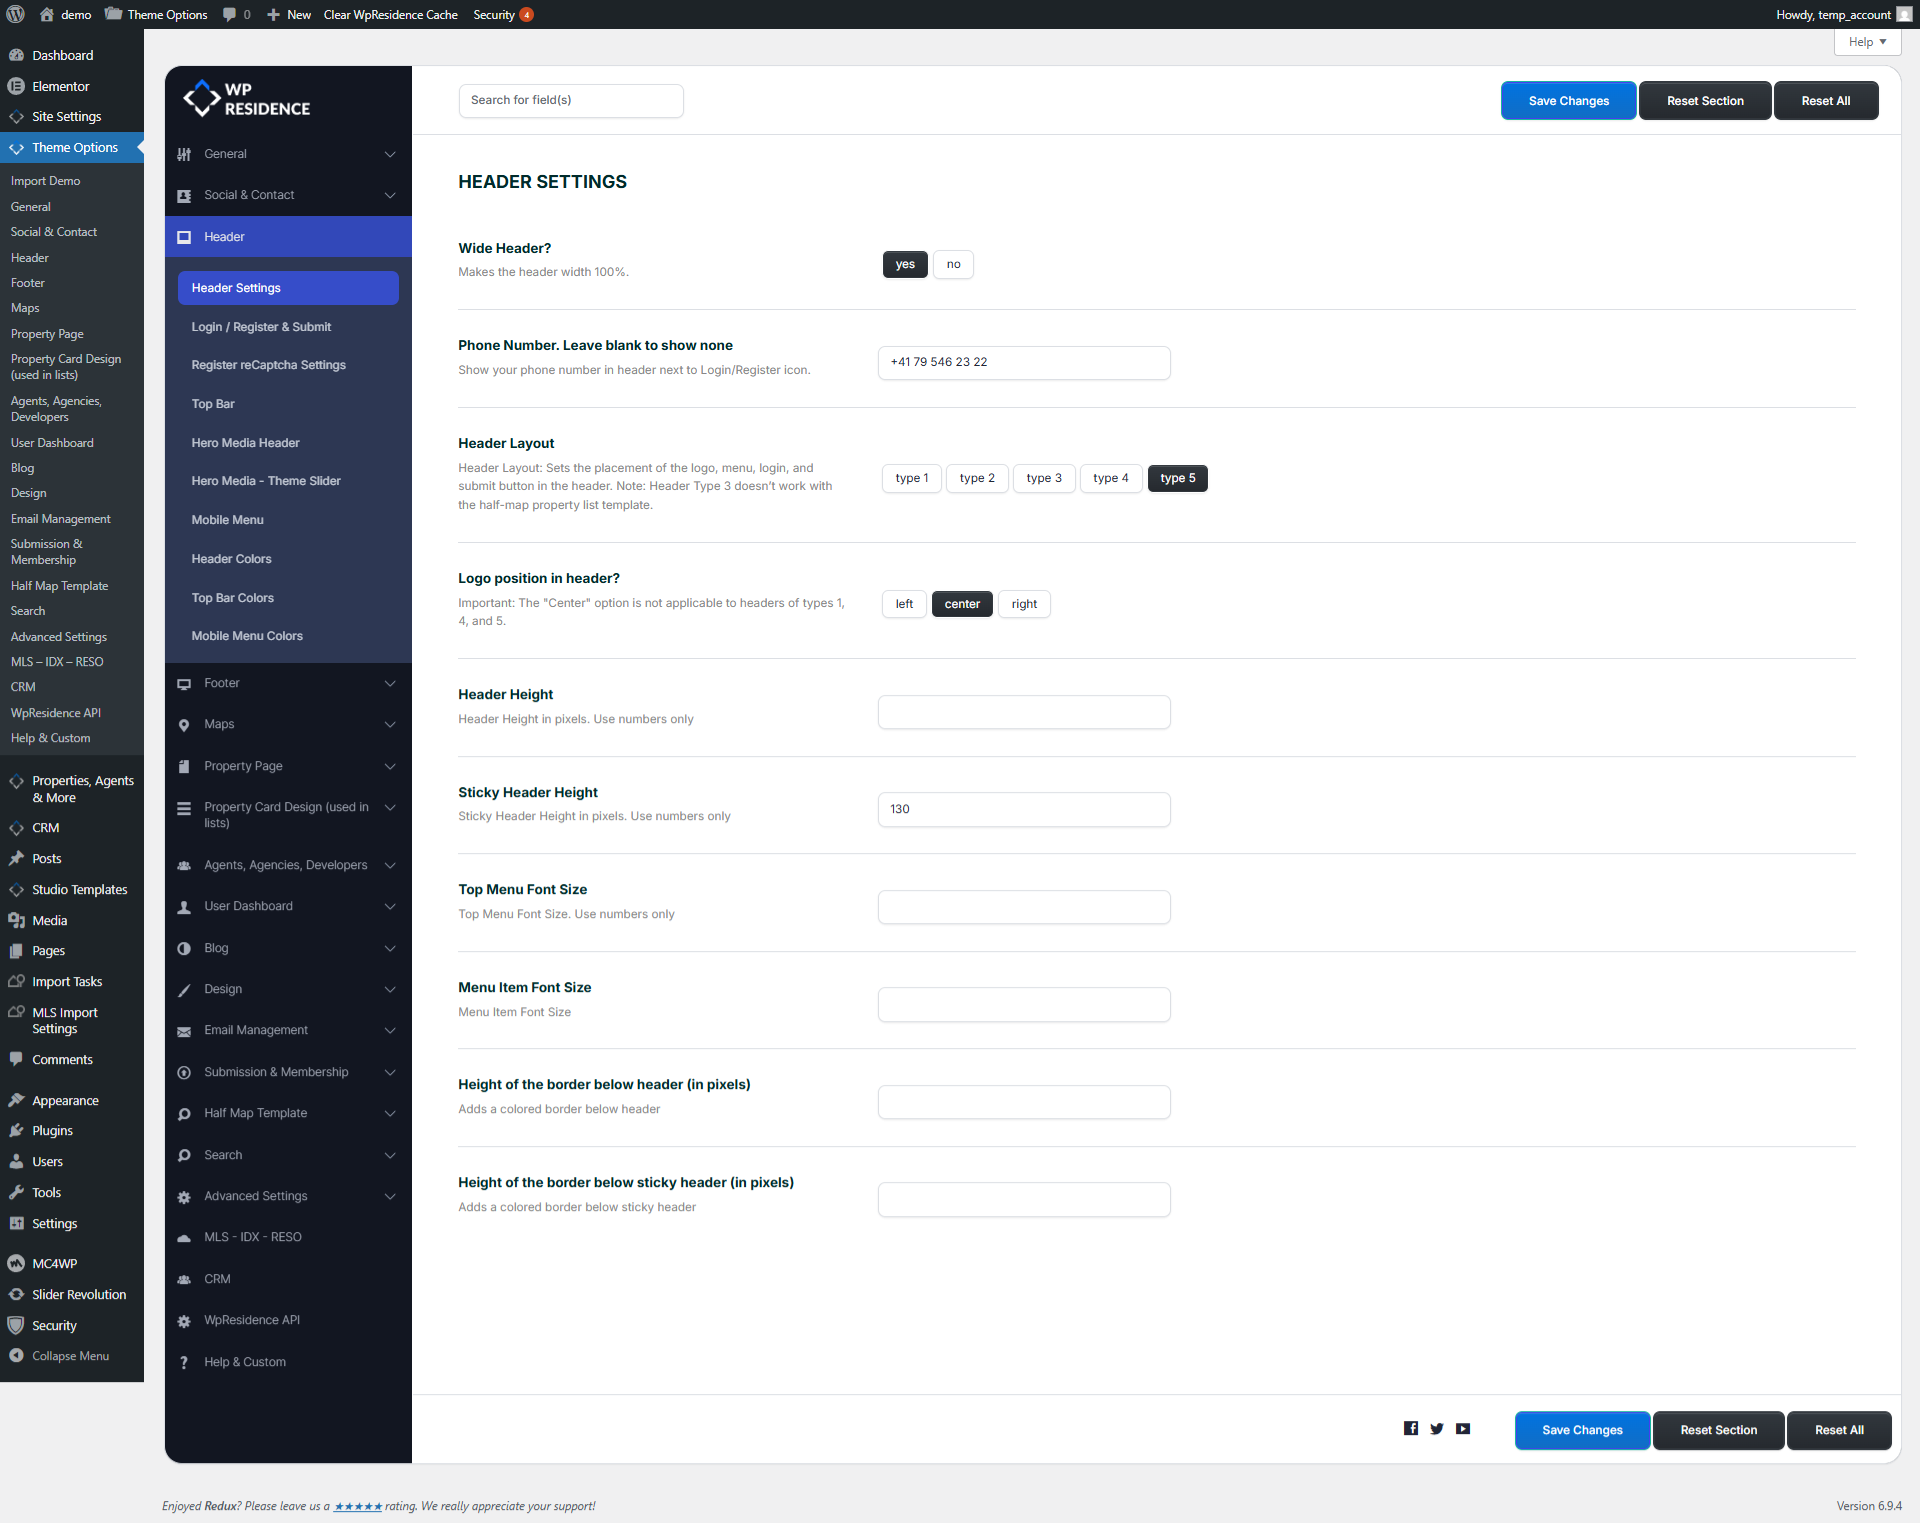
From Theme Options > Header, you can manage the following:
Header Settings
- Wide Header
- Phone Number
- Header Layout
- Logo Position in Header
- Header Height
- Sticky Header Height
- Top Menu Font Size
- Menu Item Font Size
- Border height below the header
- Border height below the sticky header
The theme includes multiple built-in header layouts. The selected layout controls the position of the logo, menu, login area, and submit button. Some logo position options depend on the header type used.
Login / Register and Submit Property
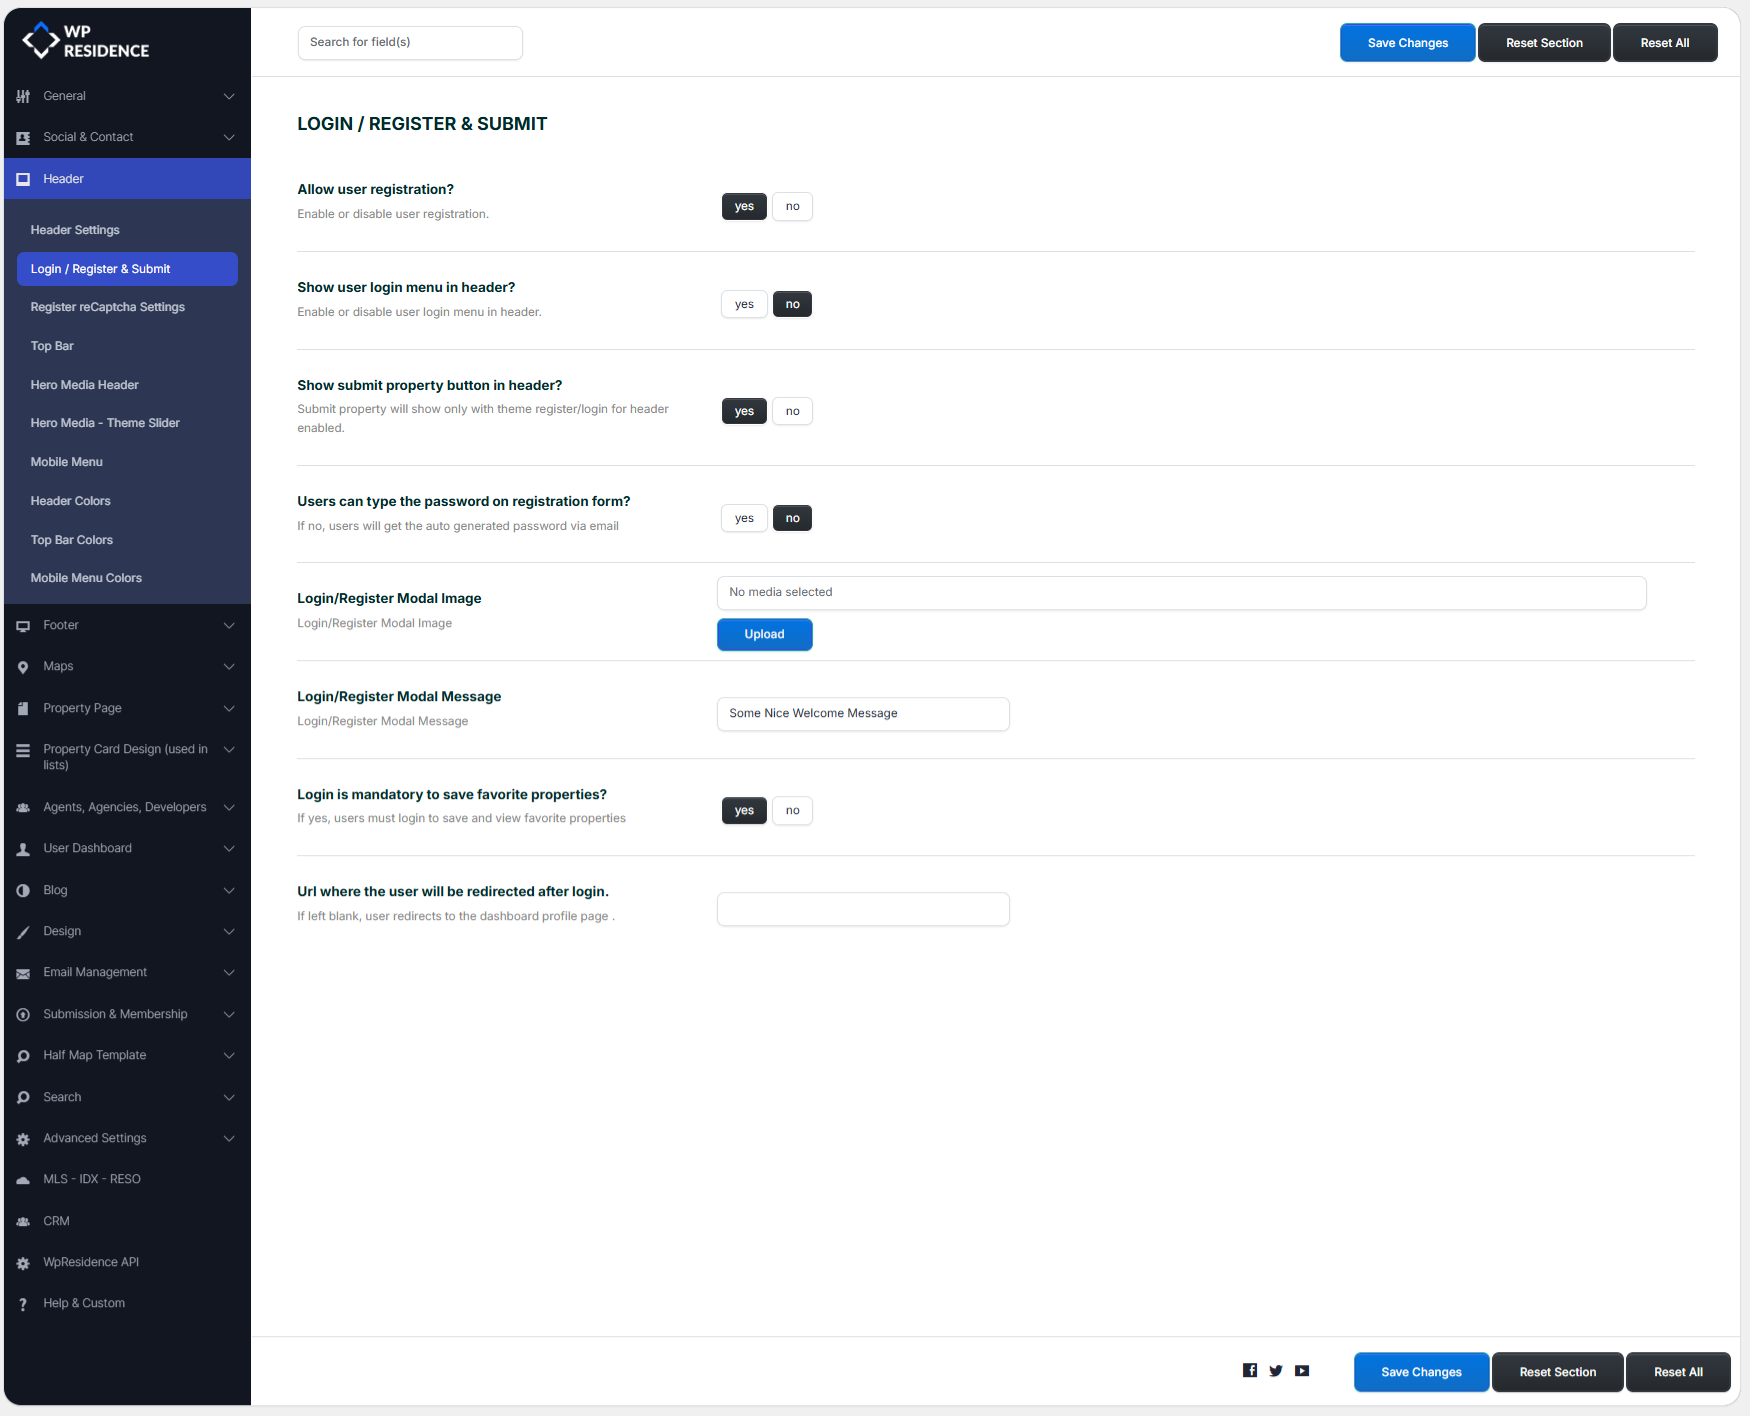
- Show user login menu in header
- Show submit property button in header
- Allow users to type the password on registration
- Set Login/Register modal image
- Require login to save favorite properties
- Set redirect URL after login
The submit property button works only with the theme login/register system. If enabled, make sure the Front Property Submit page exists and uses the correct page template.
Register reCaptcha Settings
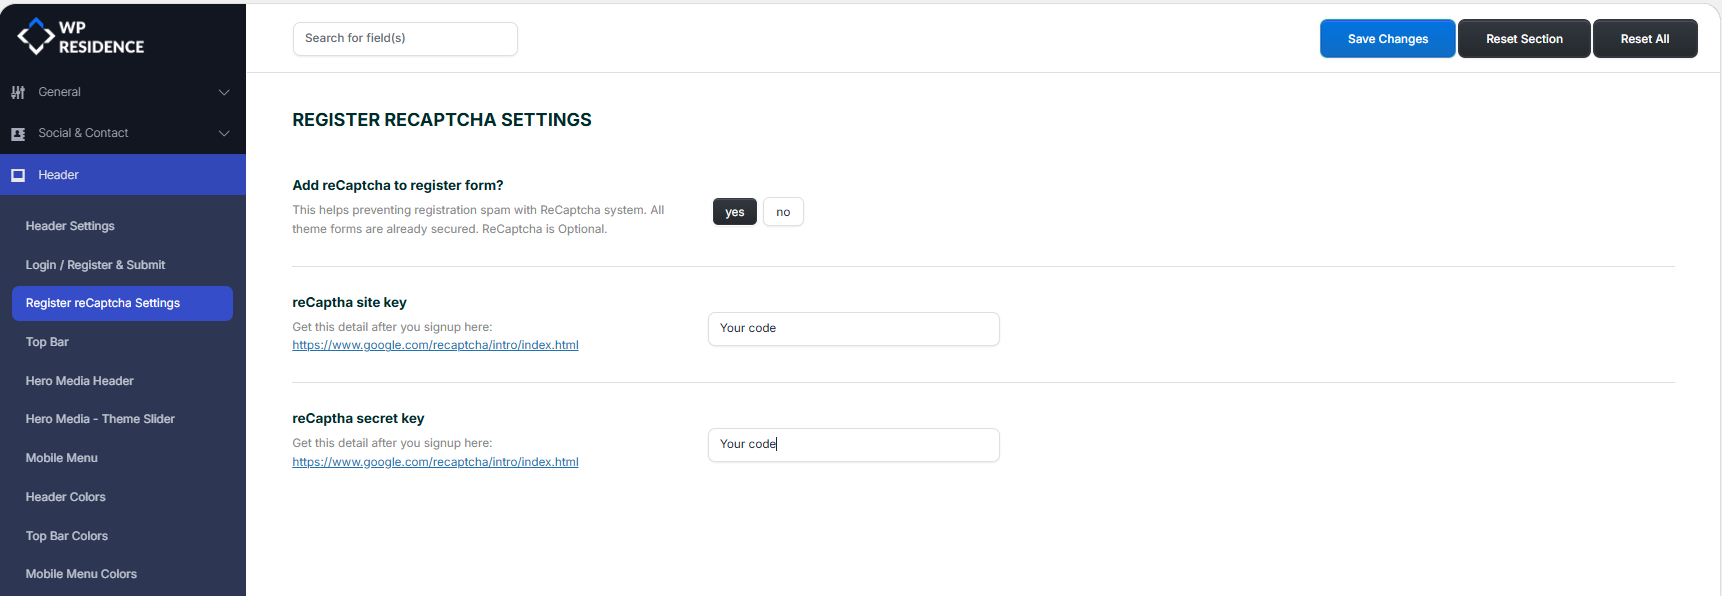
reCaptcha is optional. Theme forms are already secured by WordPress nonces, but you can also add Google reCaptcha v2 keys in the Header settings area if needed.
Top Bar
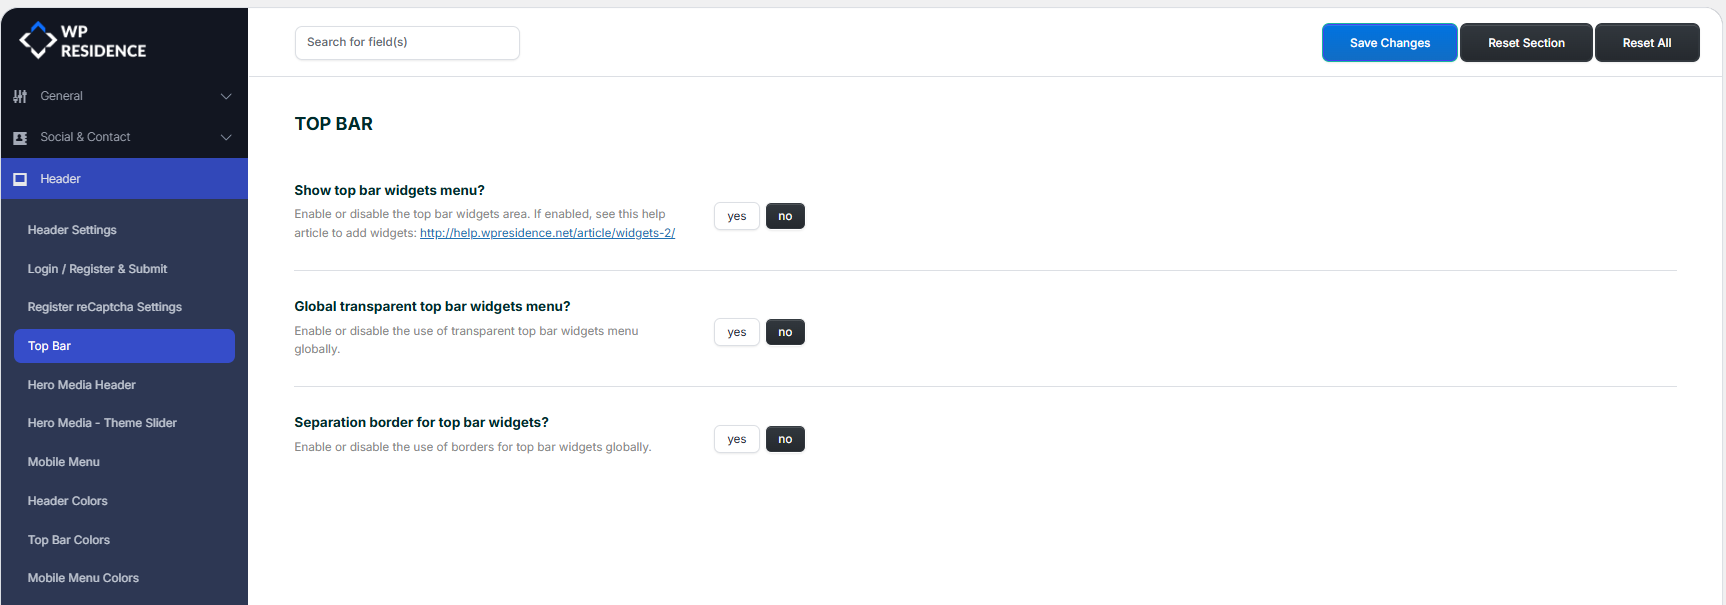
- Show top bar widgets menu
- Show top bar on mobile devices
- Enable transparent top bar globally
- Enable top bar separation borders
Please note that the top bar will not display on mobile if the sticky mobile header option is enabled.
Hero Media Header
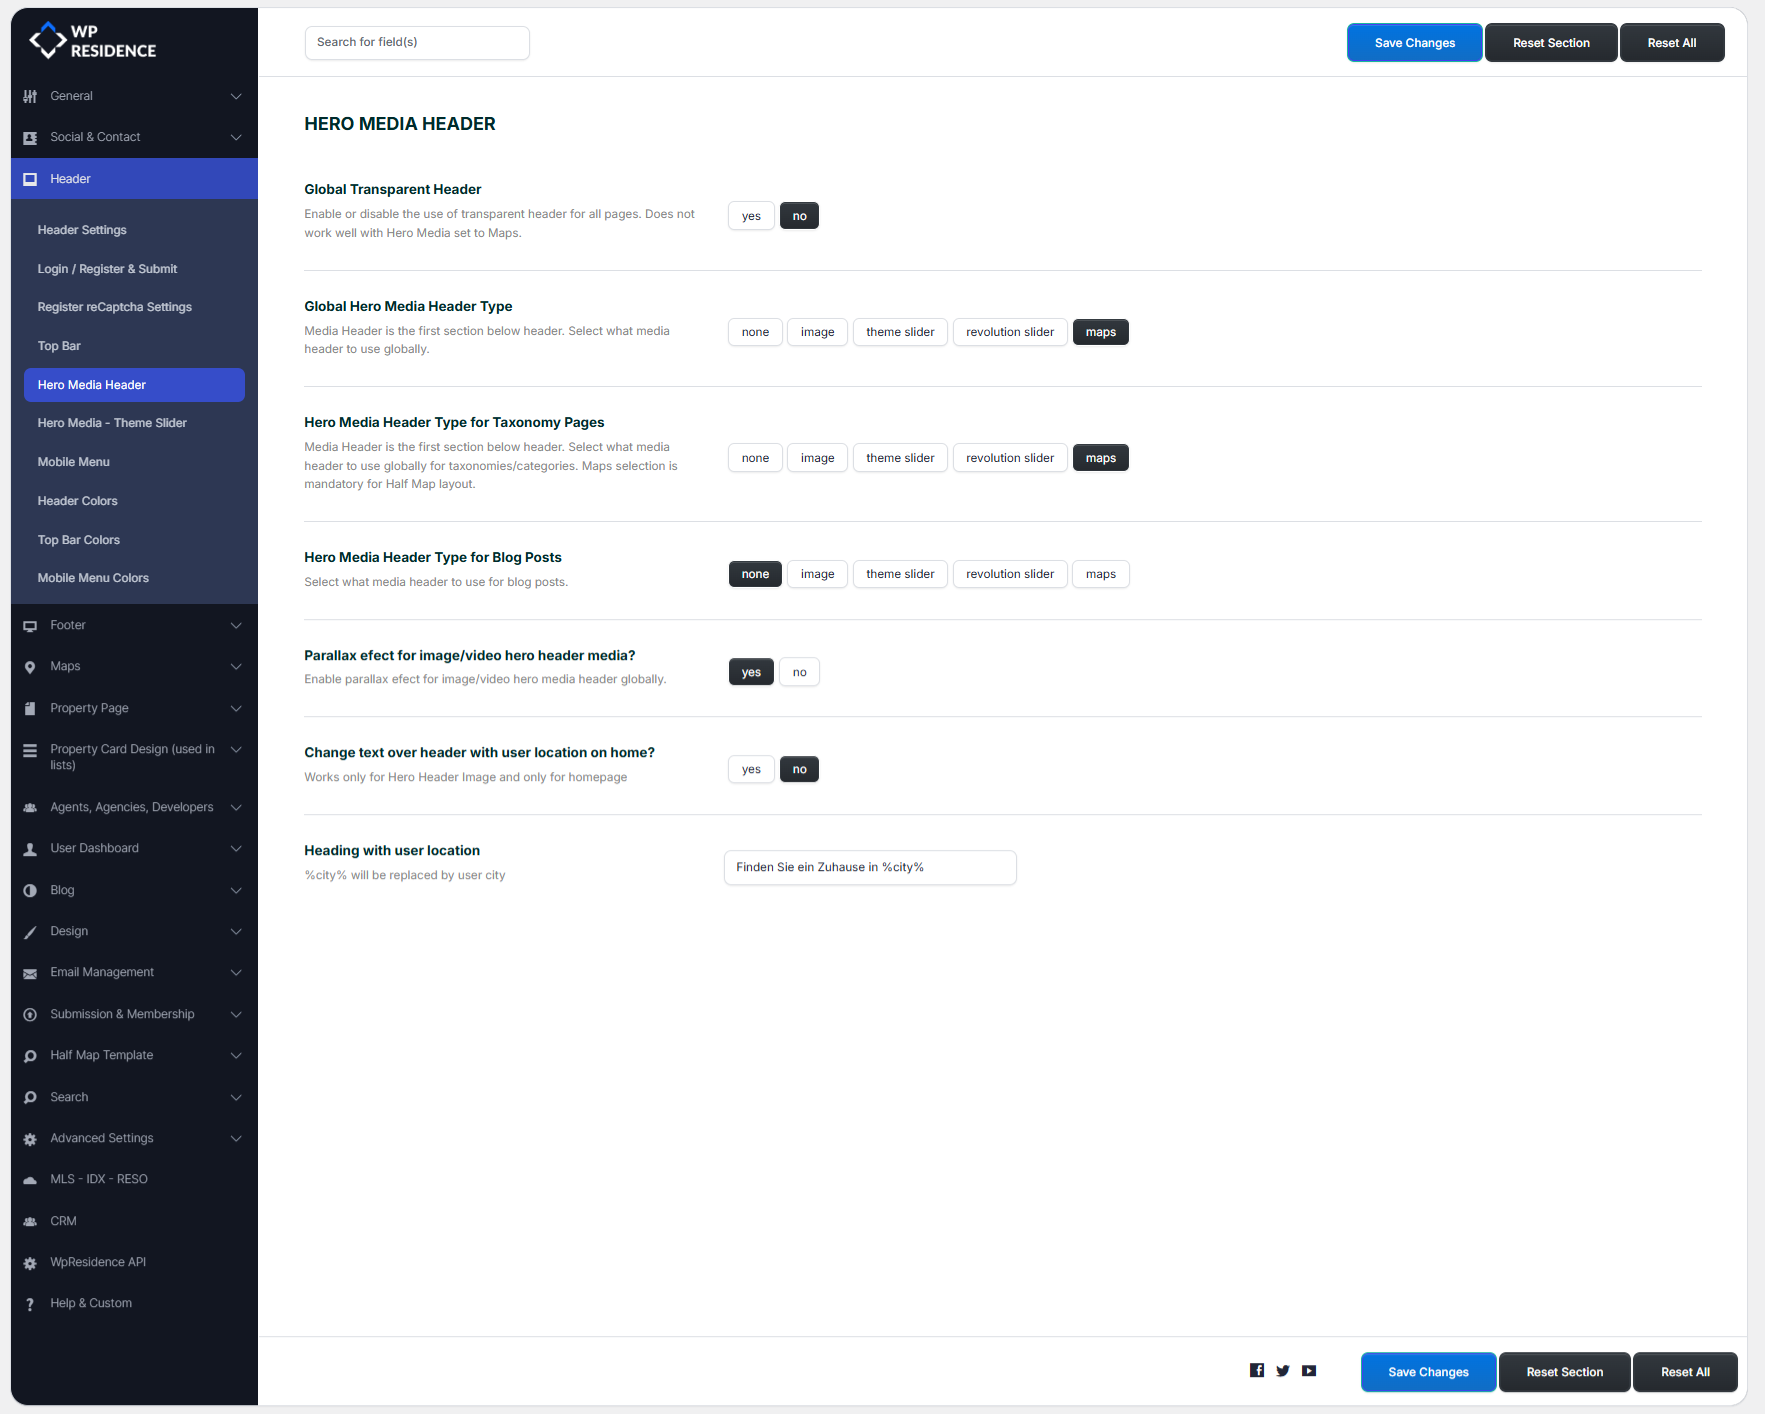
- Global Transparent Header
- Global Hero Media Header Type
- Hero Media Header Type for Taxonomy Pages
- Hero Media Header Type for Blog Posts
- Parallax effect for image/video hero header
- Dynamic heading with user location on homepage
The transparent header can be controlled globally from Theme Options and also per page from page appearance settings. However, a transparent header does not work when the map header is used as a global header or a custom header.
Mobile Menu
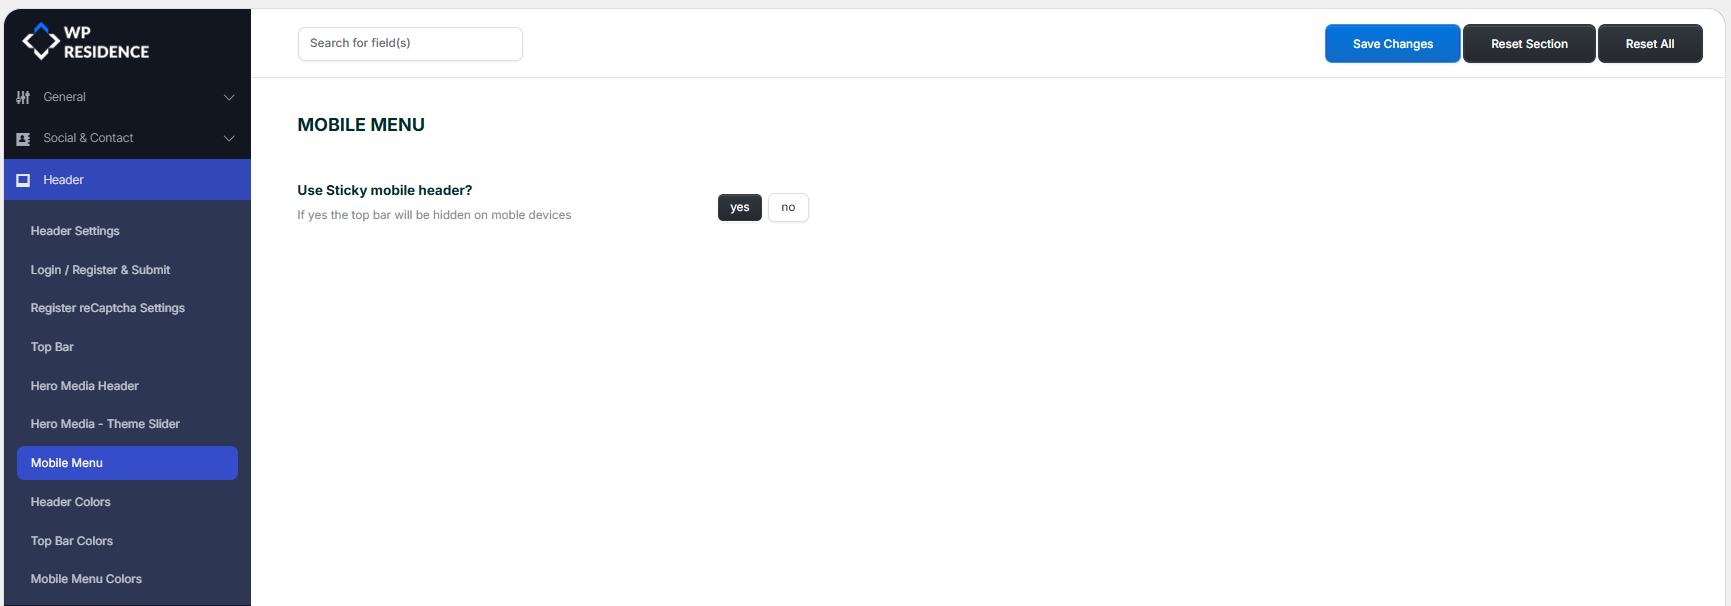
- Use sticky mobile header
Header Colors
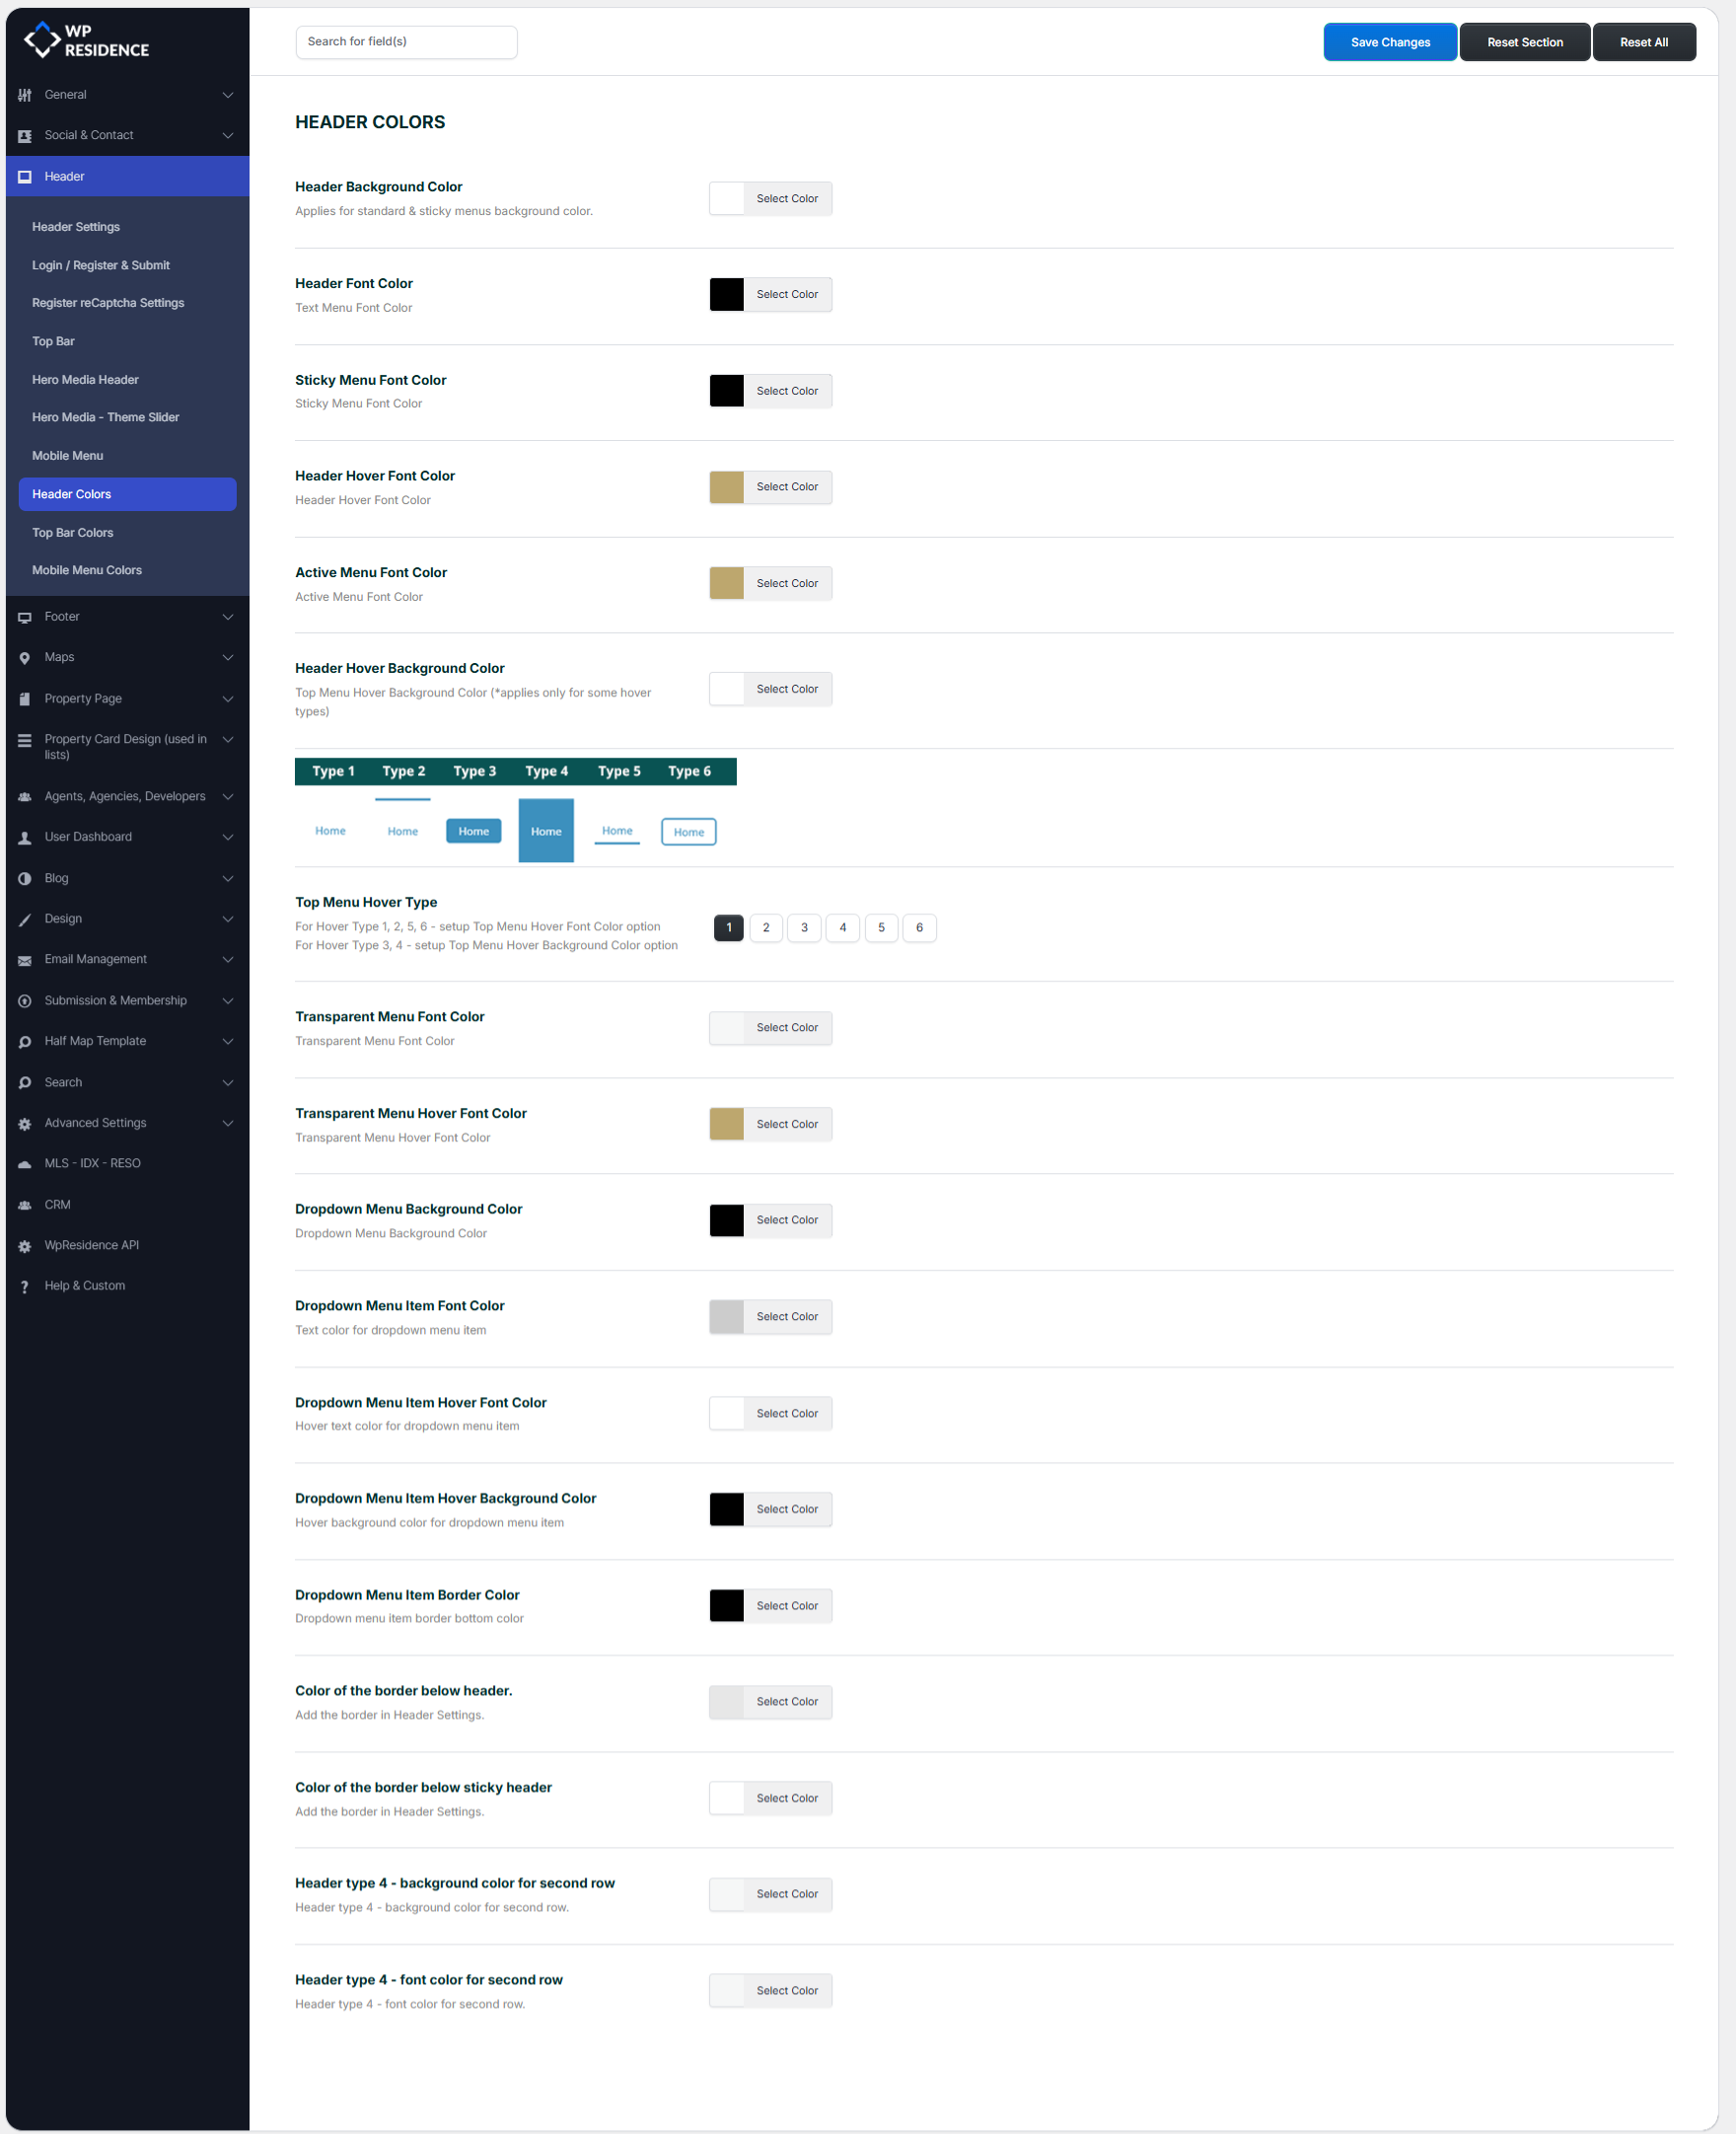
You can control the colors for the header background, header font, sticky menu font, hover colors, active menu color, transparent menu colors, dropdown menu colors, and header border colors.
Top Bar Colors
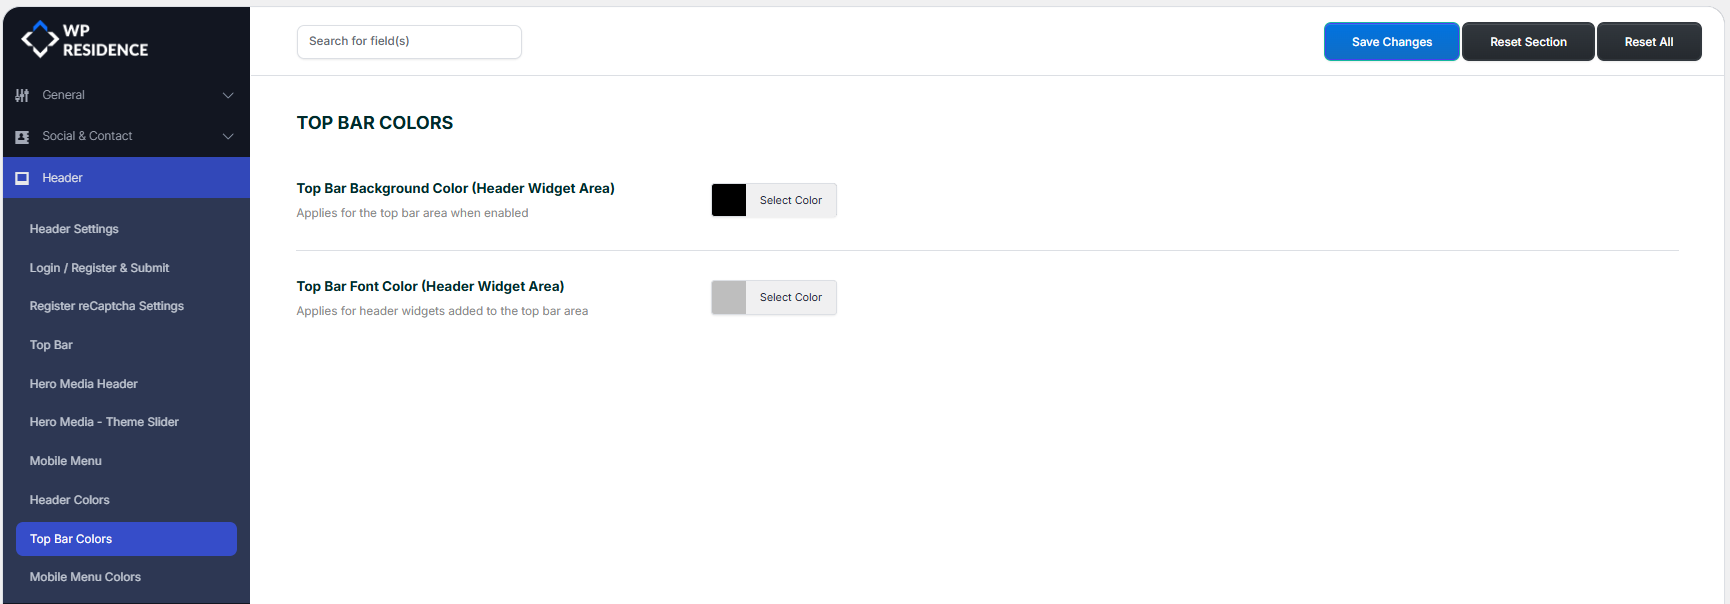
You can control the top bar background and font colors.
Mobile Menu Colors

You can control the mobile header background, icon colors, menu colors, hover colors, menu background, and border colors.
When you use a custom header created with Elementor
If you want to design your own header with Elementor Free, you must use the WPResidence Studio plugin.
A custom Studio Header template replaces the default WPResidence header on the display locations where you assign it.
This means that once a custom Elementor header is active for a location, the design and layout of that header are no longer controlled by the built-in Theme Options header layouts.
How to install WPResidence Studio
To create a custom header with Elementor, first install and activate the Studio plugin:
- Go to WP Admin > Appearance > Install Plugins
- Or go to WpResidence > Site Settings > Plugins
- Install and activate WPResidence Studio
After activation, you will see the WPResidence Studio Templates menu in wp-admin.
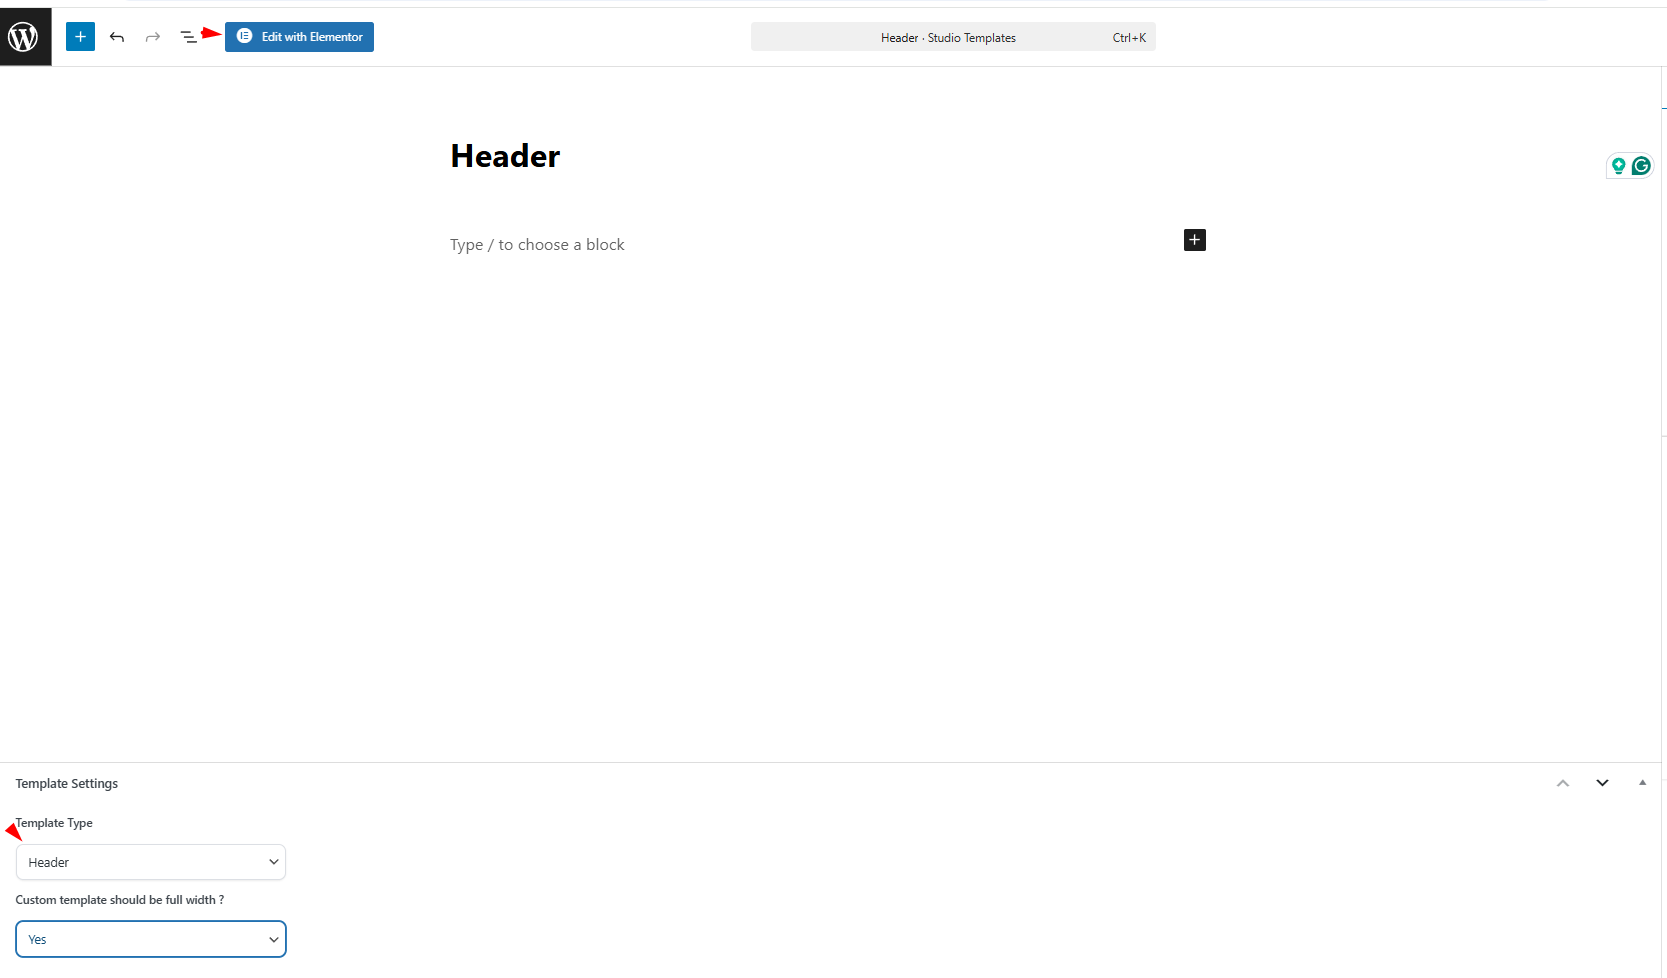
How to create a custom header with Elementor

- Go to WpResidence Studio Templates
- Click Add New WpResidence Studio Template
- Select Header as template type
- Publish the template
- Click Edit with Elementor to design the custom header
You can use Elementor Free to create the layout, add widgets, style the header, and fully customize how it looks.
How display locations work for custom headers
After creating the Studio header, you must assign where it should display.
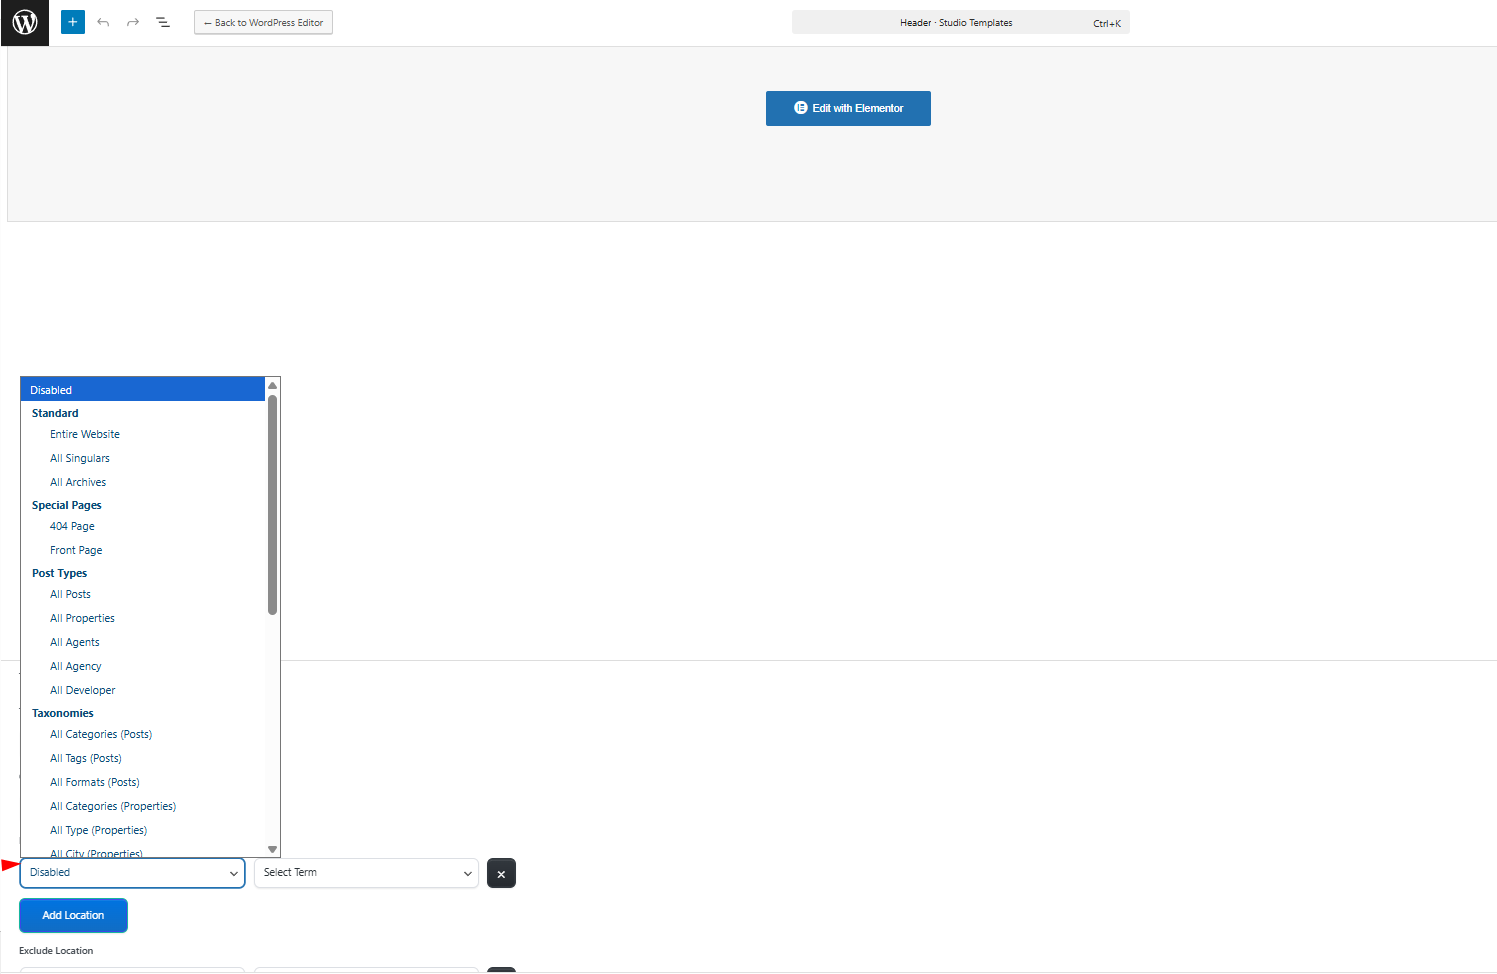
Display locations can be set for:
- Entire Website
- All Singulars
- All Archives
- 404 Page
- Front Page
- All Blog Posts
- All Properties
- All Agents
- All Agencies
- All Developers
- Property taxonomies such as Property Categories, Property Type, Property Cities, Neighborhoods, Counties/States, Features & Amenities, and Property Status
- Agent, Agency, Developer taxonomies
You can also assign a header to a specific taxonomy term, for example, only one Property City or only one Property Category, using the second dropdown in the rule row. You can create multiple display rules if needed.
Which Theme Options still apply and which do not
If you use the default WpResidence header
All settings from Theme Options > Header apply to your website header, including header layout, top bar, login/register, submit button, mobile menu, hero media settings, and header colors.
If you use a custom Elementor header
The custom Studio header replaces the default WpResidence header in the assigned locations. This means the design and structure of the active header should be managed in Elementor, not from the built-in default header layout settings.
For websites using a custom Elementor header, it is important to understand this difference:
- Use Elementor to design the custom header layout, structure, columns, spacing, widgets, icons, logo placement, and menu design.
- Use Theme Options > Header only for settings that belong to the default theme header system.
In practice, if a Studio custom header is active on a page, changing the default header layout in Theme Options will not redesign that custom Elementor header because the custom header has replaced it for that location. This is the key difference users need to keep in mind.
Important notes
1. The transparent header has limitations.
The transparent header option does not work with the map header used as a global header or as a custom header.
2. Use one active header system per location.
If a custom Elementor header is assigned to a display location, that custom template replaces the default theme header in that location.
3. Default footer and custom footer work in a similar way.
If you create and publish a Studio Footer template, it replaces the default footer on the selected display locations. If you want to use the theme footer instead, manage it from Theme Options > General > Footer.
4. Elementor Free is supported.
WpResidence Studio works with Elementor Free for creating custom headers and footers.
Summary
Use Theme Options > Header when you want to work with the built-in WpResidence default header.
Use WpResidence Studio + Elementor when you want to replace the default header with a custom header design.
How to create custom Header & Footer with WpResidence Studio + Elementor Free
If a custom Studio header is assigned to a location, that custom template becomes the active header there, and the default header layout settings are no longer the ones controlling the visible header for that location.