Overview
Header Type 3 is the vertical WPResidence header layout. It is displayed on the left side of the website and is open by default.
This header type is useful when you want a fixed vertical menu layout instead of a classic horizontal header.
Header Type 3 can include:
- The website logo
- The main navigation menu
- Widgets added before or after the menu area
Set Header Type 3
To enable Header Type 3, go to:
Theme Options > Header > Header Settings
Find the Header Layout option and select:
type3
Save the changes.

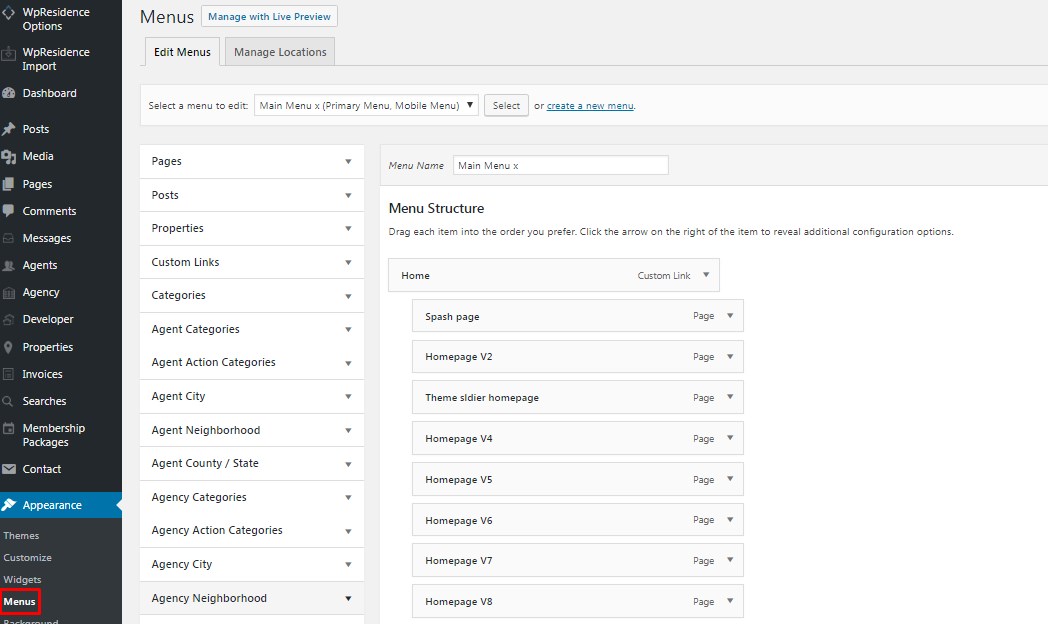
Manage the vertical menu items
The menu items shown in Header Type 3 are managed from the WordPress menu settings.
Go to:
Appearance > Menus
From this section, you can:
- Create a new menu
- Edit an existing menu
- Add pages, custom links, categories, or other menu items
- Reorder menu items
- Assign the menu to the theme menu location
After editing the menu, save the menu and check the front end.
Add widgets to Header Type 3
Header Type 3 also supports widgets.
You can add widgets before or after the vertical menu from:
Appearance > Widgets
Look for the Header Type 3 widget areas and add the widgets you want to display.
You can use this area for content such as:
- Contact details
- Social icons
- Short text blocks
- Custom HTML
- Other WordPress widgets supported by the theme

Frontend example
This is how Header Type 3 looks on the front end:
https://seattle.wpresidence.net/


Important notes
- Header Type 3 is a default WPResidence header layout controlled from Theme Options > Header.
- The menu items are managed from Appearance > Menus.
- The extra content around the vertical menu is managed from Appearance > Widgets.
- Header colors and design options are managed separately from the header layout selection.
- Mobile header behavior is managed separately from the desktop Header Type 3 layout.
- If you use a custom header created with WPResidence Studio, that custom header can replace the default theme header in the locations where it is assigned.
Related help articles