Leads in the WPResidence real estate CRM sit between contacts and deals. A lead is a signal of interest: a form submission, a phone call, a portal enquiry. Each lead is tied to a contact (the person) and, optionally, to the property they are interested in.
This article walks through adding leads, understanding lead statuses, assigning handlers, and moving leads forward into deals.
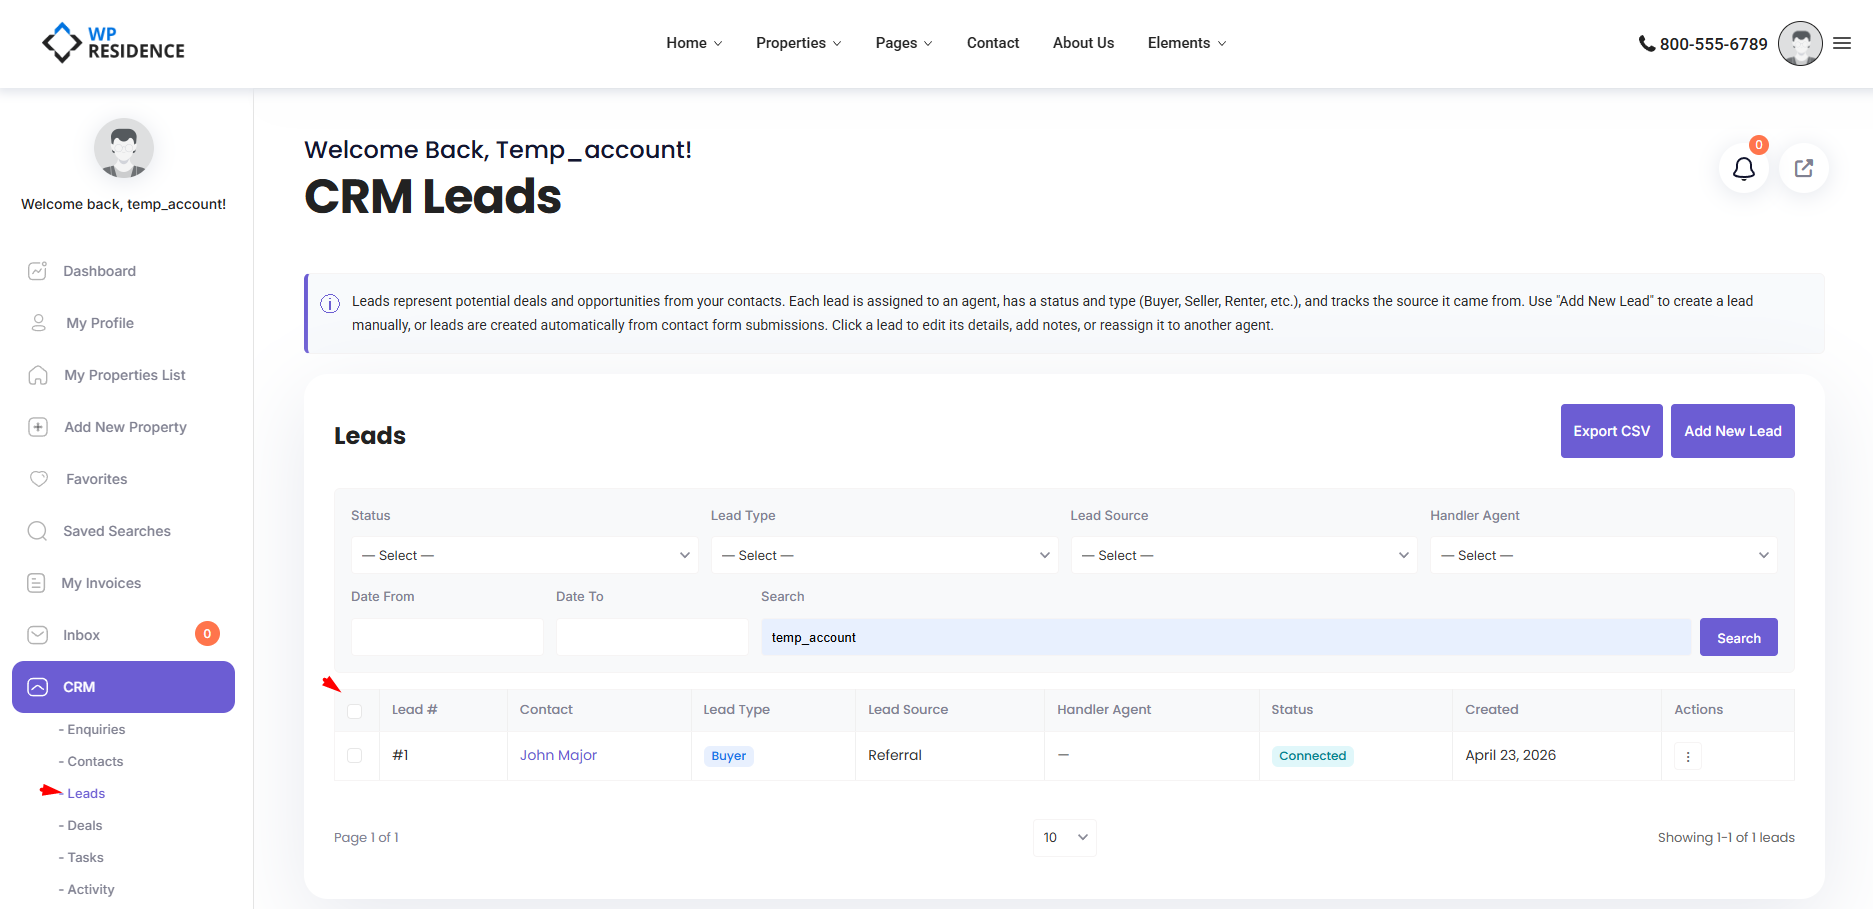
Opening the Leads Section
From the CRM sidebar, click Leads. You will see a paginated list of leads scoped to your role — admins see everything, agents see only leads assigned to them or created by them.
What a Lead Contains
Every lead is a short record with the following information:
| Field | What it is |
|---|---|
| Contact | The person the lead belongs to (auto-linked) |
| Handler agent | The agent responsible |
| Lead type | Buyer, Seller, Tenant, Landlord, Investor, Other |
| Lead source | Where it came from (Website, Referral, Phone, etc.) |
| Source link | URL of the page or listing that generated the lead |
| Status | Current progress (see below) |
| Message | What the prospect actually said |
| Private note | Your internal comments |
Lead Statuses
The default statuses, customizable by your administrator in CRM Settings, are:
- New — just arrived.
- Open — under active work.
- In progress — conversations ongoing.
- Open deal — has been linked to an active deal.
- Unqualified — not a fit.
- Attempted to contact — you tried, awaiting response.
- Connected — dialogue established.
- Bad timing — interested but not now.
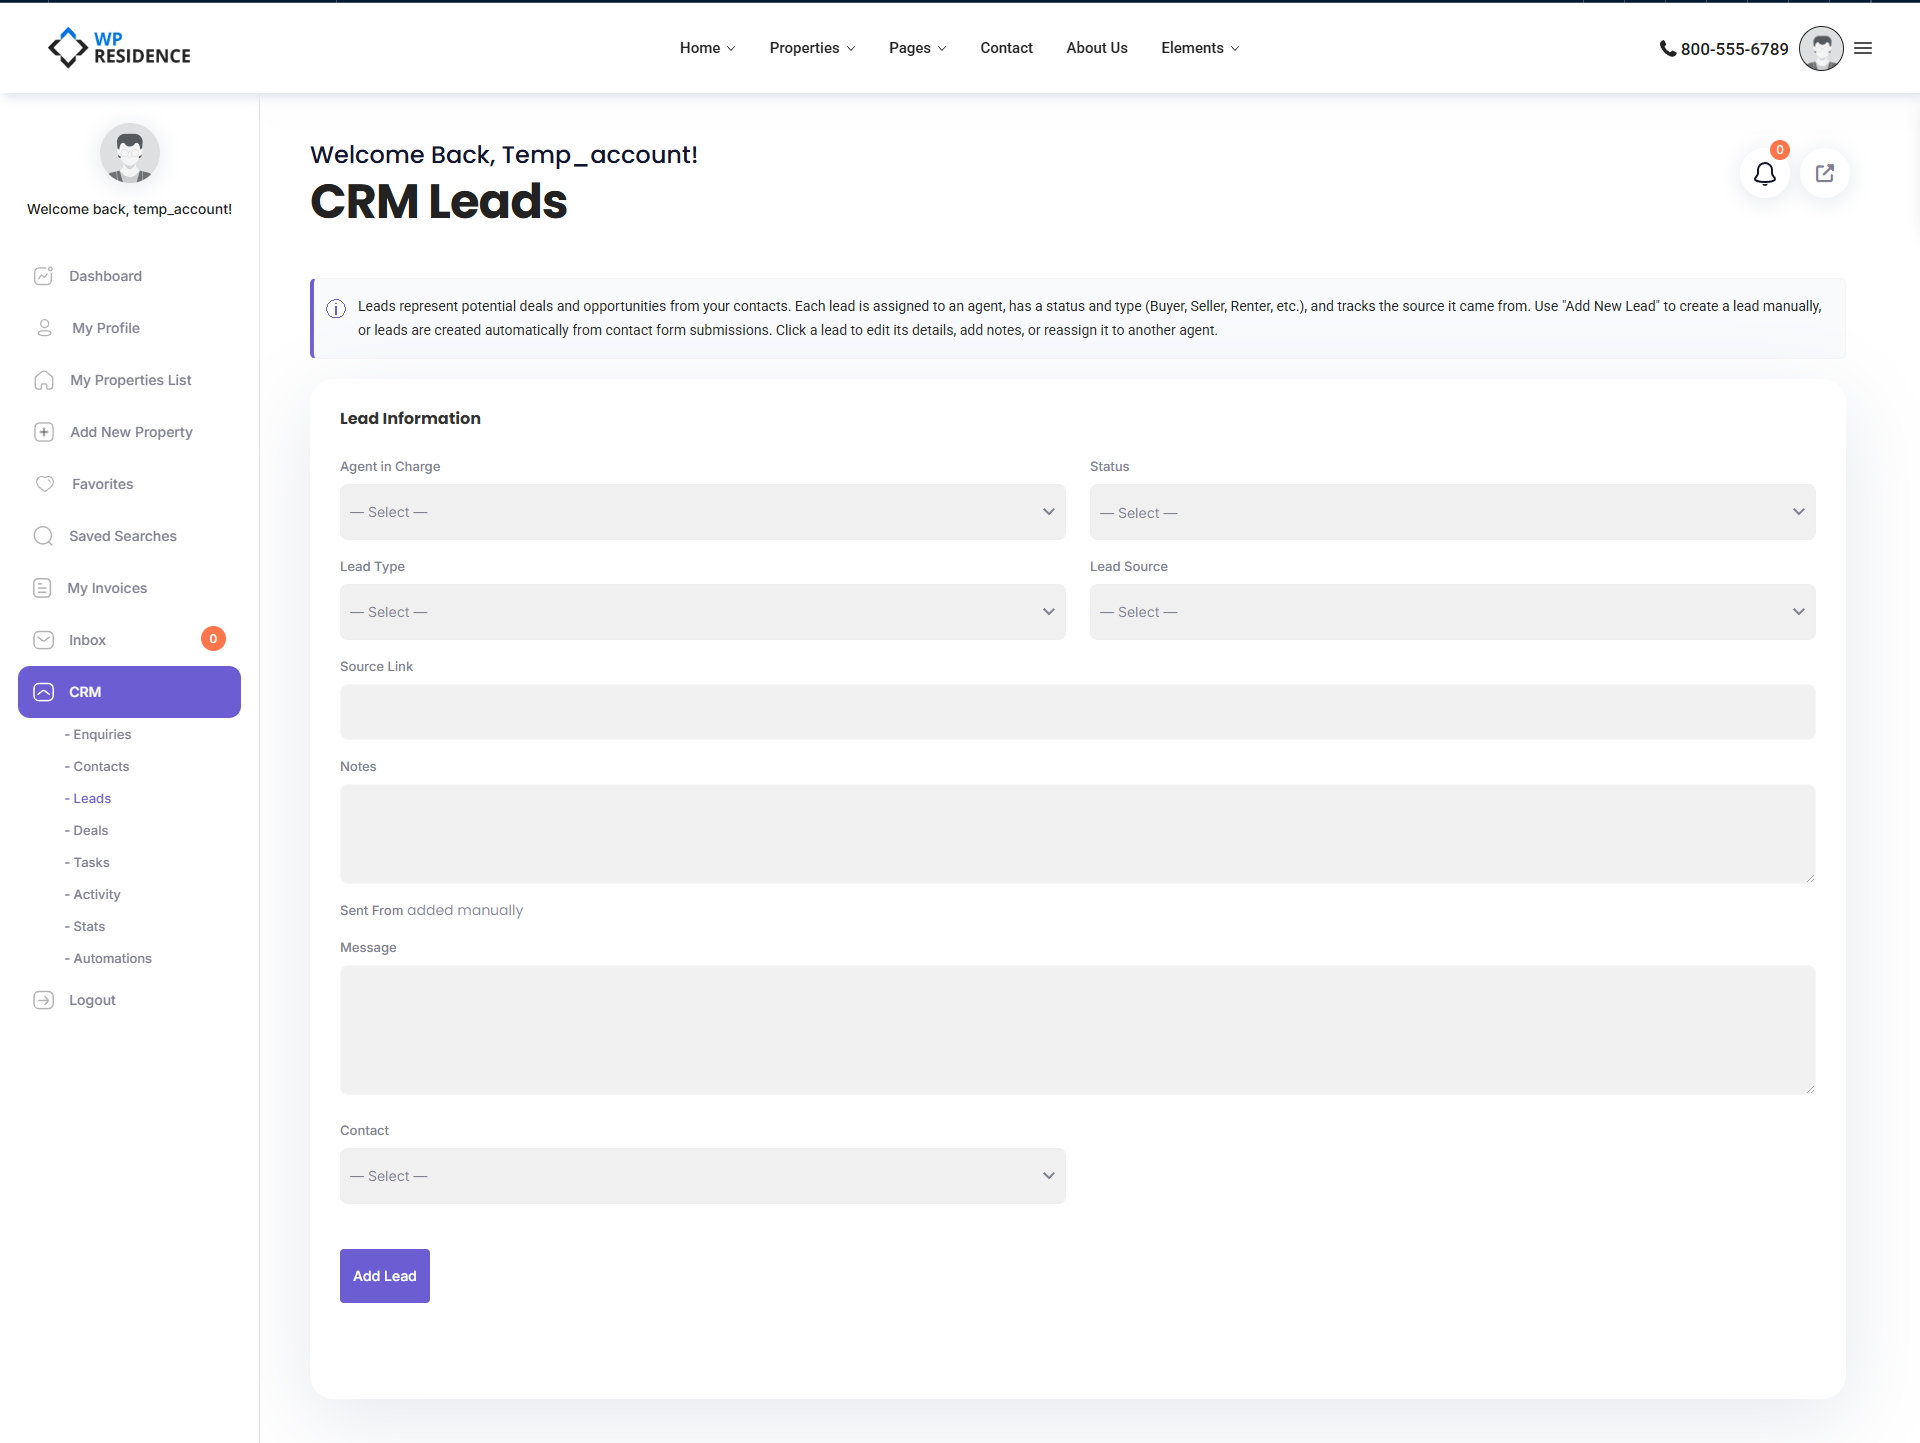
Adding a Lead Manually
- Click Add Lead.
- Pick or create the contact the lead belongs to.
- Set the lead type, source, and status.
- Paste the message or describe the enquiry.
- Assign a handler agent.
- Save.
Lead vs Enquiry vs Deal
- Enquiry — the raw inbox item (mostly auto-generated by form submissions).
- Lead — a qualified signal, assigned to a handler, being actively worked.
- Deal — a specific transaction in progress on a specific property.
The usual flow is Enquiry → Contact created → Lead → Deal, but it is not rigid. Some users only use Contacts and Deals, skipping the Lead layer. Use Leads when you want a separate record of each enquiry touchpoint per contact.
Converting a Lead to a Deal
When a lead becomes a real transaction, open the contact and create a Deal for them. Set the status of the original lead to Open deal so your pipeline view reflects the move. The lead record remains for history.
Filtering the List
Filters available: status, lead type, lead source, handler agent, date range, free-text search, pagination.
Bulk Actions
Select multiple leads and use bulk delete or bulk status update to clean the list quickly. See the Bulk Actions article for the full list.
Best Practices
- Change lead status as soon as something changes — stale “New” leads hide real work.
- Always fill in the source. Your stats depend on it.
- When you mark a lead Unqualified, write a one-line reason in the private note. Future you will want to know why.
- Do not delete old leads — they are a resource for re-engagement campaigns.
Related Articles
See the Contacts article to understand how leads link to the master contact record, and the Deals article for the next stage of the pipeline. For integrations, see the HubSpot CRM integration guide.