
Subunits let you group listings under one parent property, for example apartments inside a building. Each subunit is still a normal property with its own page, and it still appears in search results.
Before you start: the building and every unit must be published. Drafts and pending listings can’t be picked.
Add subunits from the admin
- Go to Properties, edit the building, and open the Property Subunits tab in the property details box.
- Tick Enable.
- In Add Subunits, type at least 2 characters of a listing title, or paste its ID, then click a result to add it. Repeat for each unit.
- Click Update.
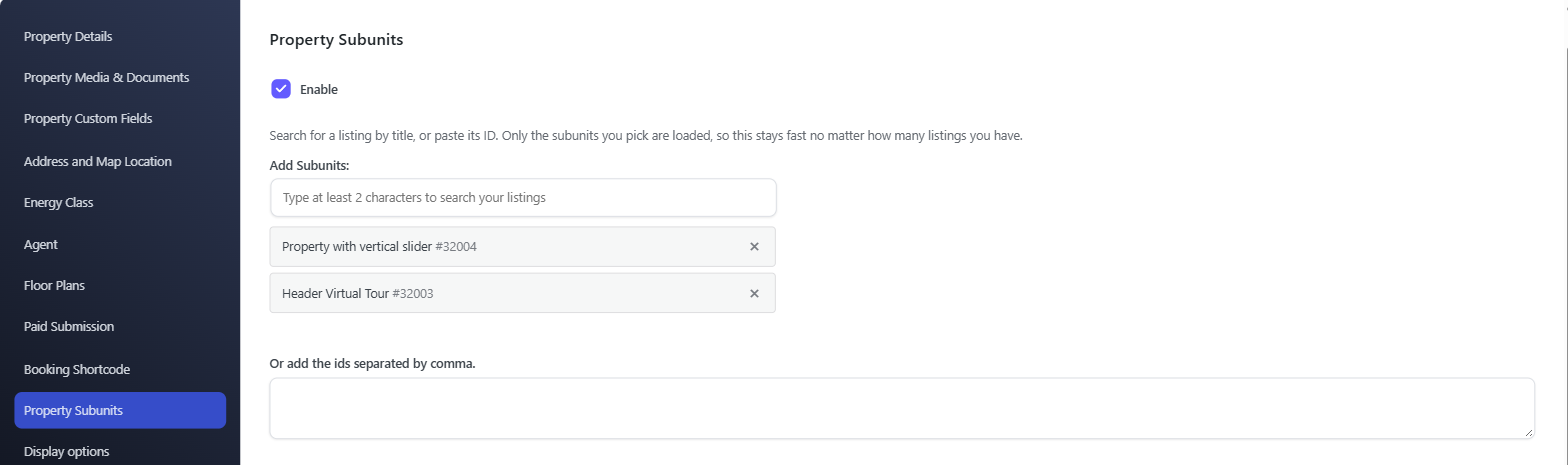
The search box only loads the listings you search for, so it works the same no matter how many properties you have. The old 50-property limit is gone. To remove a unit, click the × next to it and update the building.
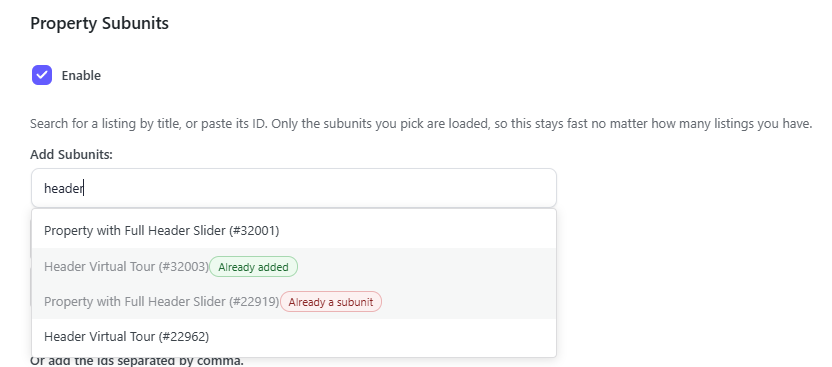
Some search results are greyed out and can’t be picked:
| Badge | Meaning |
|---|---|
| Already added | The listing is already a subunit of this building. |
| Already a subunit | The listing belongs to another building. Hover it to see which one. Remove it from that building first. |
Or add the ids separated by comma: if you type IDs here, this list is shown on the building page instead of the units you picked above. Leave it empty if you use the search box.
Add subunits from the front-end dashboard
- Turn on the field: go to Theme Options → Submission & Membership → Property Submission Page. In Select the Fields for listing submission, make sure Property subunits list is selected, then save.
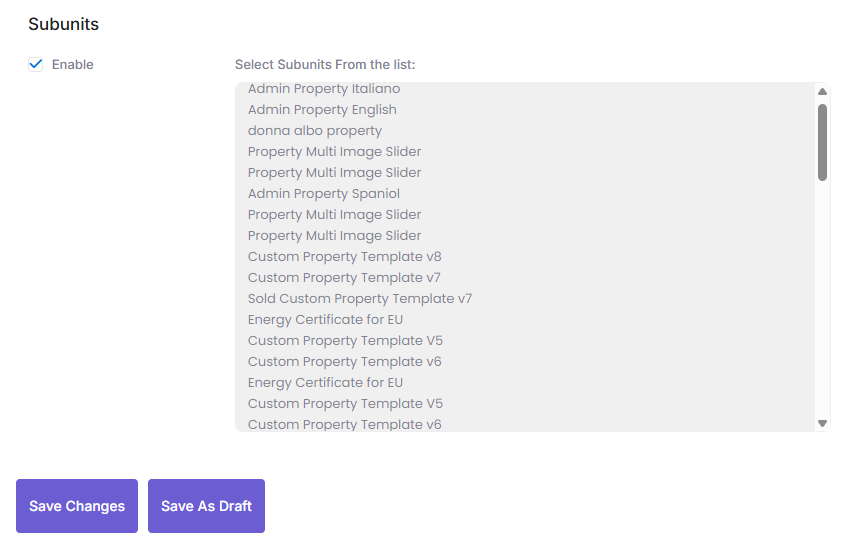
- In Add Property (or Edit on a listing), scroll to Subunits, tick Enable, and select the units. Hold CTRL (CMD on Mac) to select more than one.
- Click Save Changes.
The list shows only the logged-in user’s own published properties.
How subunits show on the property page
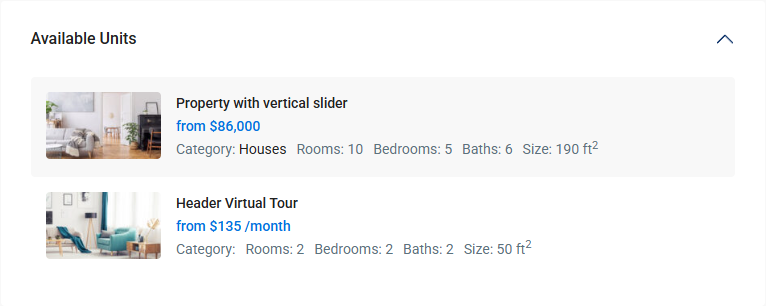
- Building page: an Available Units section lists every subunit with its image, price, category, rooms, bedrooms, baths and size. Click a title to open that unit.
- Unit page: an Other units in [building name] section links back to the building and lists the other units.
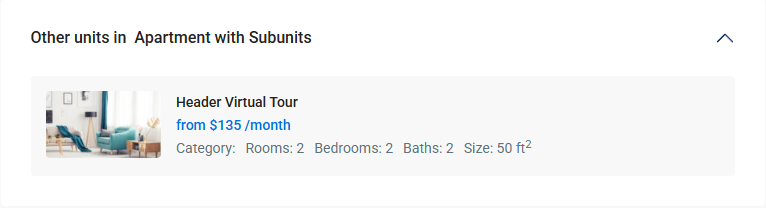
On the map, listings at the same address are spread out (spiderfied) when you click the marker, so every unit stays clickable.
Rename the section titles
Go to Theme Options → Property Page → Listings Labels and fill in Multi Unit Label (building page) and Multi Unit Label (*for sub unit) (unit pages). Leave them empty to keep the defaults.
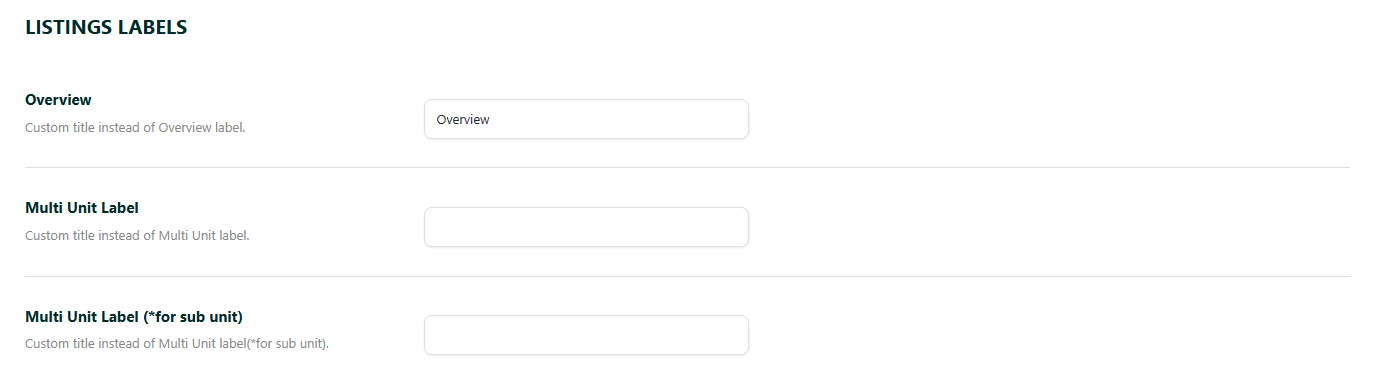
If your property page is built with Elementor or a custom template, the Property Page Subunits Section widget has its own Section Title and Section Title- Child fields, and those override the theme options.